

Transform Your New Data Source Parser Information by Using the Management UI
After you create a parser, you can use the HCP Management UI to transform the data source data to provide more relevant and helpful information. For example, you can choose to transform a url to provide the domain name of the outbound connection or the IP address.
- Click the pencil icon in the toolbar.
The Management UI displays the sensor panel for the new sensor.
 NoteYour sensor must be running and producing data before you can add transformation information.
 -
In the Schema box, click
 (expand window).
The Management UI populates the panel with message, field, and value information.
(expand window).
The Management UI populates the panel with message, field, and value information.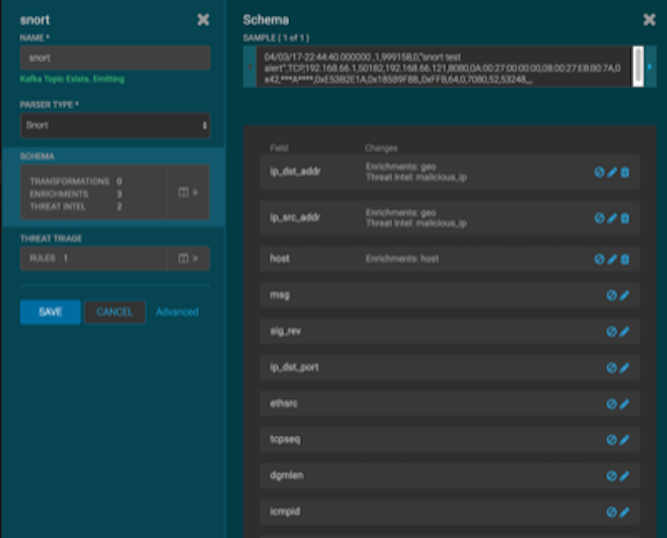 The Sample field displays a parsed version of a sample message from the sensor. The Management UI tests your transformations against these parsed messages.You can use the right and left arrows to view the parsed version of each sample.Although you can apply transformations to an existing field, users typically create and transform a new field.
 - To add a new transformation, either click
 (edit) next to a field or click
  (add) at the bottom of the Schema
panel.
The following dialog box displays:
(add) at the bottom of the Schema
panel.
The following dialog box displays: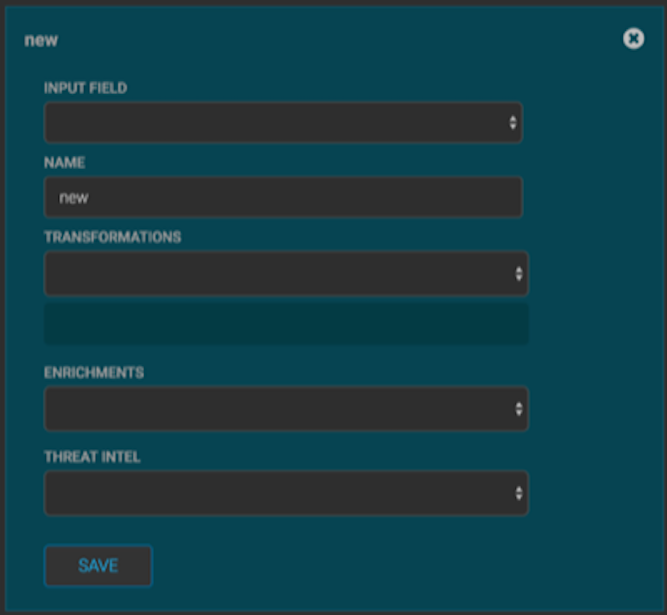
-
If you decide not to use the default values for the
batchSizeandbatchTimeoutproperties, you can set their values.In the Advanced portion of the input panel, enter the property name (for examplebatchSize) and the value in the PARSER CONFIG fields.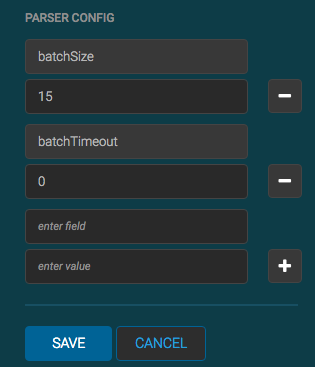
- You can also suppress fields with the transformation feature by clicking
 (suppress icon).
This icon prevents the field from being displayed, but it does not remove the field entirely.
(suppress icon).
This icon prevents the field from being displayed, but it does not remove the field entirely.