Adding a Processor
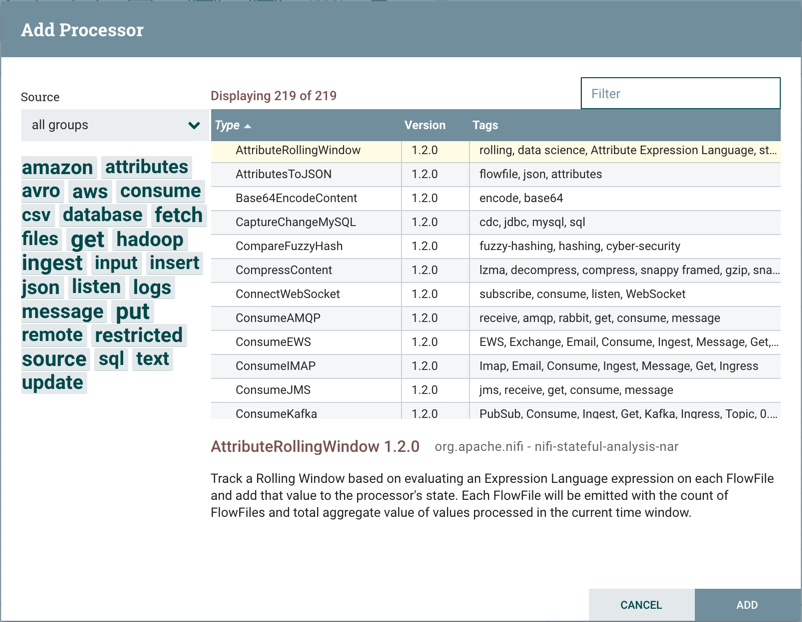
We can now begin creating our dataflow by adding a Processor to our canvas. To do
this, drag the Processor icon (![]() ) from the top-left of the screen into the middle of the canvas (the
graph paper-like background) and drop it there. This will give us a dialog that allows us
to choose which Processor we want to add:
) from the top-left of the screen into the middle of the canvas (the
graph paper-like background) and drop it there. This will give us a dialog that allows us
to choose which Processor we want to add:

We have quite a few options to choose from. For the sake of becoming oriented with the
system, let's say that we just want to bring in files from our local disk into NiFi.
When a developer creates a Processor, the developer can assign "tags" to that
Processor. These can be thought of as keywords. We can filter by these tags or by
Processor name by typing into the Filter box in the top-right corner of the dialog. Type
in the keywords that you would think of when wanting to ingest files from a local disk.
Typing in keyword "file", for instance, will provide us a few different
Processors that deal with files. Filtering by the term "local" will narrow down
the list pretty quickly, as well. If we select a Processor from the list, we will see a
brief description of the Processor near the bottom of the dialog. This should tell us
exactly what the Processor does. The description of the GetFile Processor tells us that it pulls data from our local disk into NiFi
and then removes the local file. We can then double-click the Processor type or select it
and choose the Add button. The Processor will be added to the canvas in
the location that it was dropped.

