

Installing Spark Over Ambari
The following diagram shows the Spark installation process using Ambari. (For general information about installing HDP components using Ambari, see Adding a Service in the Ambari Documentation Suite.)
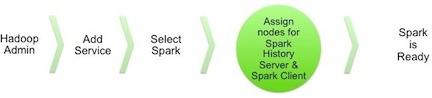
To install Spark using Ambari, complete the following steps:
Choose the Ambari "Services" tab.
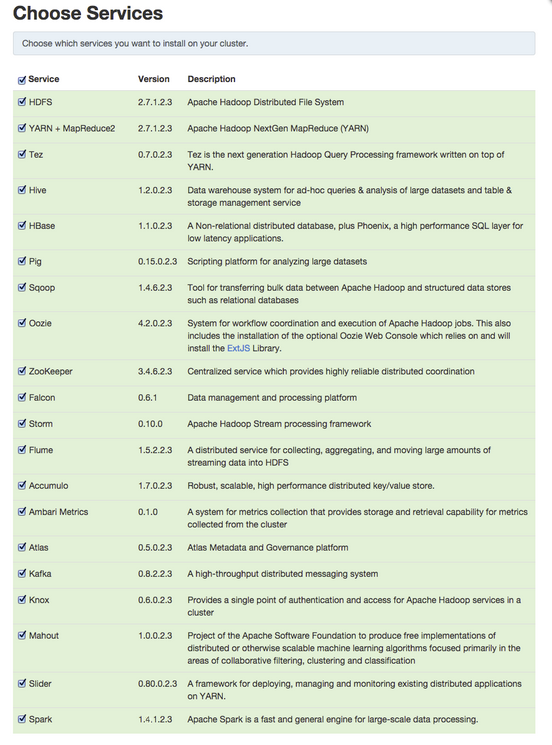
In the Ambari "Actions" pulldown menu, choose "Add Service." This will start the Add Service Wizard. You'll see the Choose Services screen.
Select "Spark", and click "Next" to continue.
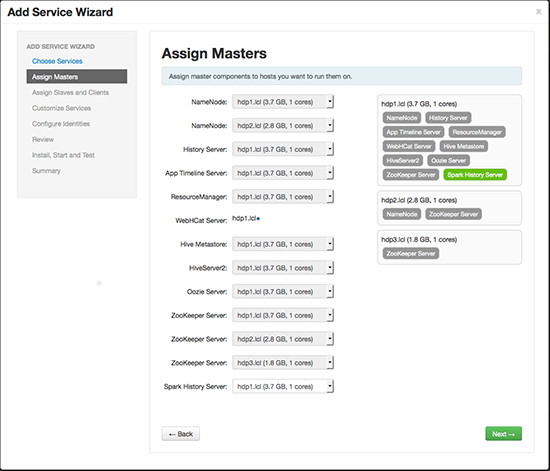
On the Assign Masters screen, choose a node for the Spark History Server.
Click "Next" to continue.
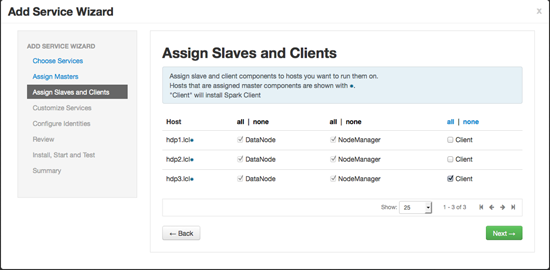
On the Assign Slaves and Clients screen, specify the node(s) that will run Spark clients. These nodes will be the nodes from which Spark jobs can be submitted to YARN.
Click "Next" to continue.
On the Customize Services screen there are no properties that must be specified. We recommend that you use default values for your initial configuration.
Click "Next" to continue.
Ambari will display the Review screen.
![[Important]](../common/images/admon/important.png)
Important On the Review screen, make sure all HDP components are version 2.3.2 or later.
Click "Deploy" to continue.
Ambari will display the Install, Start and Test screen. The status bar and messages will indicate progress.
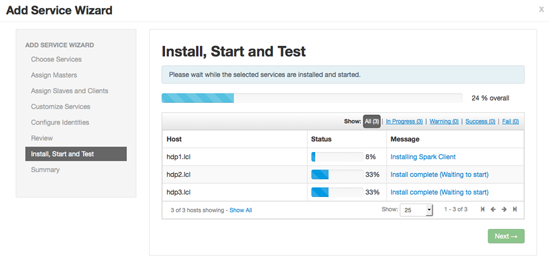
When finished, Ambari will present a summary of results. Click "Complete" to finish installing Spark.
![[Caution]](../common/images/admon/caution.png) | Caution |
|---|---|
Ambari will create and edit several configuration files. Do not edit these files directly if you configure and manage your cluster using Ambari. |