Once you have met the prerequisites, you are ready to create your Streams Messaging
cluster in CDP Public Cloud using a default cluster definition. For this, you must select the
cluster definition that matches your cloud provider for the environment and further choose from
the light and heavy duty options available.
Once you have met the prerequisites, you are ready to create your Streams Messaging
cluster using a default cluster definition.
Log into the CDP web interface.
Navigate to Management Console
> Environments, and select the
environment where you would like to create a cluster.
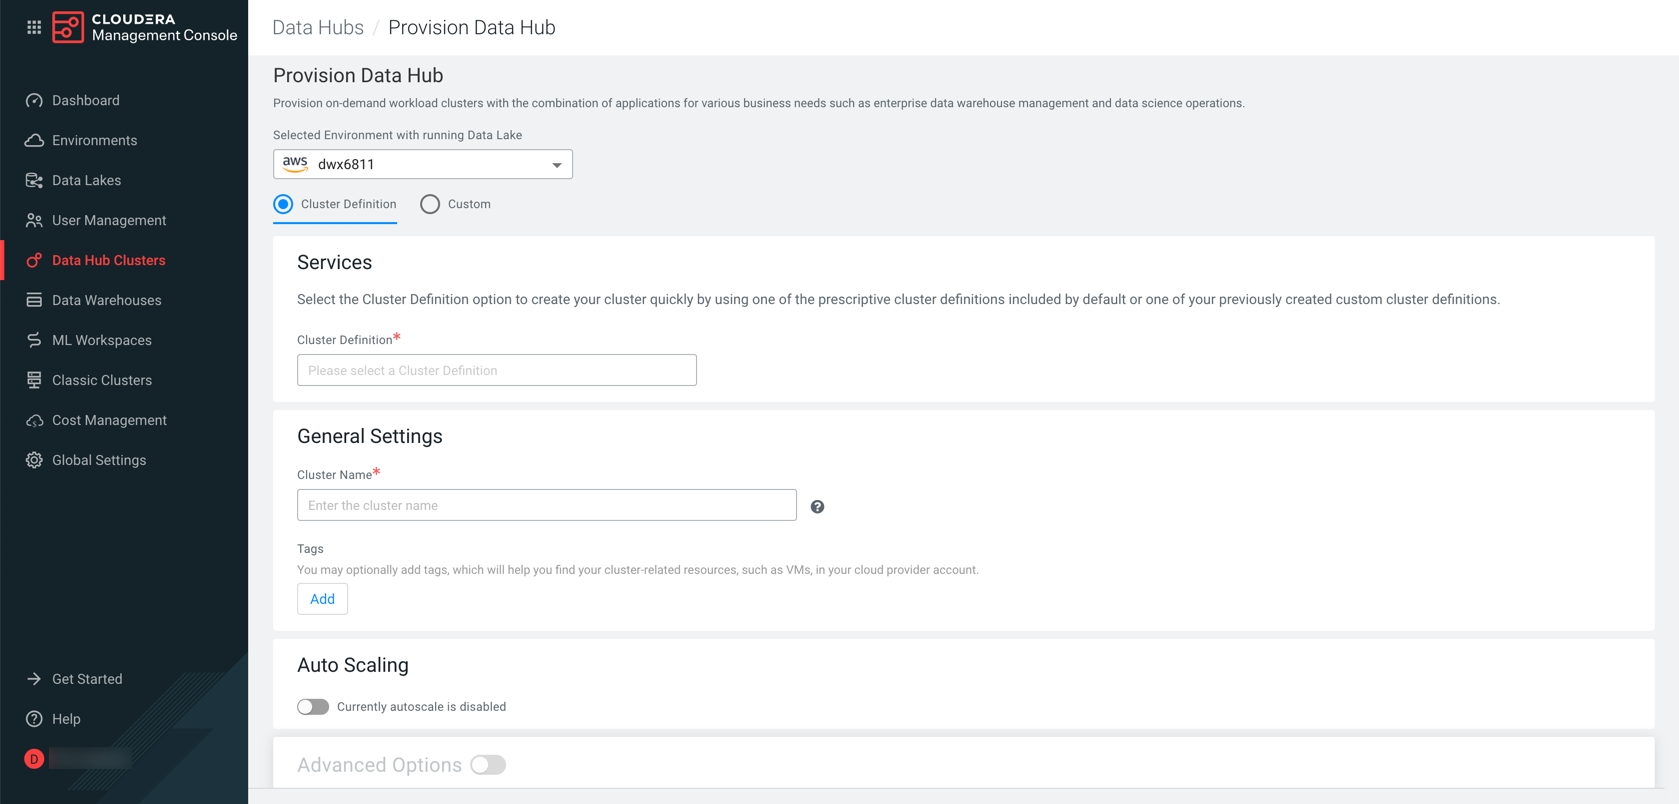
Click Create Data Hub.
The following page is
displayed:
Select Cluster
Definition.
Select the appropriate streams messaging cluster definition from the
Cluster Definition dropdown depending on your operational
objectives.
There are two definition options available:
Streams Messaging Heavy Duty for AWS
Streams Messaging Light Duty for AWS
Streams Messaging Heavy Duty for Azure
Streams Messaging Light Duty for Azure
Streams Messaging Heavy Duty for GCP
Streams Messaging Light Duty for GCP
For more information on templates, see Planning your Streams Messaging
deployment.
The list of services is automatically shown below the selected cluster
definition name.
Give the cluster a name and add any tags you might need.
You can define
tags that will be applied to your cluster-related resources on your cloud provider
account. For more information about tags, see Tags.
Optional: Use the Advanced Options section to
customize the infrastructure settings.
Optional: Configure Heavy Duty clusters for SRM.
SRM is not
provisioned by default when using the Streams Messaging Heavy Duty definition. If you are
using this definition and want to have SRM deployed in the cluster, set the
Instance Count of the Srm nodes host group
to at least 1.
Go to Advanced
Options > Hardware and
Storage.
Locate the Srm nodes host group and click to edit host group
details.
Set the Instance Count to at least 1.
Click to save
your changes.
Click Provision Cluster.
You will be redirected to the Data Hub cluster dashboard, and a
new tile representing your cluster will appear at the top of the page. What steps you take next depends on whether you have
customized Attached Volume per Instances .
If you configured Attached Volume per Instances and the volume
count is not identical for the Broker and
Core_brokers host groups, continue with Configure data
directories for clusters with custom disk configurations.
If you did not customize Attached Volume per Instances or
customized it in a way that the volume count remained identical for the
Brokers and Core_brokers host groups, continue
with Give users access to your cluster.
 to edit host group
details.
to edit host group
details. to save
your changes.
to save
your changes.