Creating a custom access policy

You can create a custom access policy for a specific Schema Registry entity, specify an access type, and add a user or user group to the policy.

Determine and note down the following information:
  • The schema registry entity that the user needs access to.
  • Whether the user requires all objects in the entity or specific objects.
  • Whether the user needs read, view, edit, or delete permissions to the entity.
  • If there are any IP addresses to include or exclude from the user's access.

With a custom policy you can specify the Schema Registry entity and the type of access the user requires.
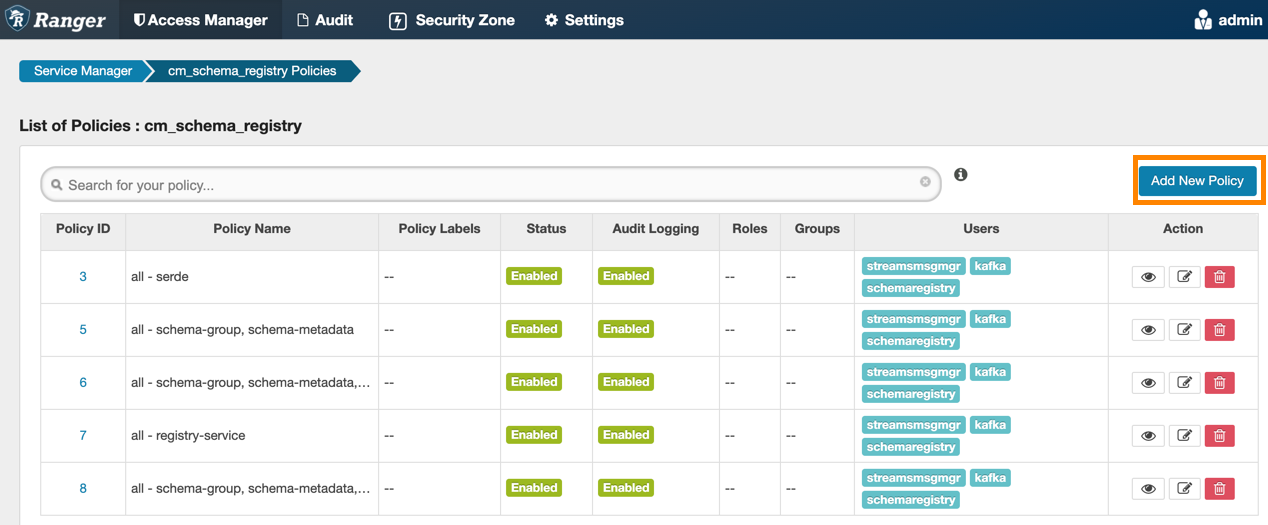
  1. Go to the Ranger List of Policies page.
  2. Click Add New Policy.


    The Create Policy page appears.
  3. Enter a unique name for the policy.
  4. Optionally, enter a keyword in the Policy Label field to aid in searching for a policy.
  5. Select a Schema Registry entity. You can choose the Schema Registry service, schema group, or SerDe. Then, perform one of the following tasks:
    • If you want the user to access all the objects in the entity, enter *.
    • If you want to specify the objects in the entity that a user can access, enter the name of the object in the text field.
  6. Optionally, enter a description.
  7. In the Allow Conditions section, add the user or group to the respective Select User or Select Group field.


  8. Optionally, from the Policy Conditions field, enter the appropriate IP address.
  9. From the Permissions field, select the appropriate permission.
  10. Click Save.
The user now has the rights according to the policy and the permissions you assigned to the user.