Configuring the Data Compliance Profiler
In addition to the generic configuration, you can configure scheduling and available resources for the Cluster Sensitivity Profiler.
-
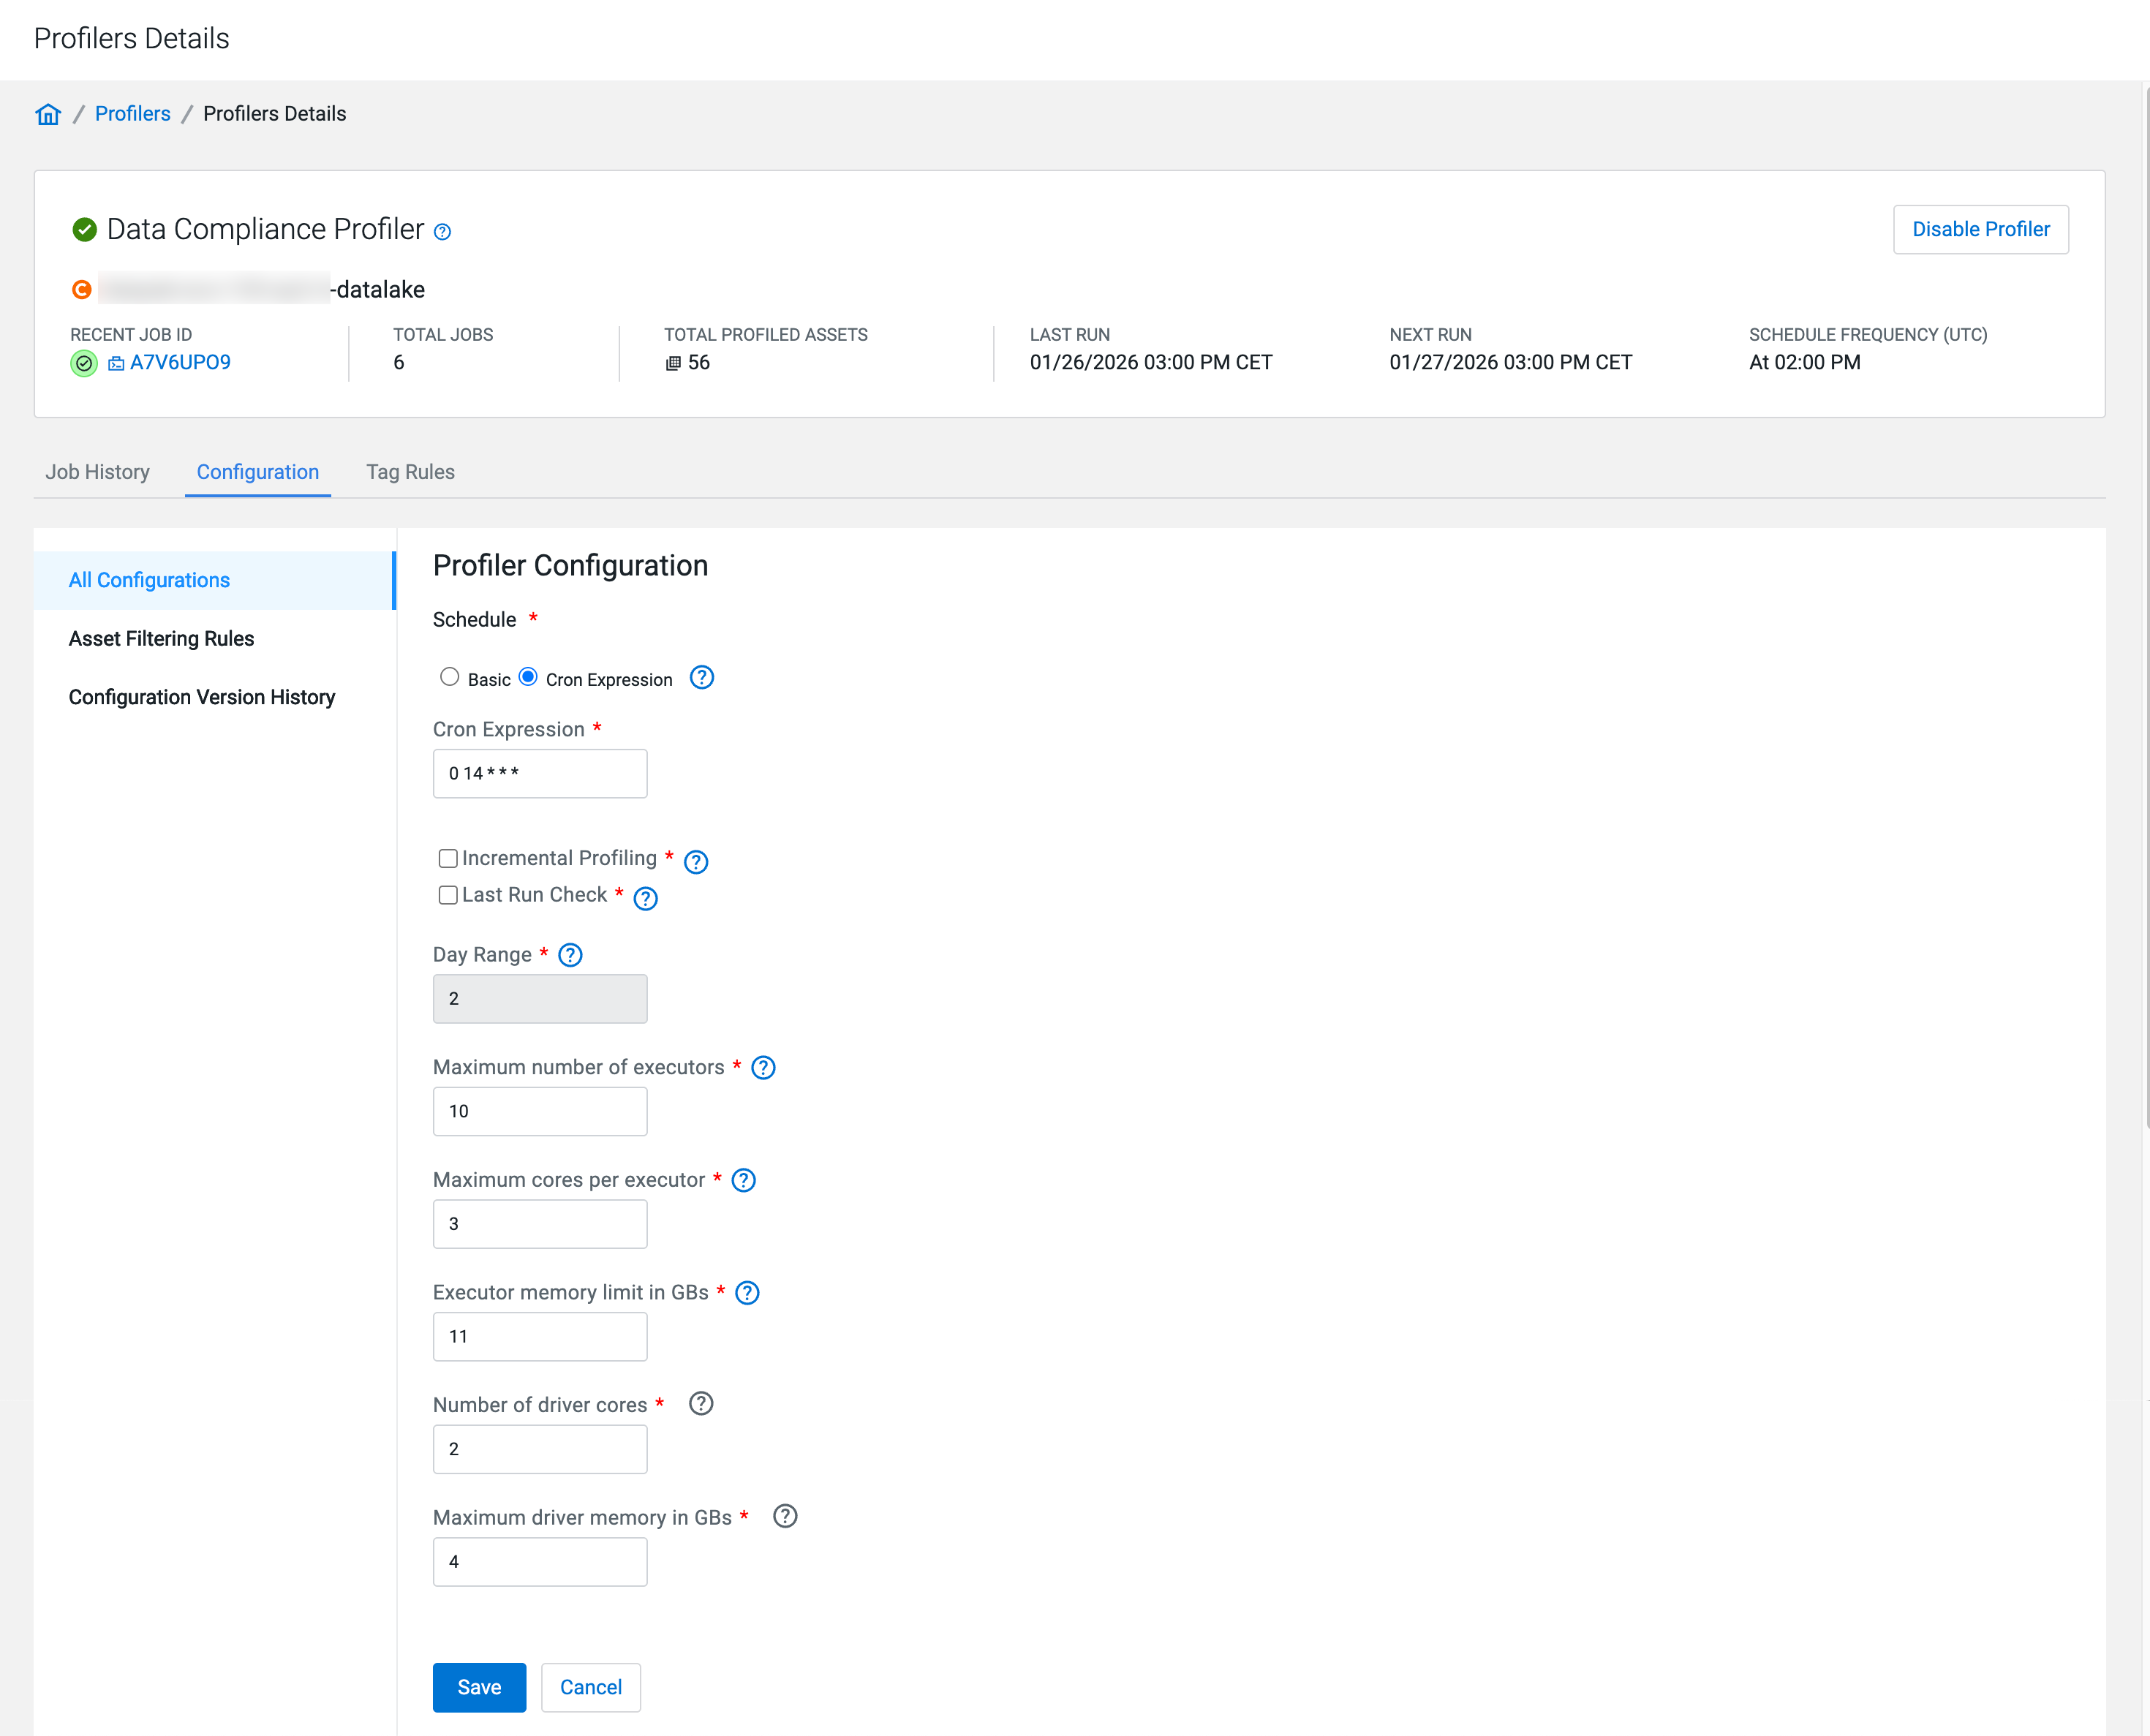
Select a schedule to run profiler using either UNIX Cron
Expression or the Basic scheduler.
Figure 1. Profiler schedule with cron expression 
Figure 2. Profiler schedule with natural language 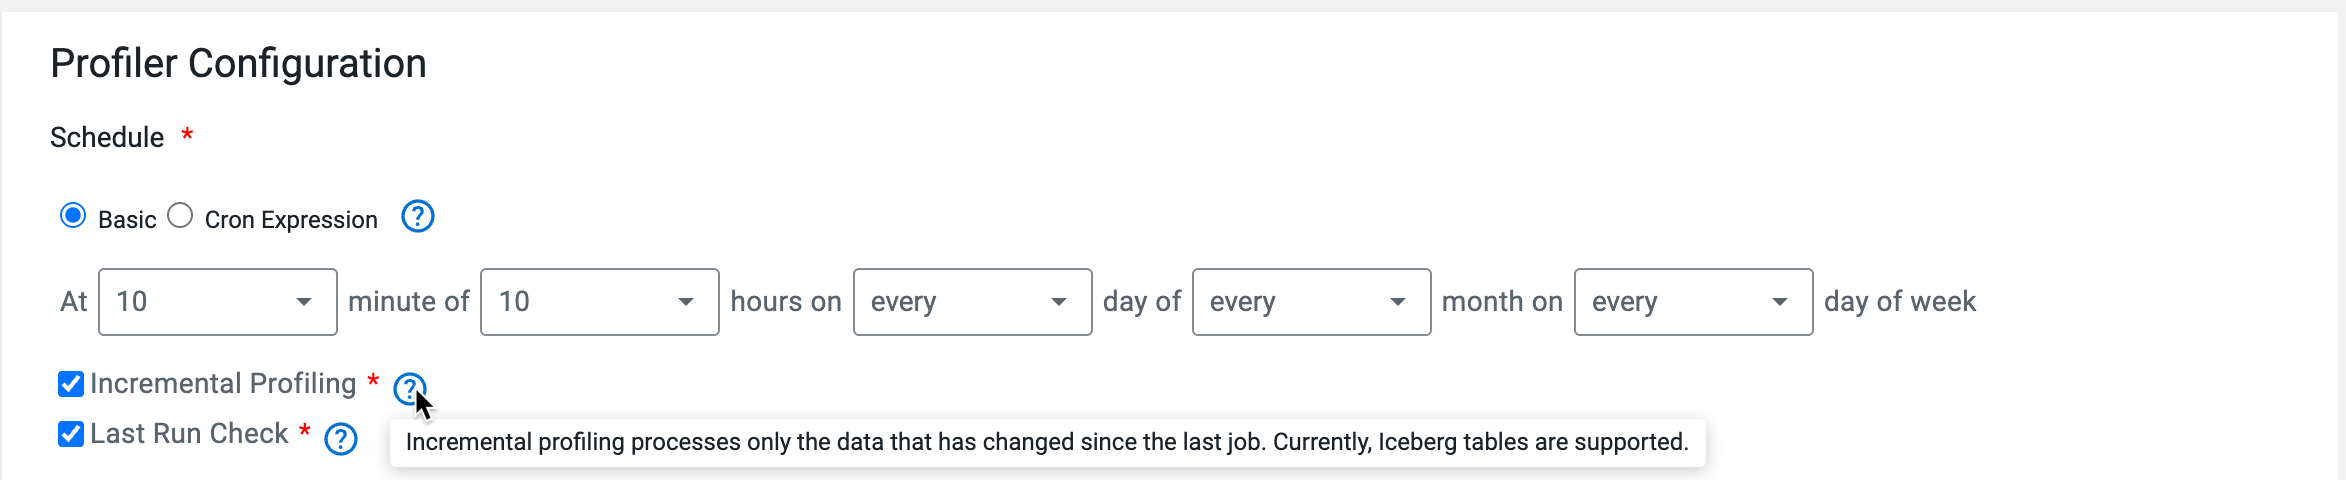
-
Configure
the
resources.
-
Add Asset Filtering Rules as needed to customize the selection and
deselection of assets which the profiler profiles.
-
Set your Deny List and
Allow-list.
The profiler will skip profiling assets that meet any criteria in the Deny List and will include assets that meet any criteria in the Allow List.
- Click Add New Rule to define new rules.
- Use the radio buttons to define your new rule for the Allow List or Deny List.
- Select
one
of the following
keys
from the drop-down list and
select
the relevant
operator:
Key Operator Database name - equals
- starts with
- ends with
Name (of asset) - equals
- contains
- starts with
- ends with
Owner (of asset) Creation date1 - greater than
- less than
1 By Creation Date, Greater than 7 days means an asset older than seven days. Less than 7 days means an asset younger than seven days. - Enter the value corresponding to the key. For example, you can enter a string as mentioned in the previous example.
- Click Add Rule. Once a rule is added (enabled by
default), you can
enable
or disable it as
needed by
clicking the state toggle.


Figure 3. Affected Assets in Asset Filtering Rules configuration  Job Summary shows the asset filtering rules applied for the particular profiling job.
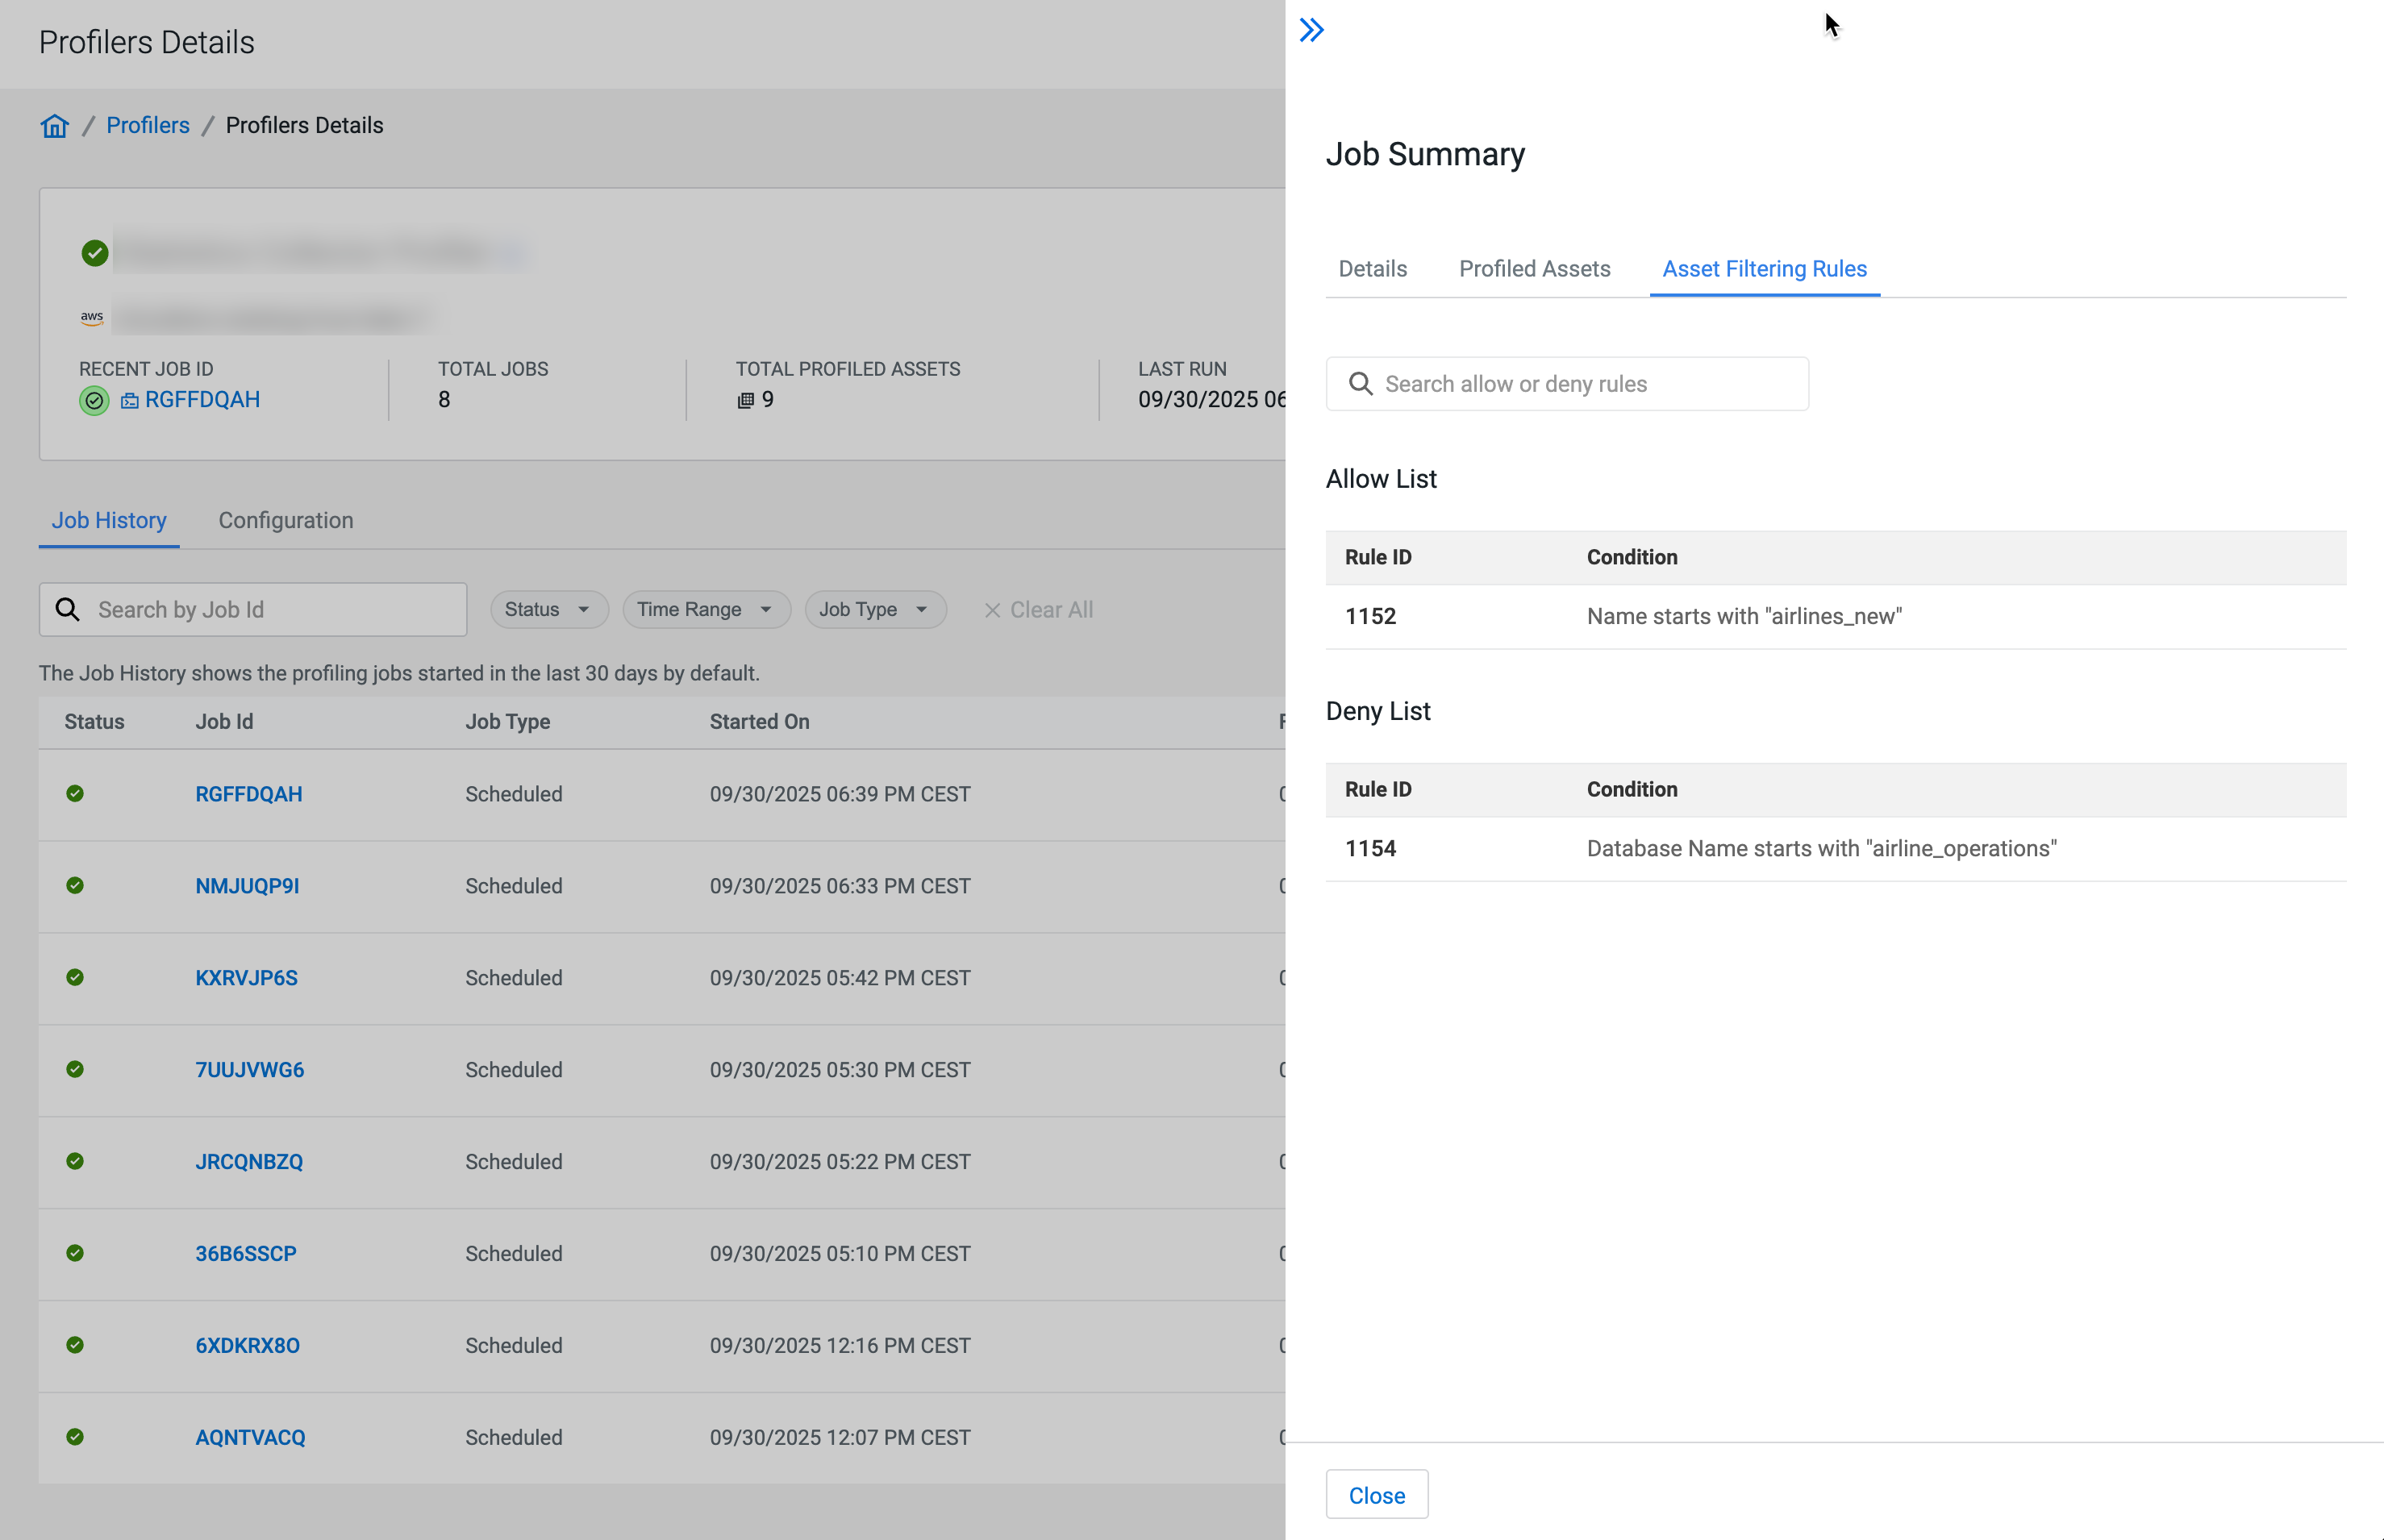
-
Set your Deny List and
Allow-list.