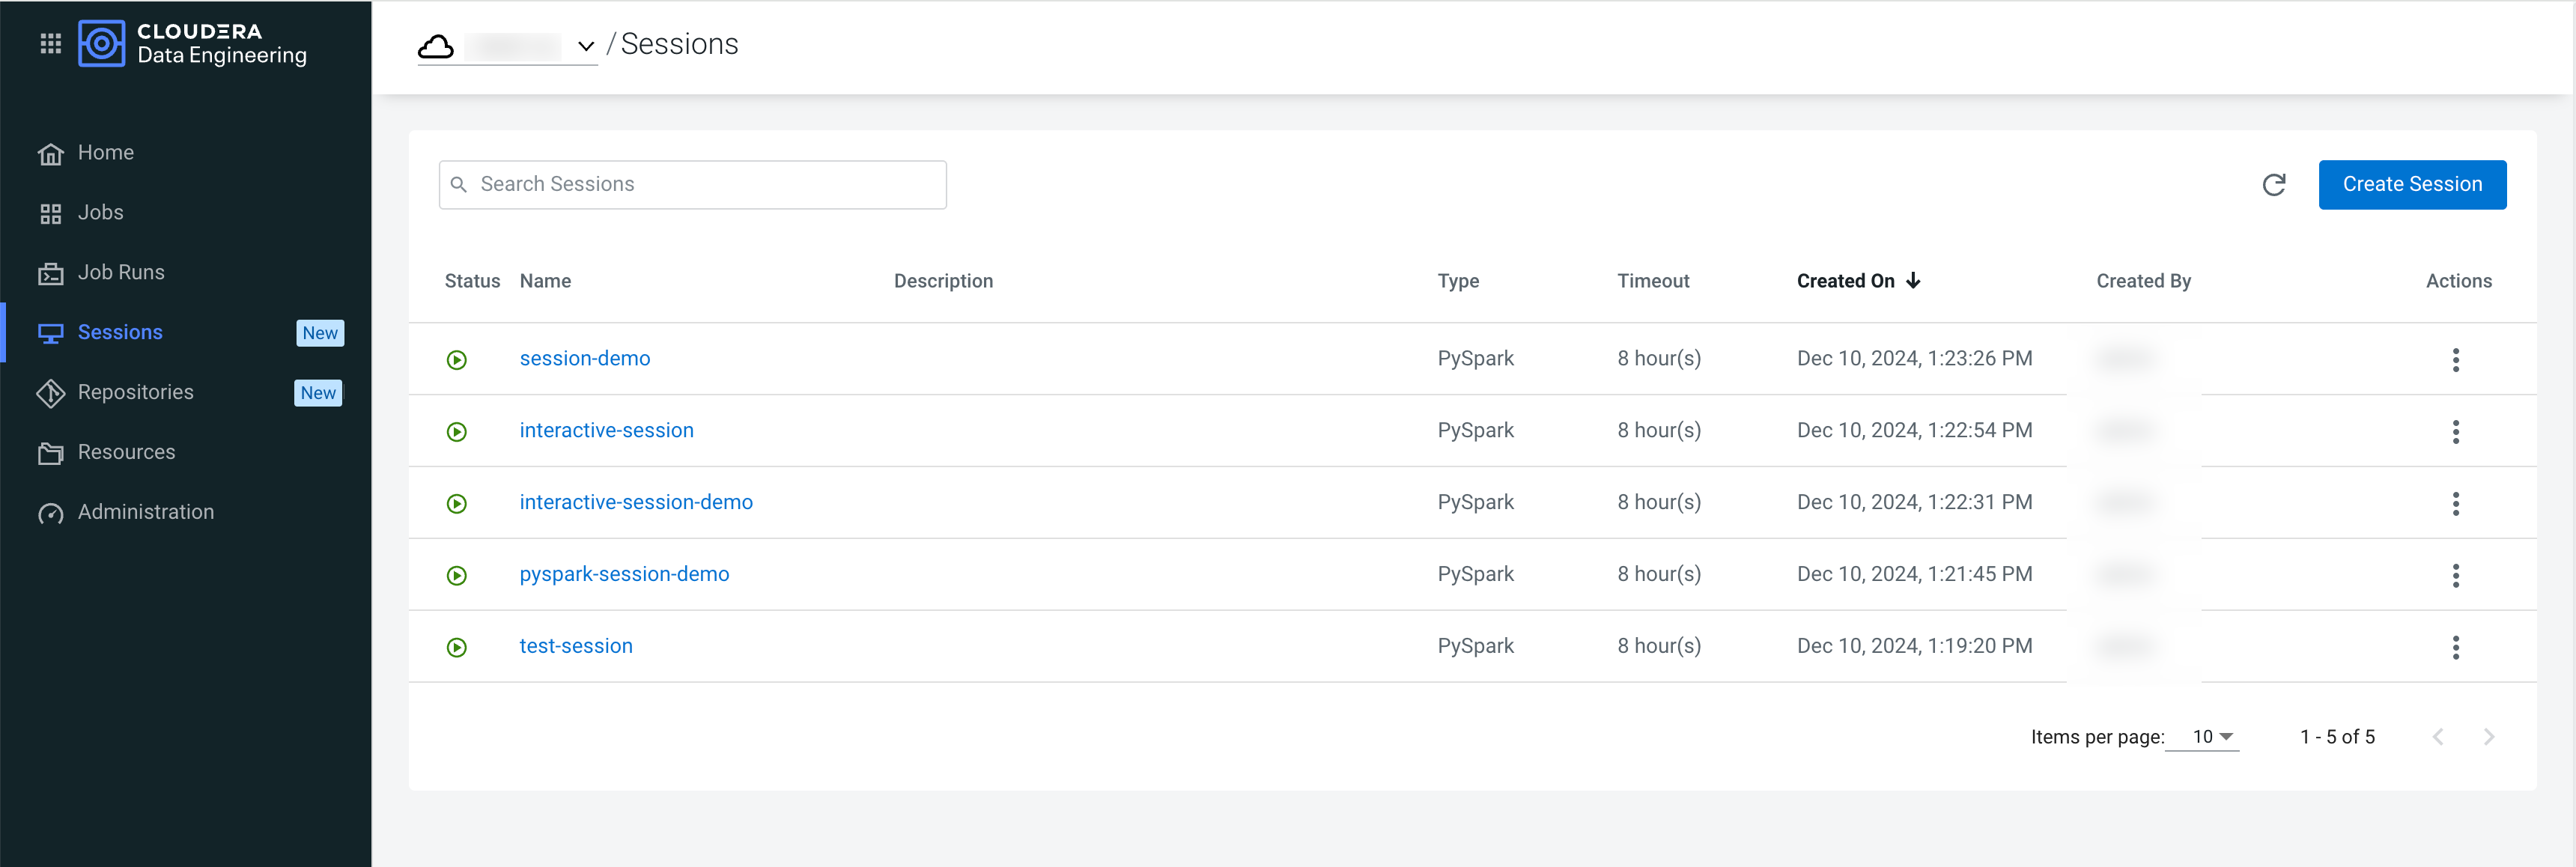
Creating sessions in Cloudera Data Engineering
A Cloudera Data Engineering session is an interactive short-lived development environment for running Spark commands to help you iterate upon and build your Spark workloads.
In Cloudera Data Engineering, sessions are associated with virtual clusters. Before you can create a session, you must create a virtual cluster that can run it. For more information, see Creating virtual clusters.
-
Click Sessions in the left navigation menu and then click
Create Session.
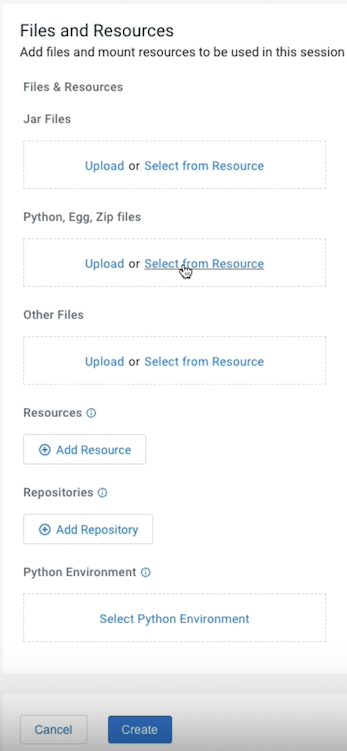
- Optional:
In the Files and Resources section, you can upload Jar, Python,
Egg, Zip, and other files. You can also add a resource, respositories, or a Python
environment to be used in this session.
Files that are uploaded to a session are stored in the app/mount directory.
-
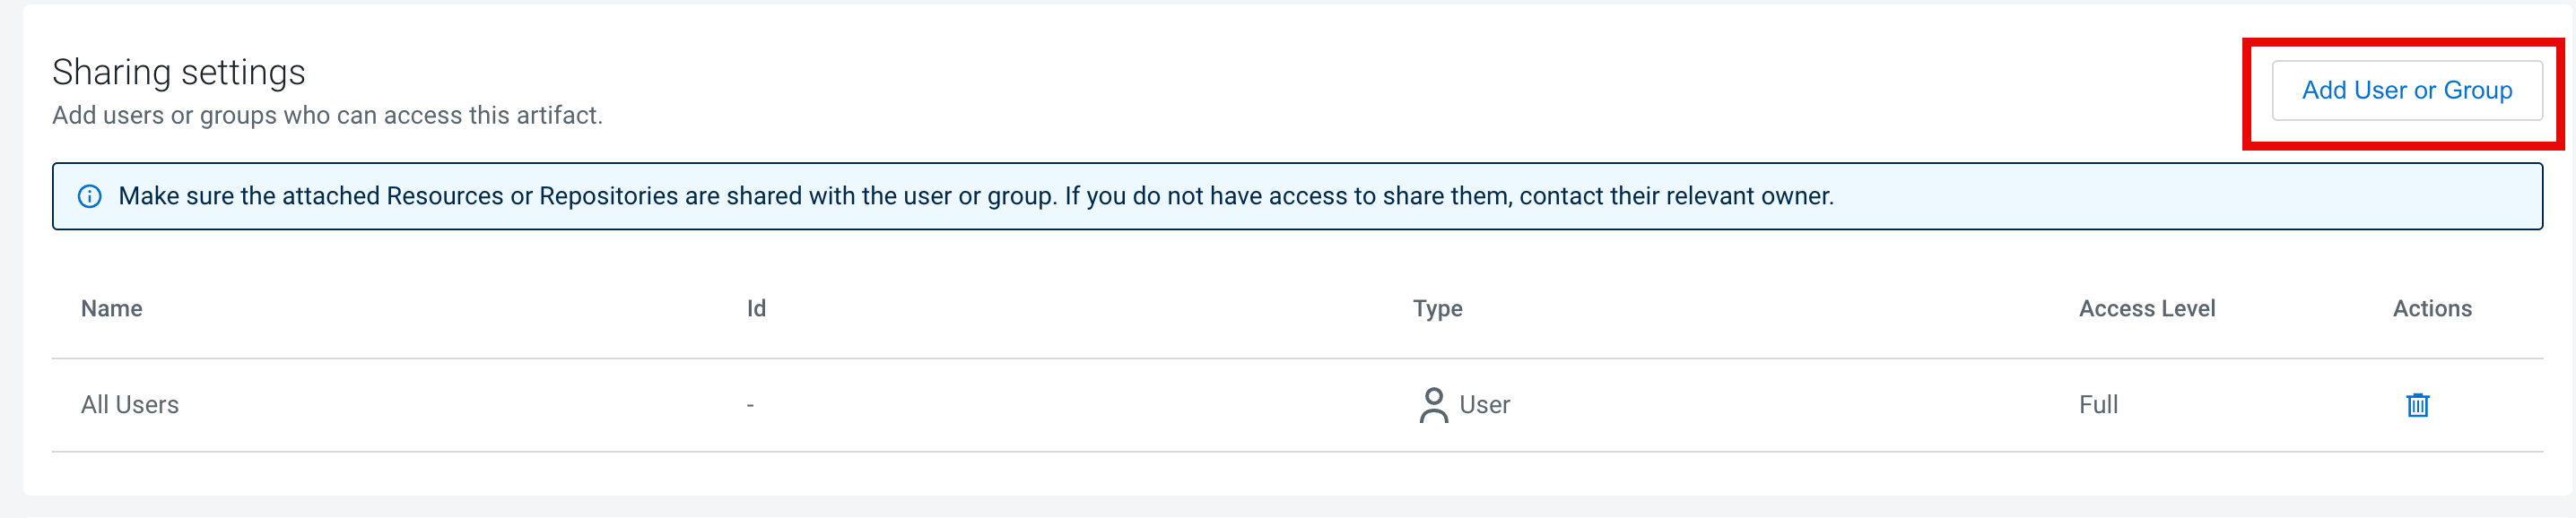
Share the session with a user or group.
-
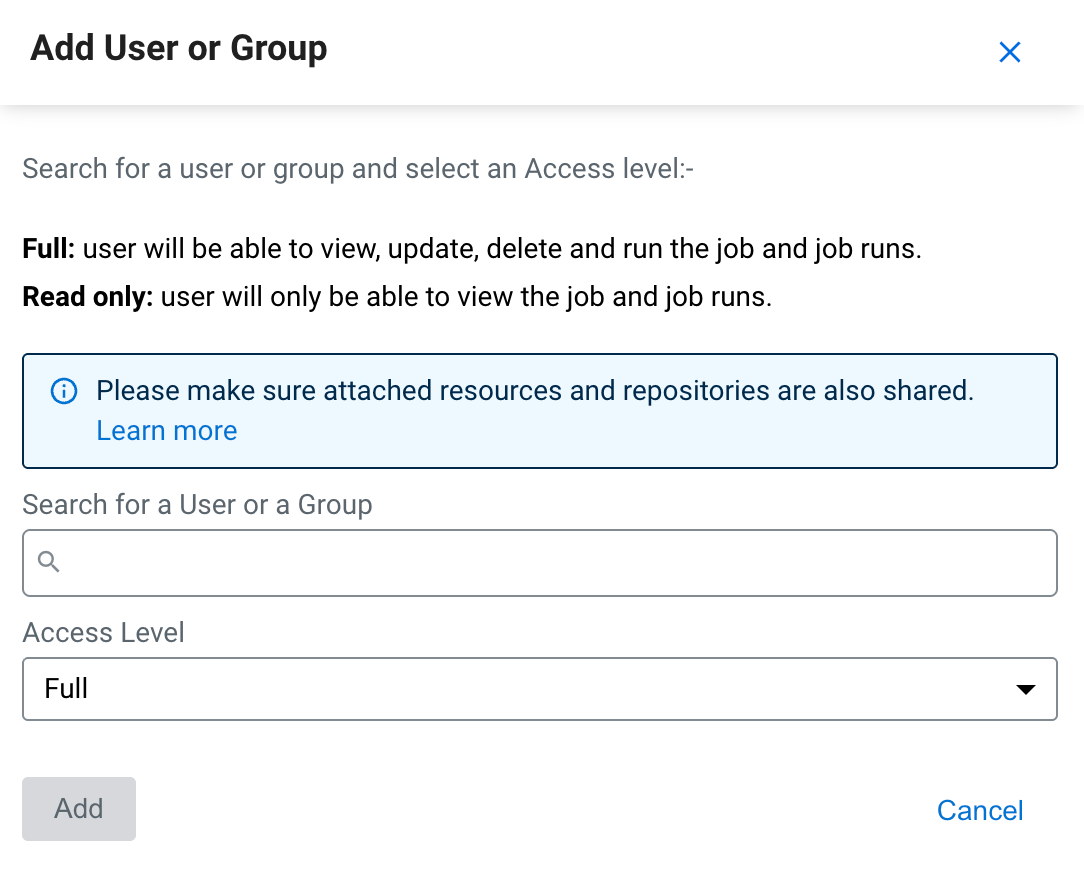
In the Sharing Settings section, click Add User
or Group. The Add User or Group pop-up
appears.
-
In the Search for a User or a Group field, type the user or
group name and select the required user or group from the list.
-
In the Sharing Settings section, click Add User
or Group. The Add User or Group pop-up
appears.