Including null values in a visual
In Cloudera Data Visualization, the quick date filter enables you to provide a quick selection of date ranges for visualizing your data.
-
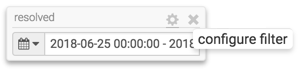
Hover over the upper right corner of the resolved filter, and
click the (Gear) icon to configure the filter.
-
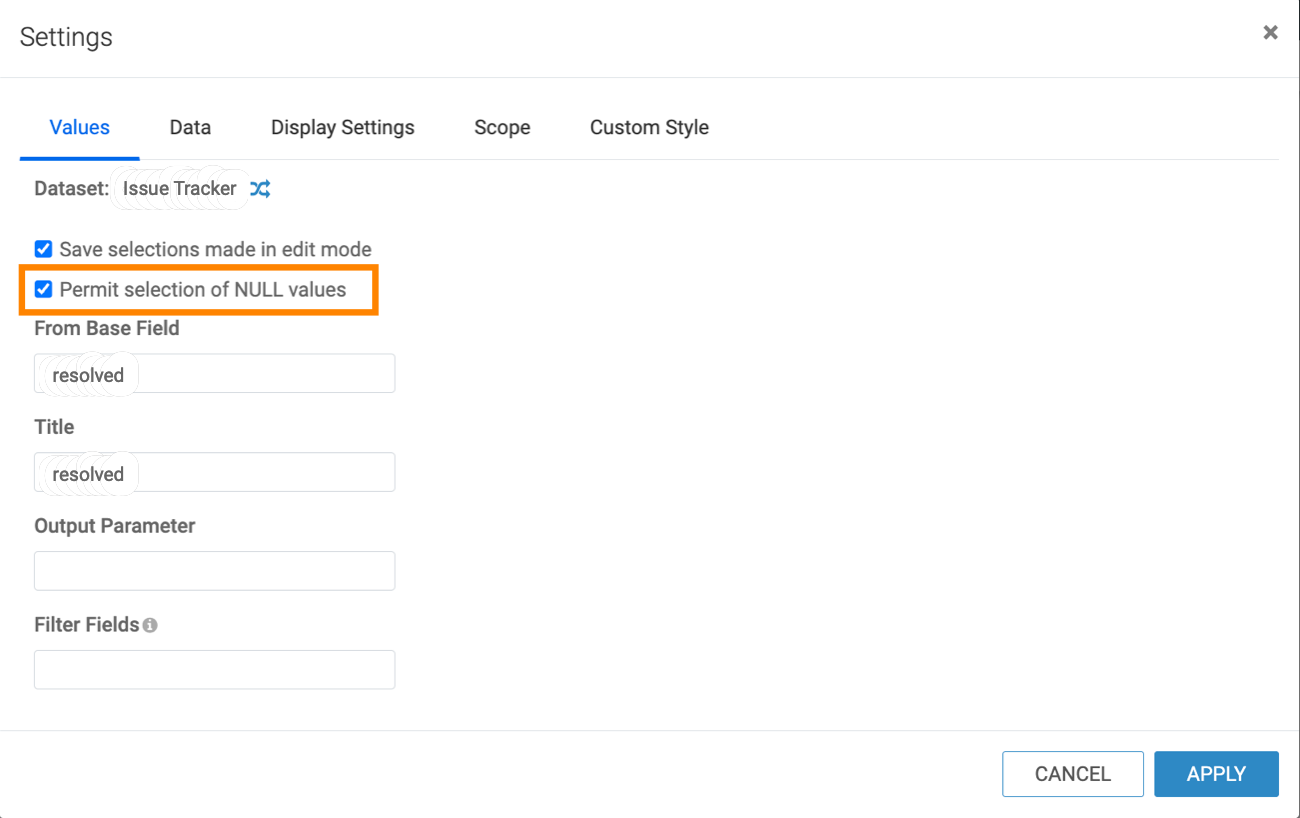
On the Values tab of the Settings modal
window, select the Permit selection of NULL values option.
-
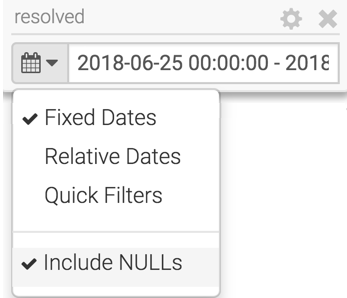
Click the Calendar icon on the resolved
filter.
The Include NULLs option appears in the drop-down menu.
-
Close the drop-down menu without selecting the Include NULLs
option.
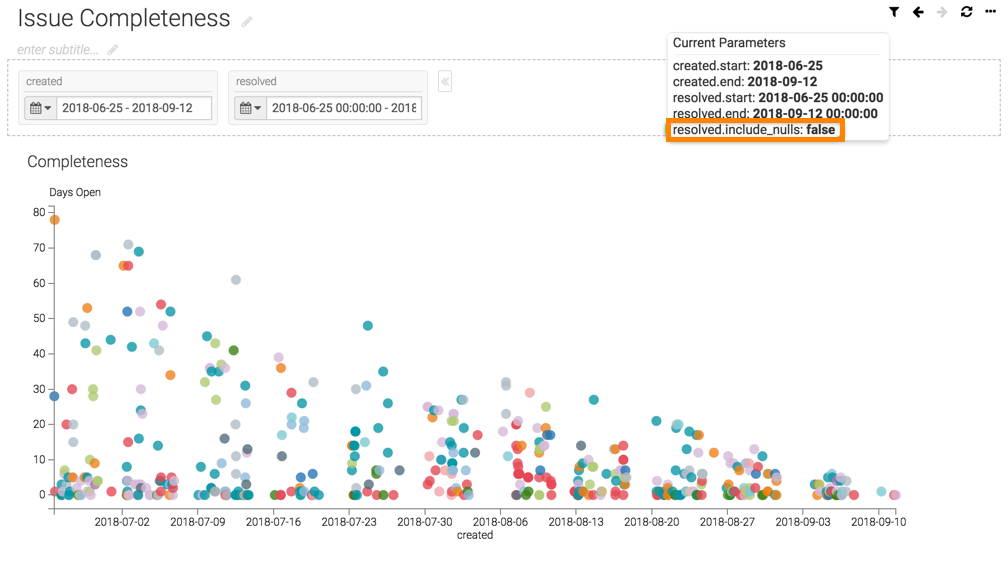
The following image shows that the Current Parameters on the top right corner shows resolved.include_nulls: false, indicating that the Include NULLs option was not selected in the filter.
-
Click the Calendar icon on the resolved
filter and select the Include NULLs option.
The following image shows that the Current Parameters modal in the top right corner shows resolved.include_nulls: true, indicating that the Include NULLs option was selected in the filter. The visual now includes the null values in the dataset.

-
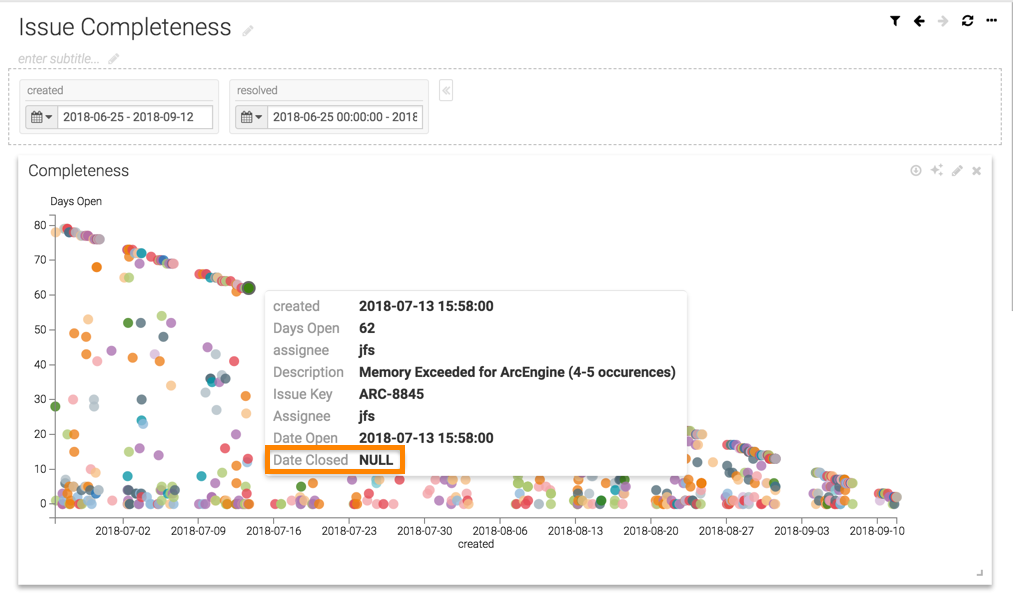
To verify that the visual includes null values, hover over one of the selections to
view the tooltip.
The following image shows that Date Closed has a 'NULL' value.