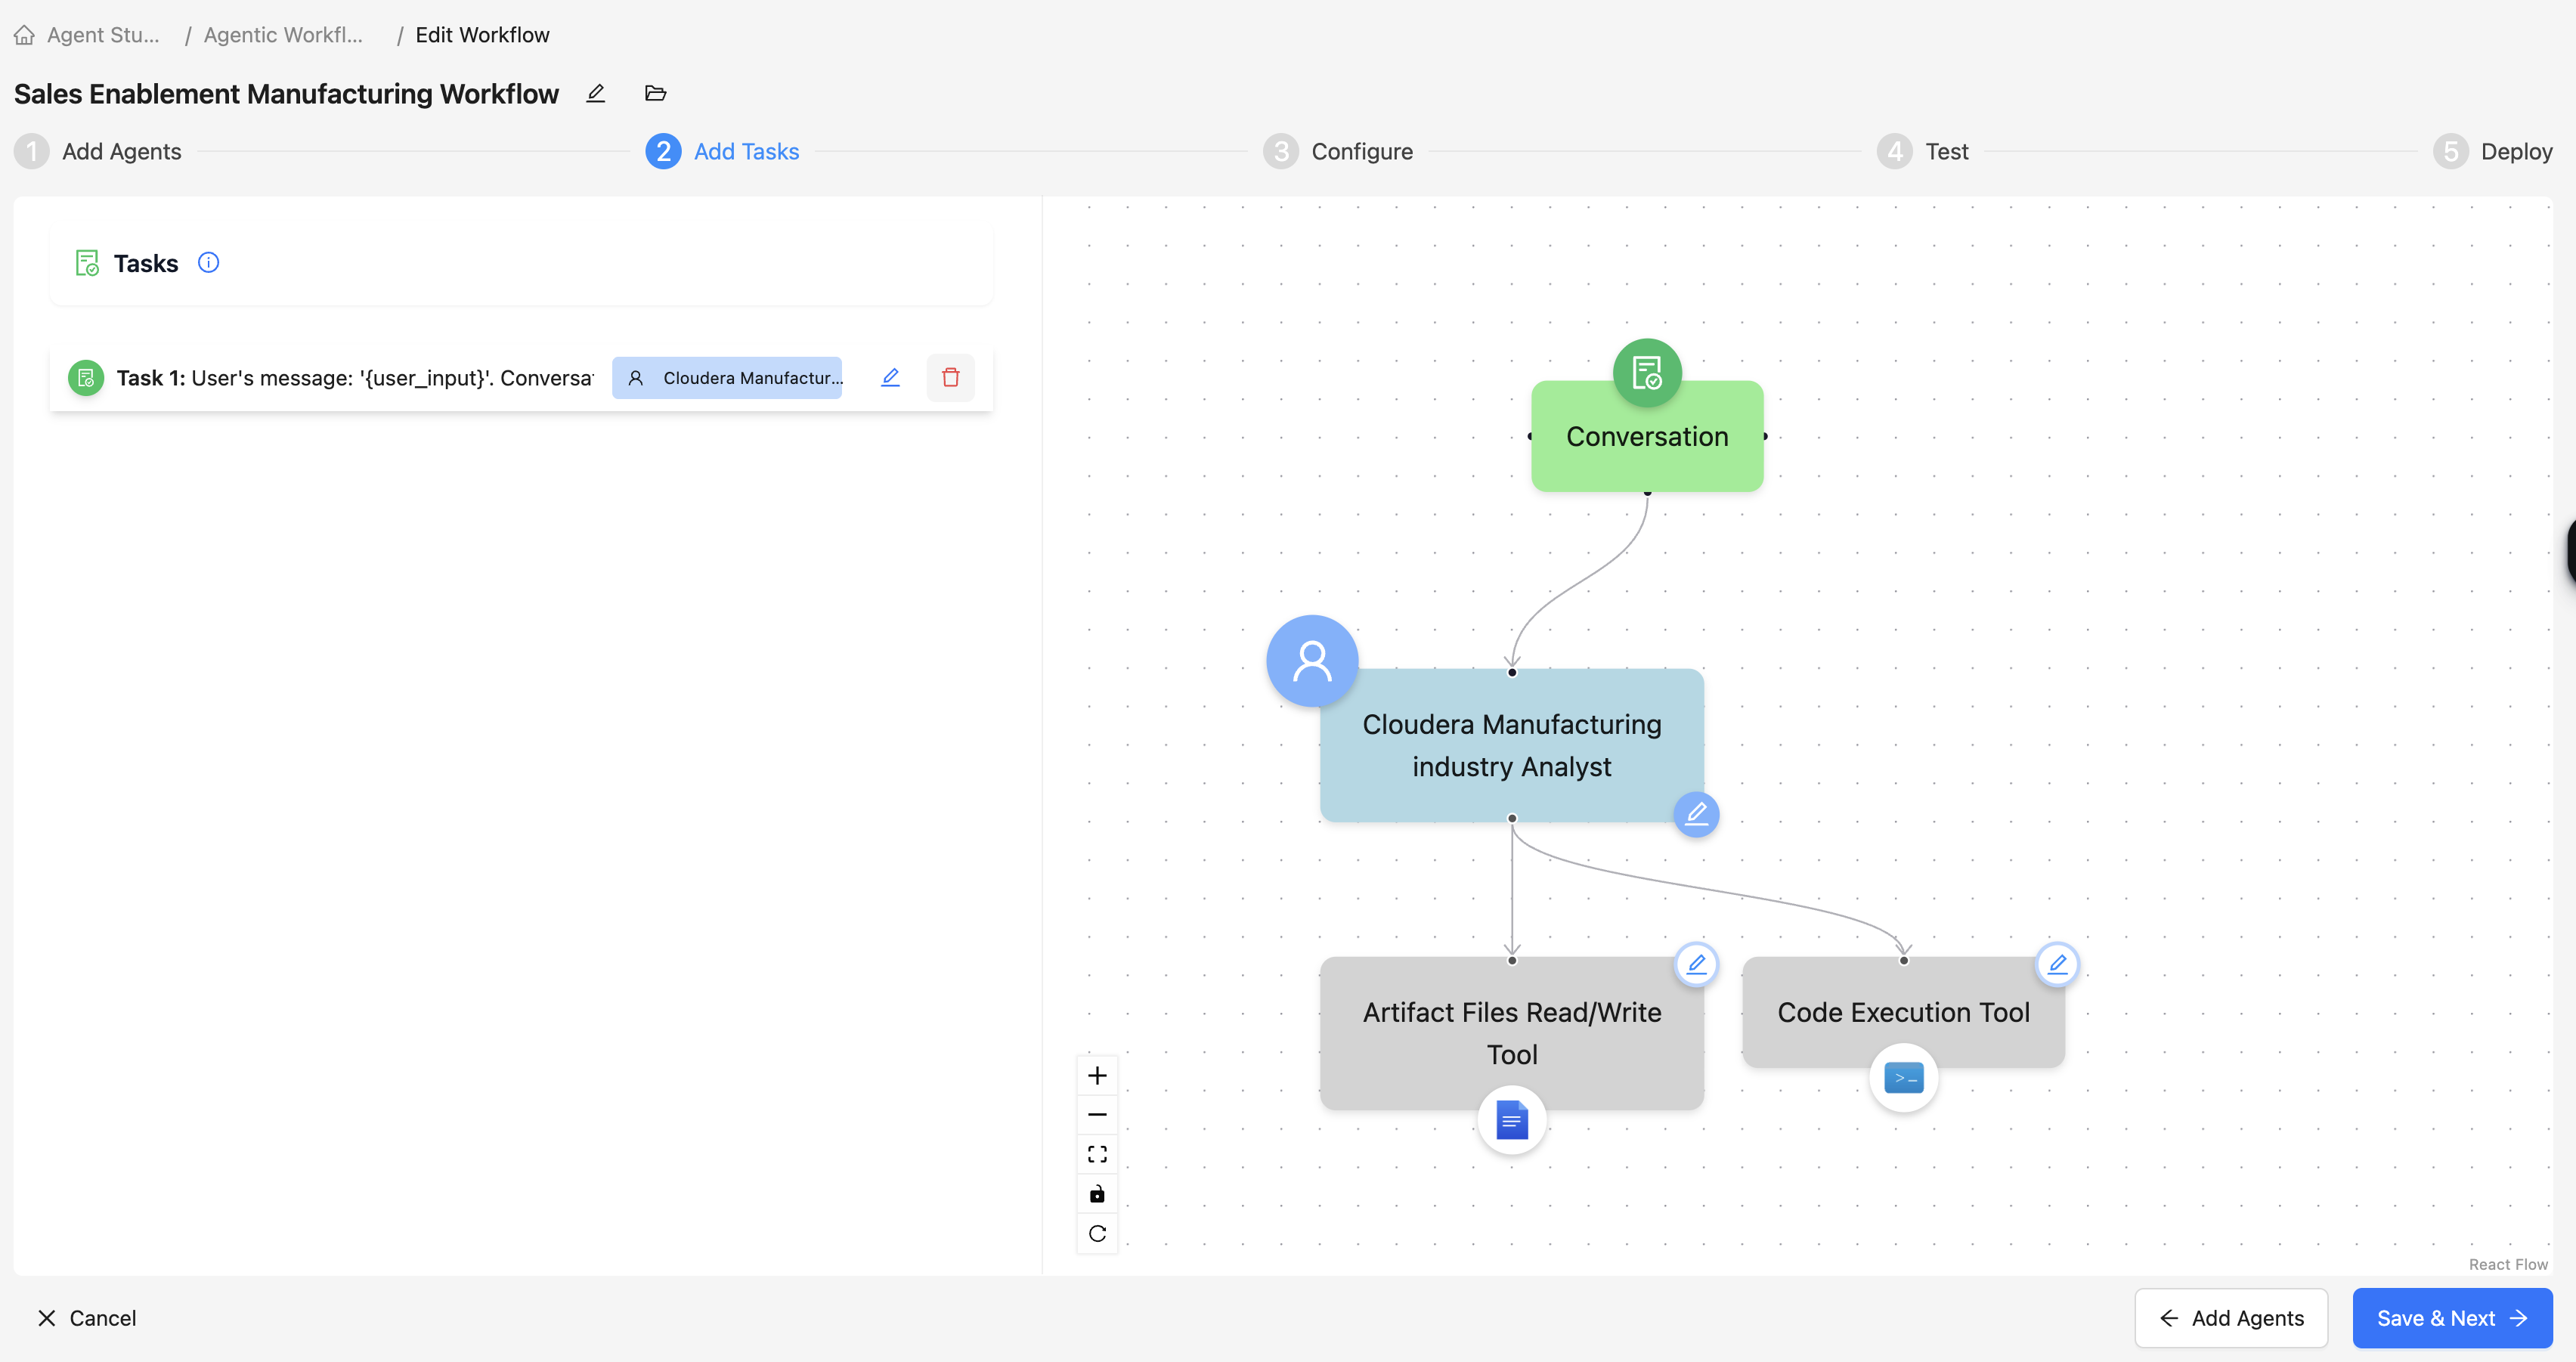
The Add Tasks tab is displayed and the tasks are listed,
as this is a conversational workflow. Figure 1. Add Tasks tab
Click on Save & Next.
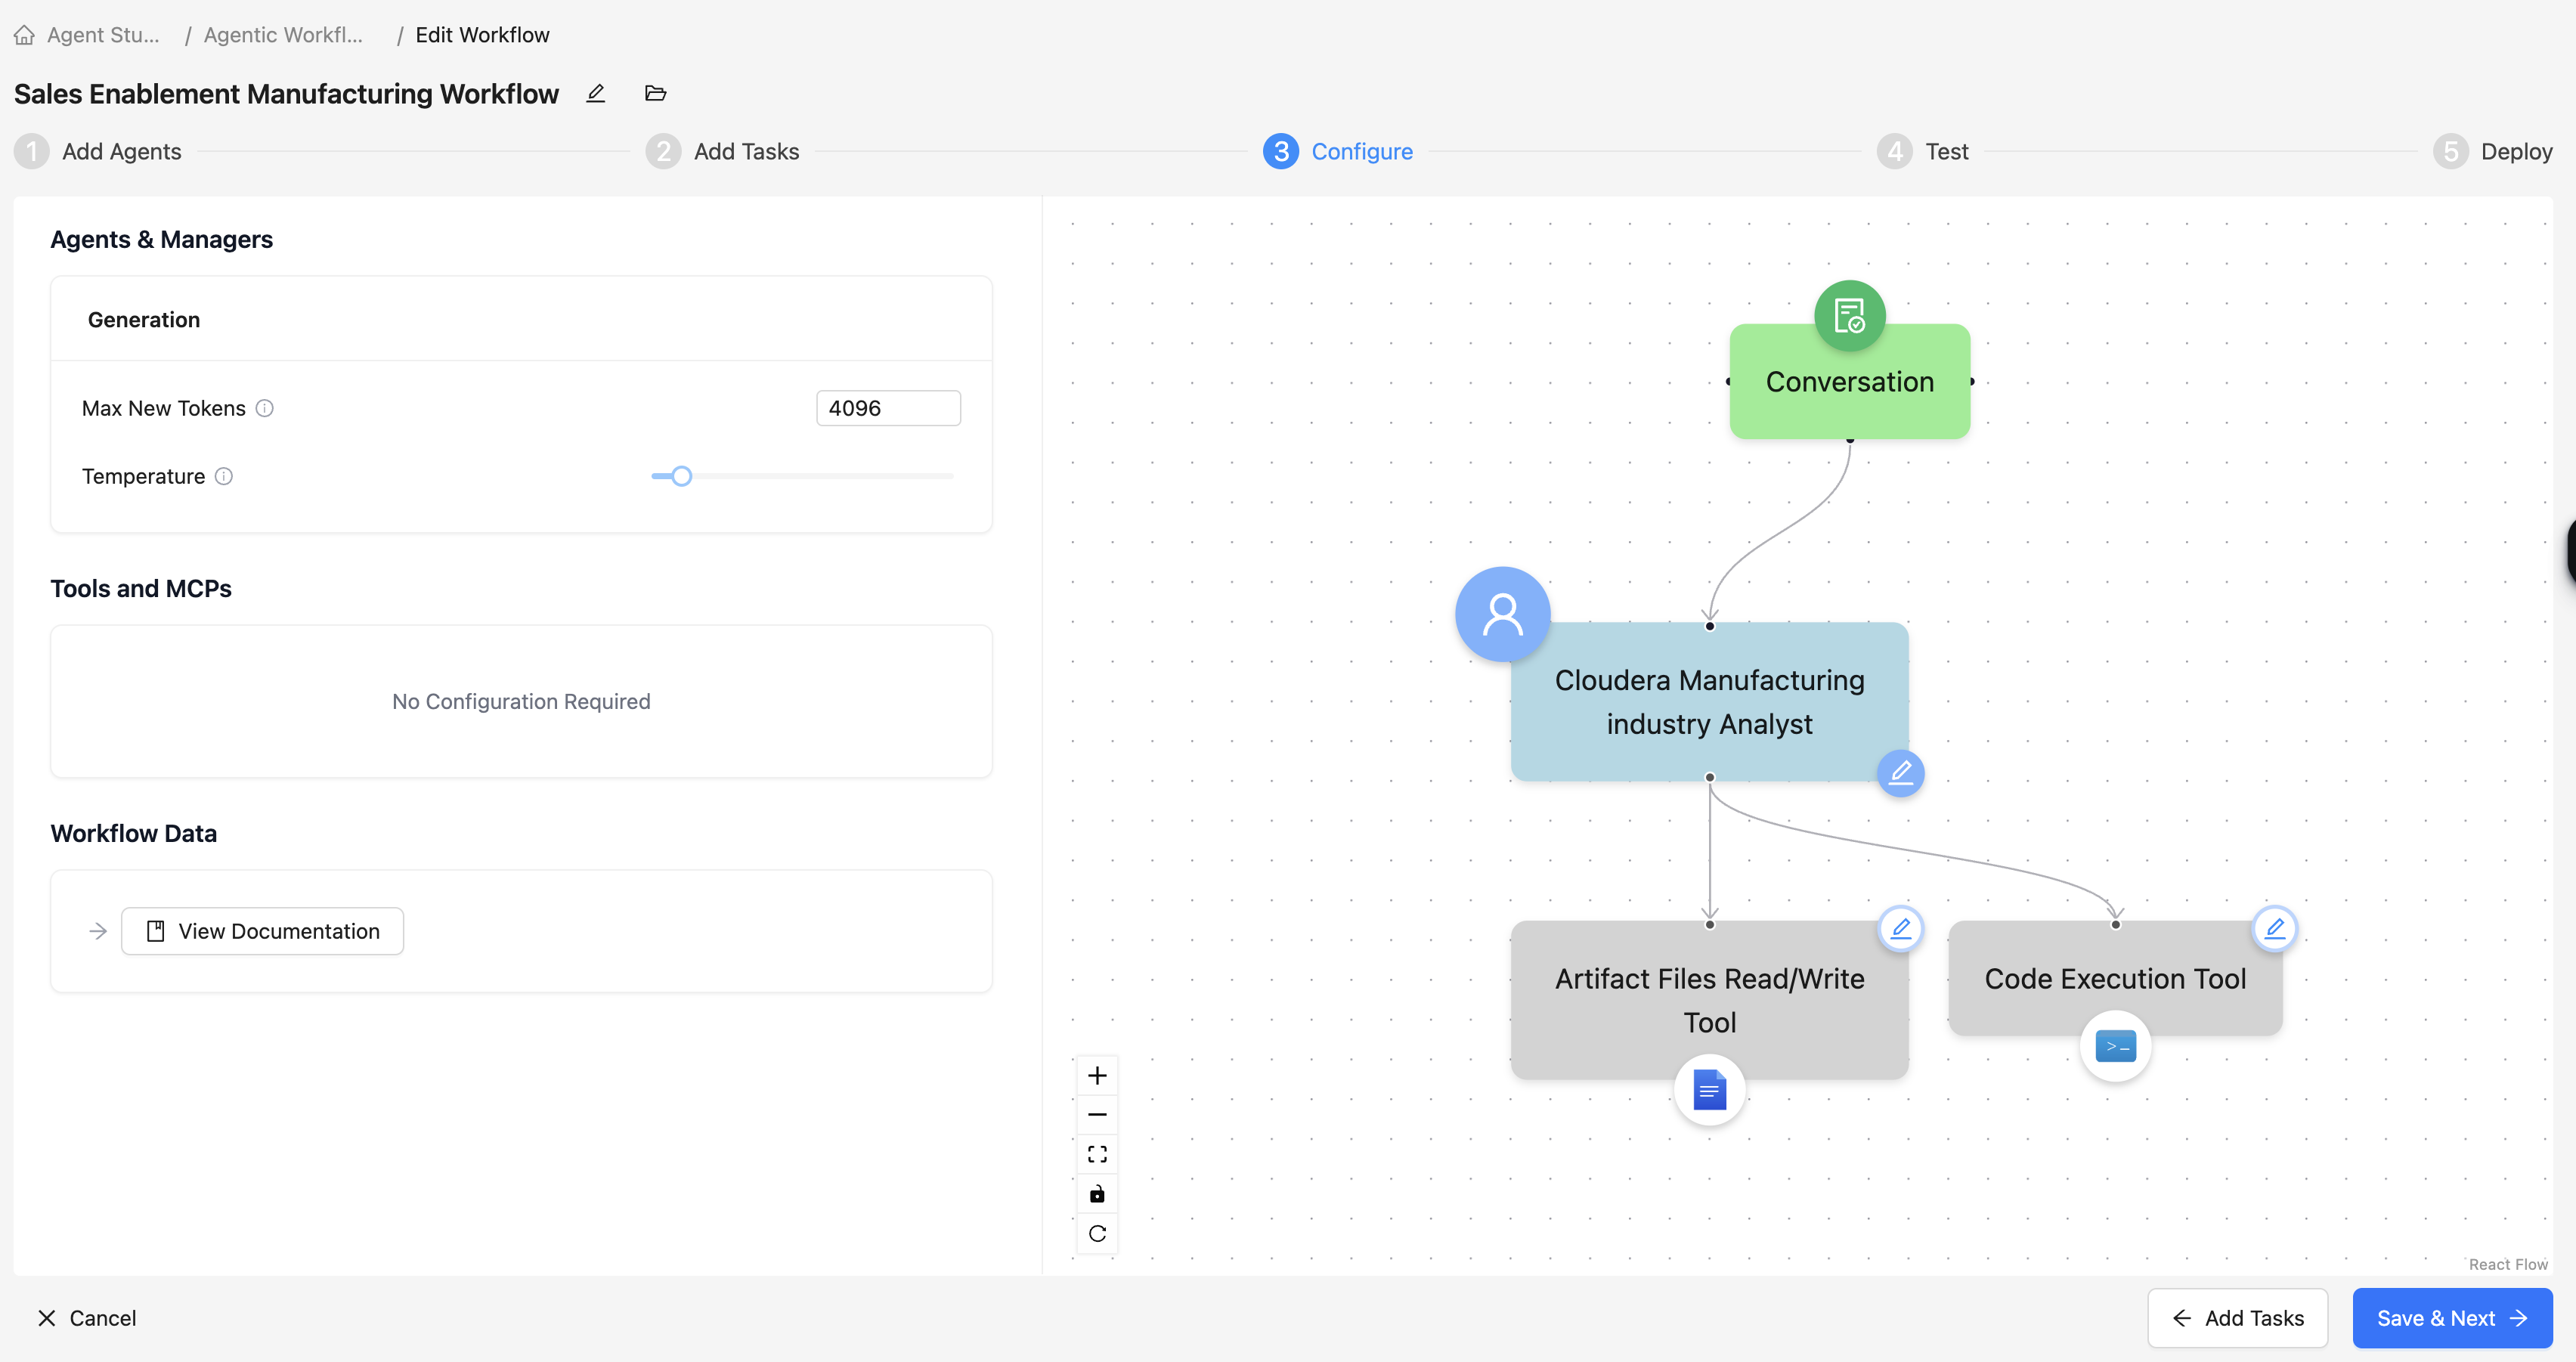
The Configure tab is displayed.Figure 2. Configure tab
Set the following in the Configure tab:
Set the Max New Tokens parameter to 4096.
This value represents the maximum number of new tokens the agents can
generate during LLM calls.
Set the Temperature parameter to 0.1.
The temperature controls the variability or creativity in the agent
responses generated by the LLM. A higher temperature value results in
more diverse and creative responses. A lower temperature value results
in less varied and more deterministic responses.
Click on Save & Next.
The Test tab is displayed.
CLick on Run Workflow.
The workflow runs and the results are displayed.
Click Save & Next.
The Deploy tab is displayed.
Click Deploy.
The deployment of the workflow is initiated.
Go to the Agentic Workflow homepage to view the
deployed workflow
Click the Save Template button to create a
reusable template of the workflow. This template can serve as a
reference for future use.
(Optional) Click the Test button to return to
the previous page and retest the workflow.
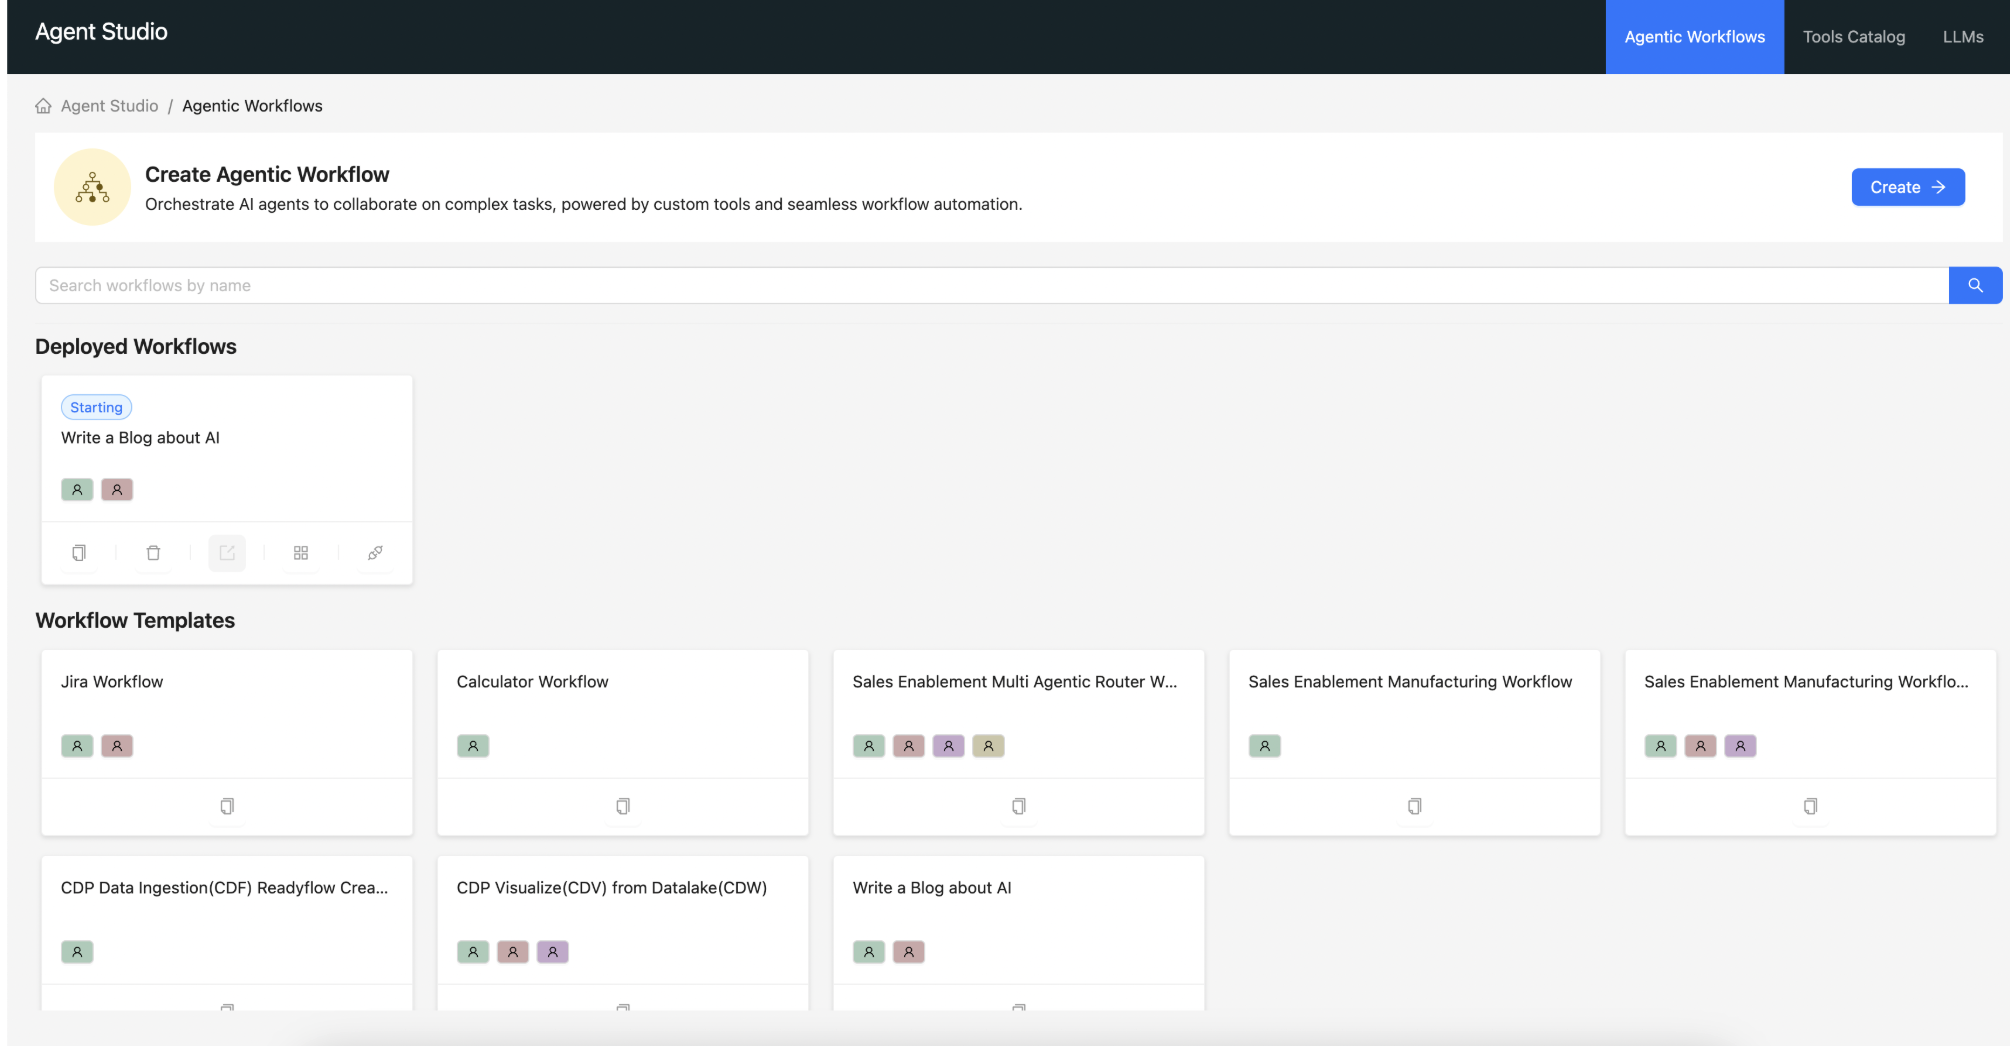
The deployed workflow is displayed in the Agentic
Workflows page.Figure 3. Deployed workflow