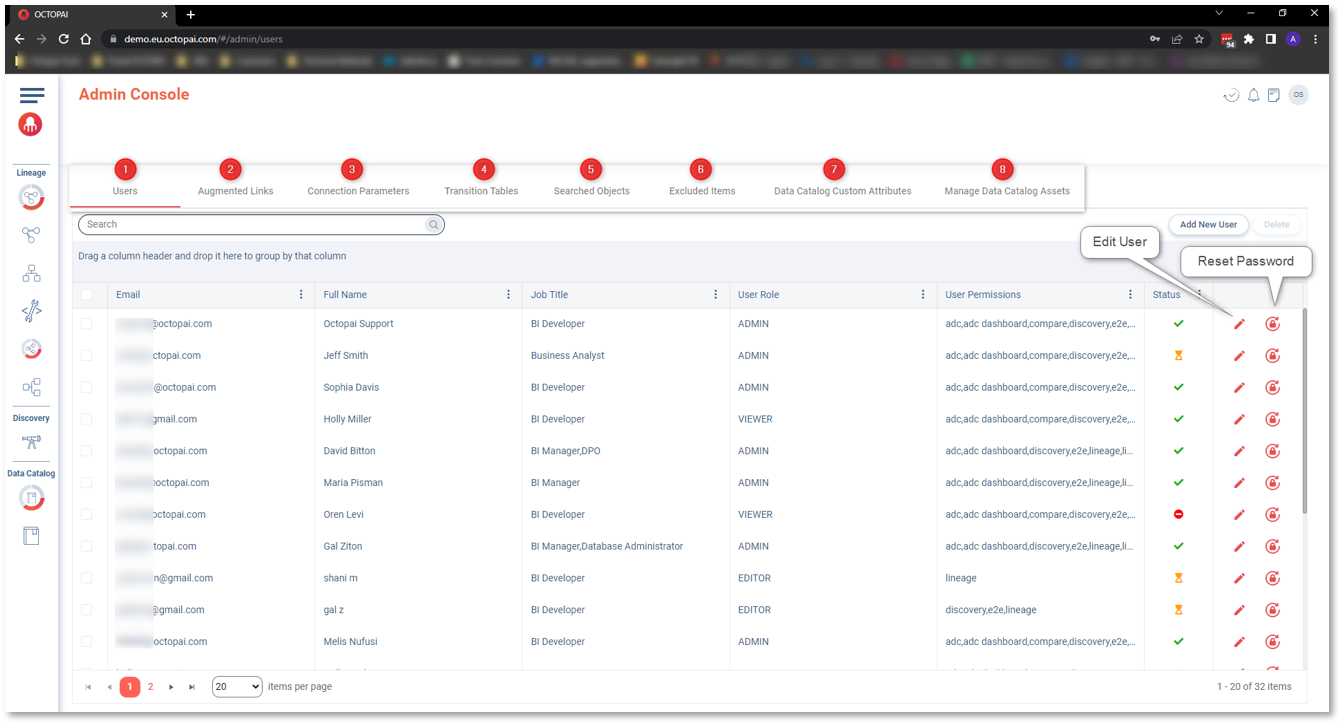
Admin Console is the central location where administrators can configure settings and
manage the platform.
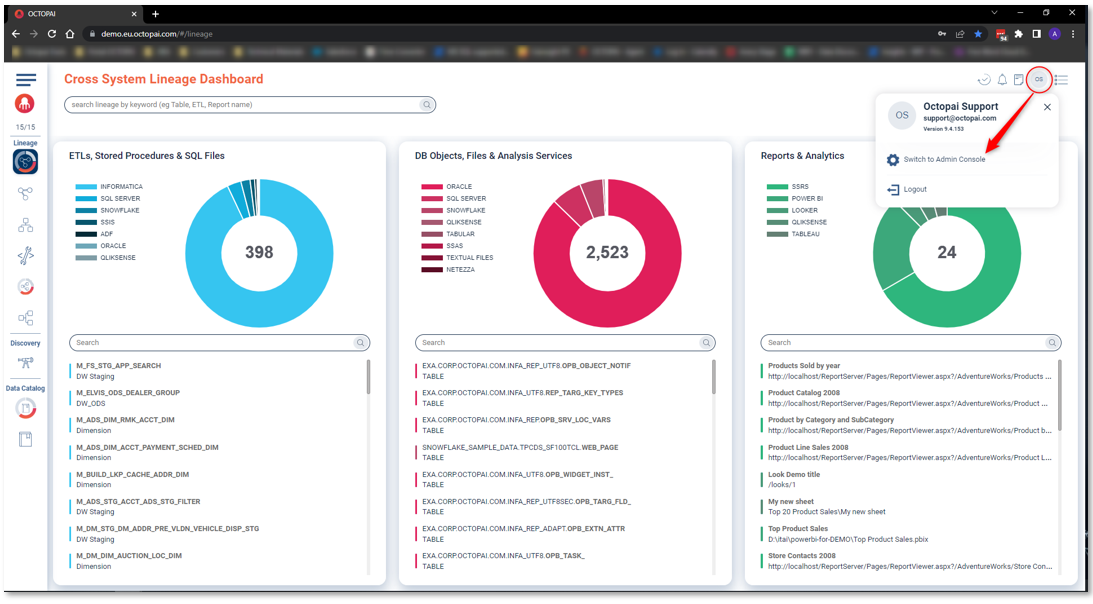
You can access the Admin Console by clicking on the avatar icon. You can leverage Admin
Console features to streamline user management, configure system settings, manage metadata,
and gain valuable insights.
You can create users manually by
performing the following steps:
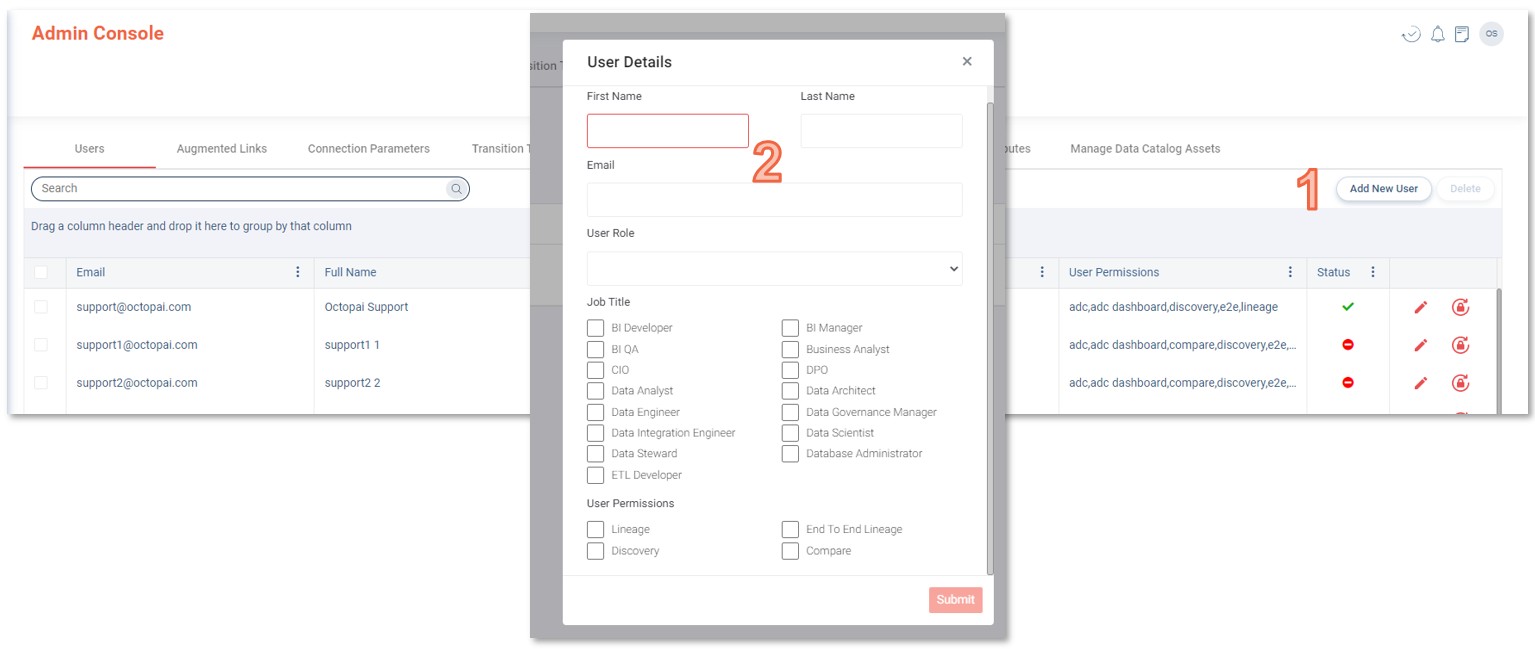
Click Add a New User.
Fill in the fields in the User Details model window. The
following fields are mandatory:
First Name
Last Name
Email
User Role – Can be Admin,
Editor, or Viewer.
Job Title – You can choose only one.
Click Submit.
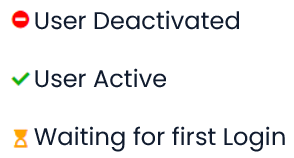
Users can have the following statuses:The new user will receive an automatic notification email.
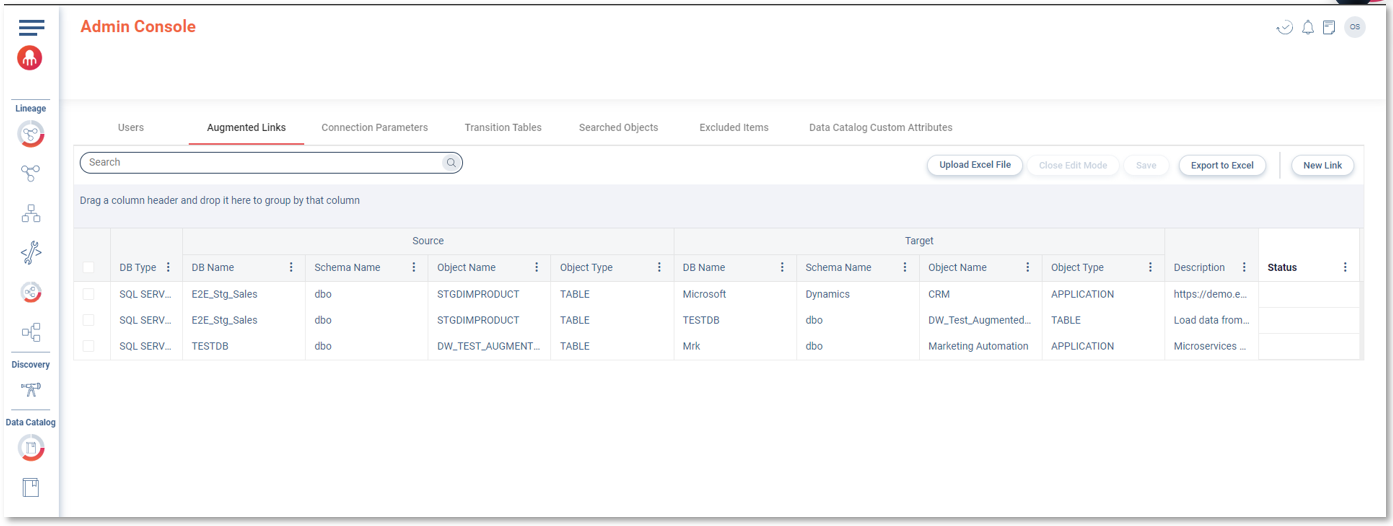
Augmented Links
Add Database metadata from your
systems into Cloudera Octopai Data Lineage to get the full picture,
completing the cross system lineage.Figure 3. Augmented Links tab in Admin ConsoleFigure 4. Cross system lineage example
For more information about this capability, see Augmented Links.
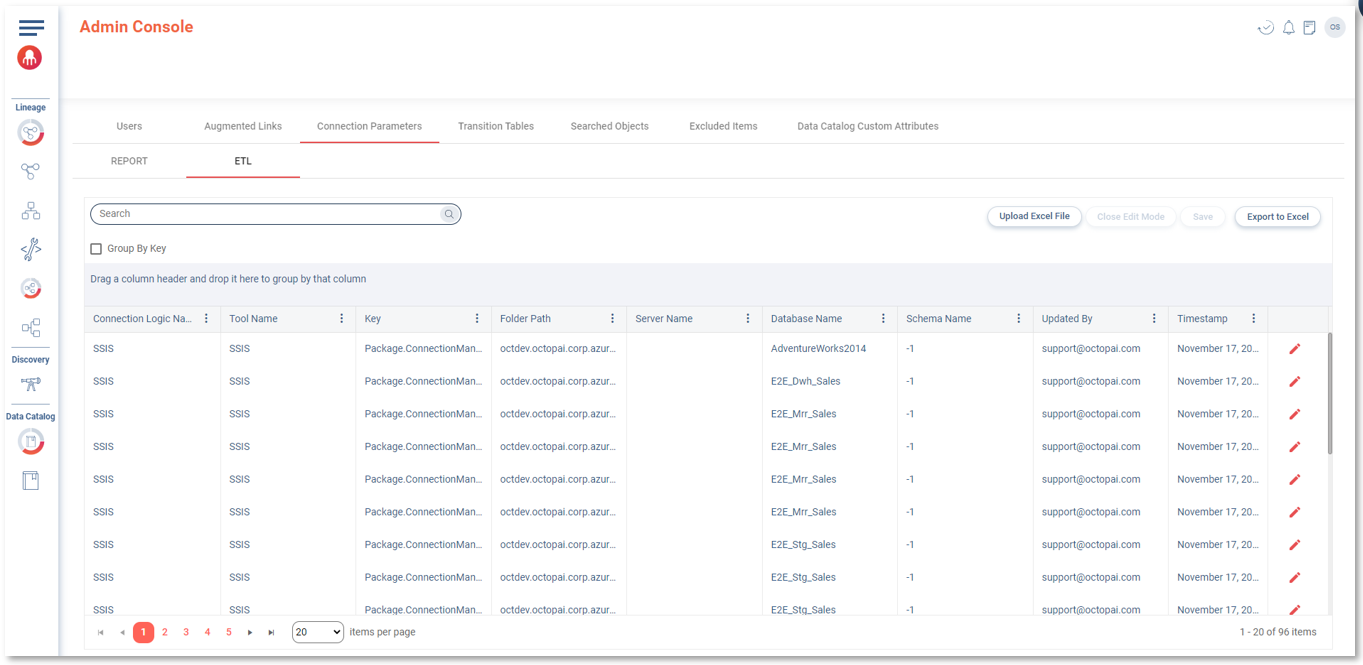
Connection Parameters
Cloudera Octopai helps address broken lineages by providing tools
and functionalities to analyze and repair them. By leveraging metadata relationships and
lineage information, Cloudera Octopai identifies and resolves
gaps in data lineages. It assists users in tracing the missing connections, identifying
the causes of lineage breaks, and restoring the lineage flow.
Through a
combination of automated processes, manual interventions, and intelligent algorithms,
Cloudera Octopai helps reconstruct accurate data lineages.
This enables data professionals to regain visibility into data flow, understand
dependencies, and ensure data integrity throughout their systems.Figure 5. Connection Parameters tab in Admin Console
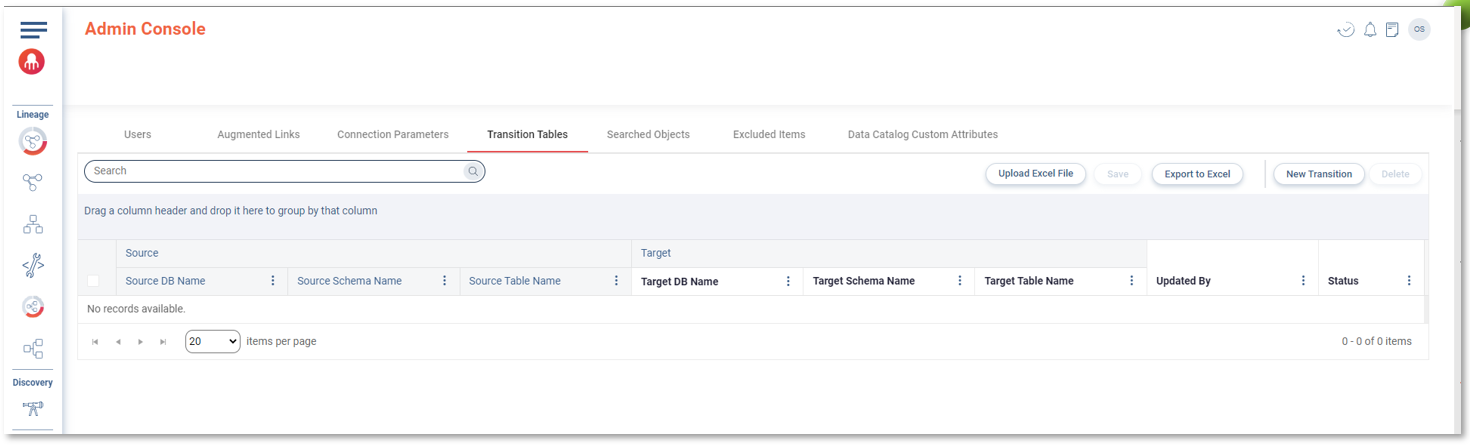
Transition Tables
Cloudera Octopai facilitates the use of the EXCHANGE
PARTITION command to swap tables and implement bulk loads for partitioned
tables. It also establishes connections between two tables, recognizing ETL processes
that write to the source table and reflecting the same connection in the
Transition Table tab.Figure 6. Transition Tables tab in Admin Console
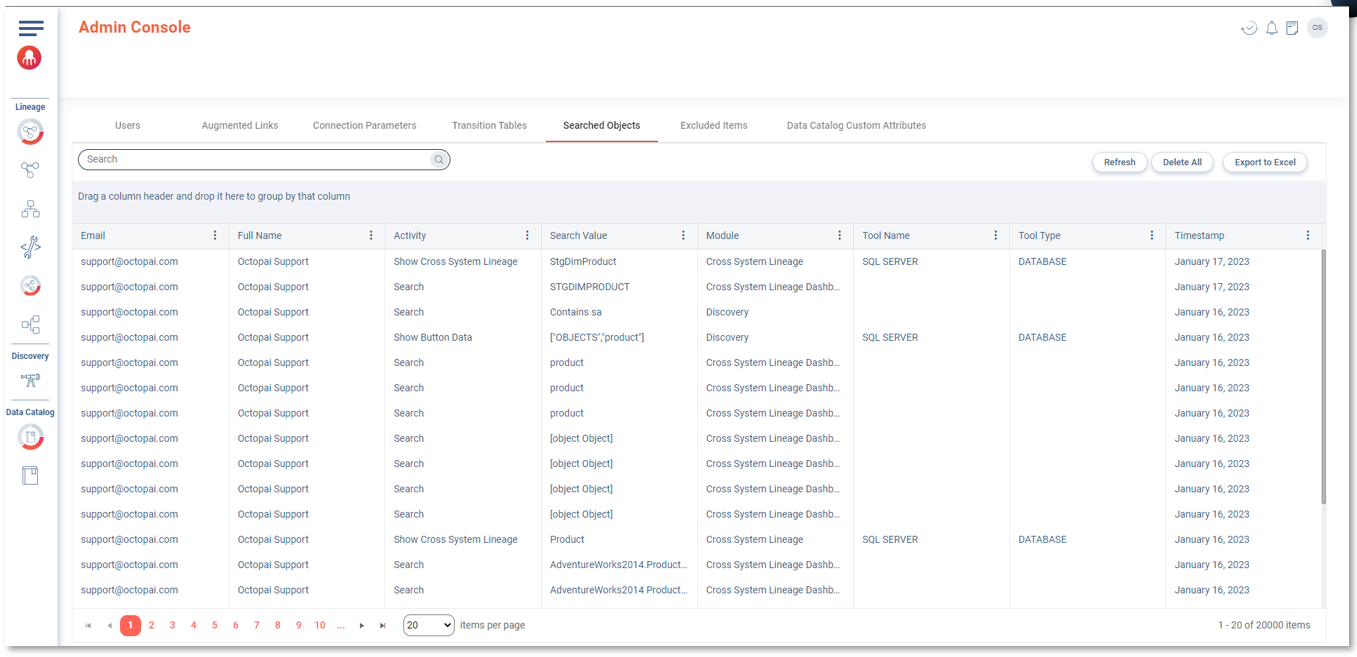
Searched Objects
Cloudera Octopai collects user search statistics for analysis and
insights.Figure 7. Searched Objects tab in Admin Console
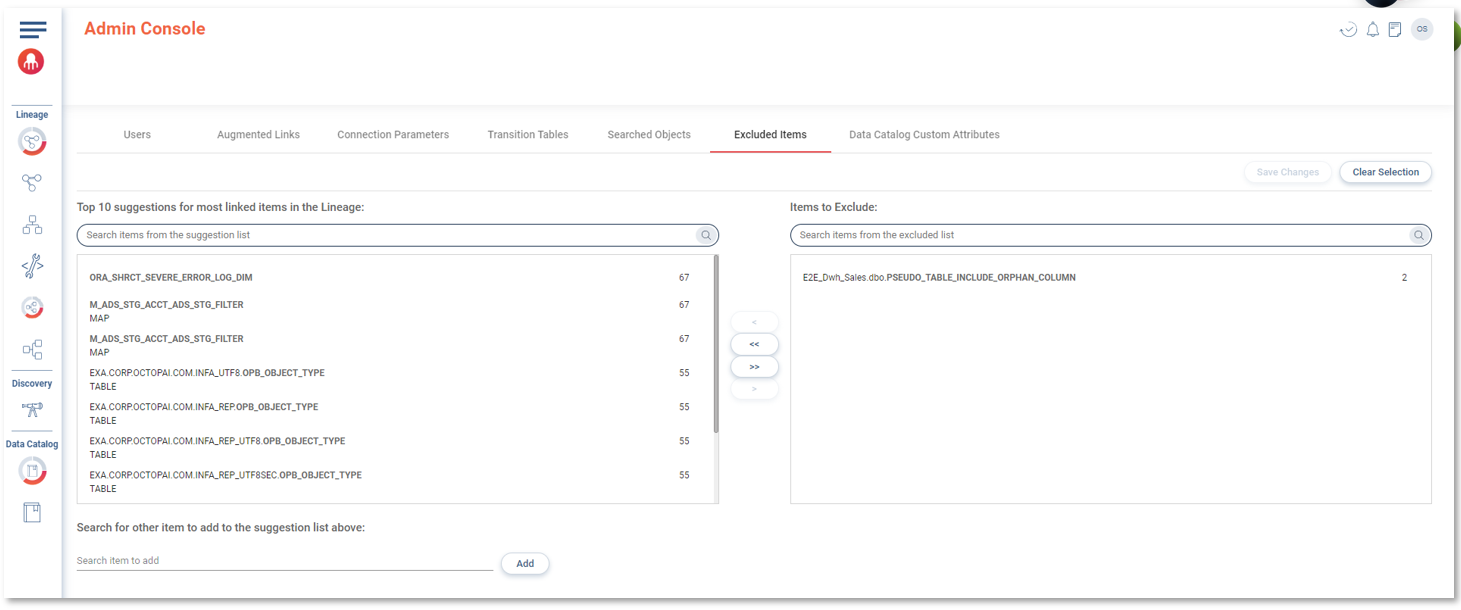
Excluded Items
Cloudera Octopai allows for excluding specific data objects from lineages. Objects such as logs and
synonyms can be excluded from lineage display, simplifying the visualization and
providing a cleaner representation. The aim is to streamline the lineage and enhance its
visual clarity.Figure 8. Excluded Items tab in Admin Console
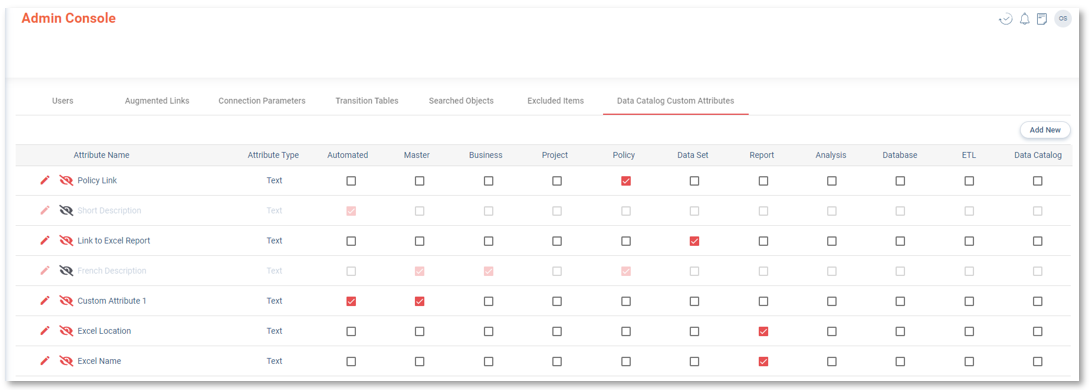
Knowledge Hub Custom Attributes
Administrators can
create and manage additional attributes in the Knowledge Hub Custom
Attributes tab. Administrators can perform the following actions:
Create a new attribute.
Select the applicable asset types by checking the relevant checkboxes. Assets
generated through automation are grouped in the Automated
column.
Edit the attribute name.
Sort the attributes using a simple drag-and-drop interface.
Hide attributes.
Users can access and view the details of the additional attributes in the
Overview tab of the Catalog, within the
Properties section.Figure 9. Data Catalog Custom Attributes tab in Admin Console
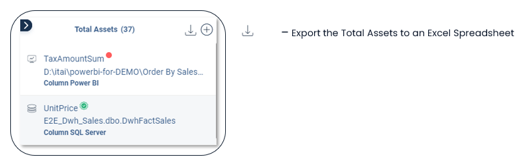
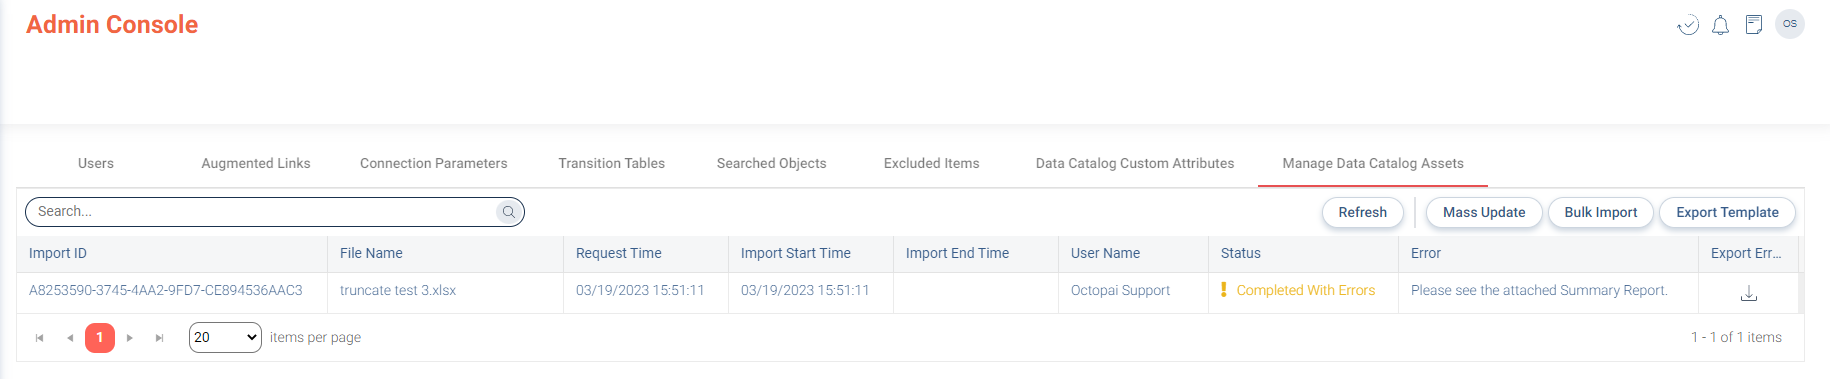
Manage Knowledge Hub Assets
Administrators can update
assets in bulk by importing the same template spreadsheet that was exported from the
Total Assets section. This functionality allows for efficient and
streamlined updates to multiple assets simultaneously.Figure 10. Total Assets sectionFigure 11. Manage Data Catalog Assets tab in Admin Console