Admin User - Cloudera Octopai Client
With the Cloudera Octopai Client, you are able to extract metadata from your tools and upload them to the Cloudera Octopai Cloud.
The Cloudera Octopai Client application consists of the following
sections:
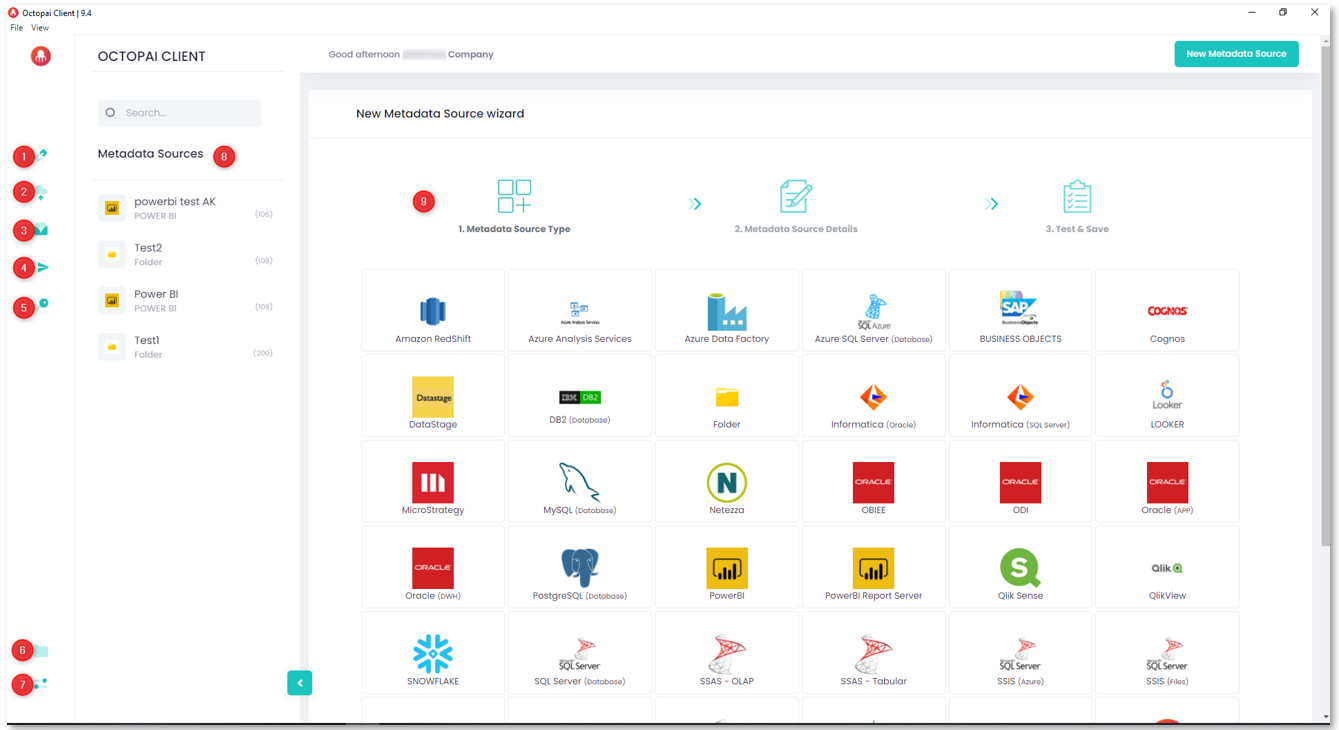
- Metadata SourcesThe main panel contains the out-of-the-box connections in the purchased license.
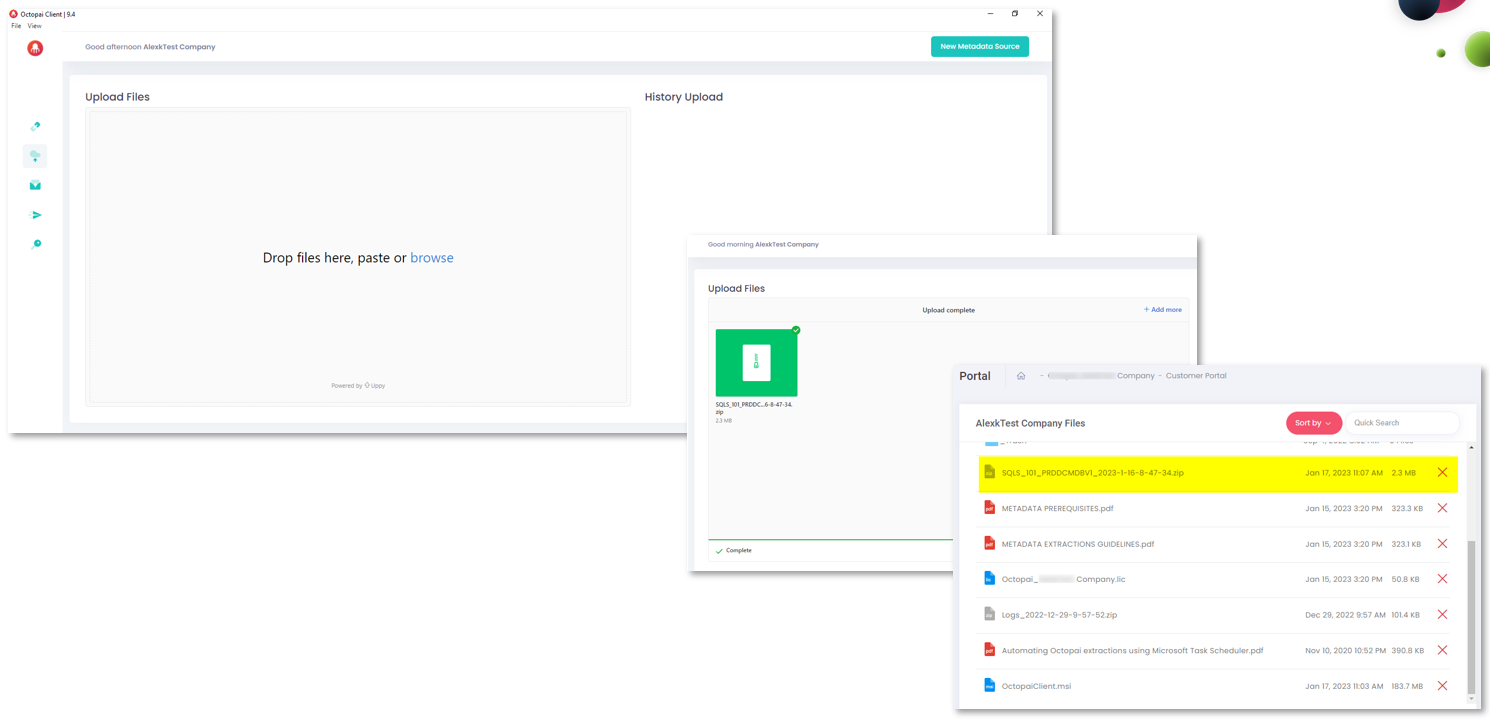
- Upload Files to Cloudera OctopaiUpload files to Cloudera Octopai. Only files in zip format are accepted. When the upload is completed, the files are displayed on your Portal.
- Contact Support
If you need assistance, contact Cloudera Support.
- Send Logs to ClouderaLogs are helpful to solve issues. Click the
 icon to send the last logs to Cloudera to be analyzed by the Support team.
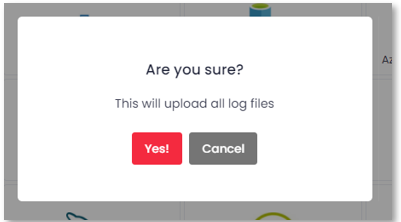
- Update License
After opening the Cloudera Octopai Client for the first time, or after a Version Upgrade, a window to install the license pops up.
Click Click to select the license file to browse for the .lic file and click Open to install the license.
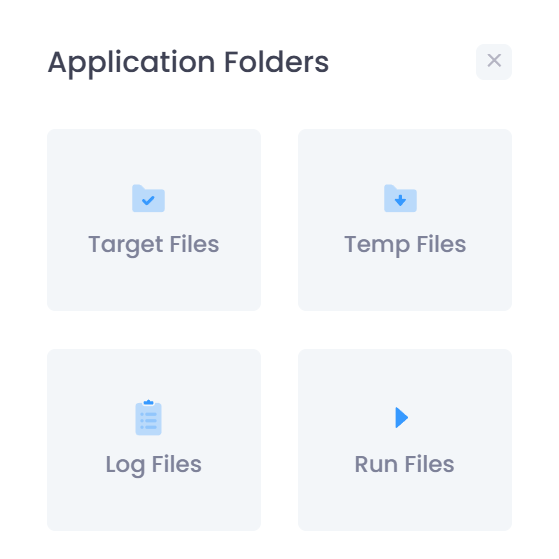
- Application FoldersThe Cloudera Octopai application folders play a crucial role in managing metadata extraction processes and ensuring the quality and integrity of metadata. By providing a structured storage environment, these folders enable users to verify metadata accuracy and address any potential issues. You can find the following folders in Cloudera Octopai Client:
- Target Files – The Target Files folder serves as a repository for the zip files uploaded to Cloudera Octopai.
- Temp Files – During the metadata extraction process, Cloudera Octopai creates temporary files to facilitate data processing and transformation.
- Log Files – Cloudera Octopai generates log files during the metadata extraction process to capture valuable information about the extraction activities.
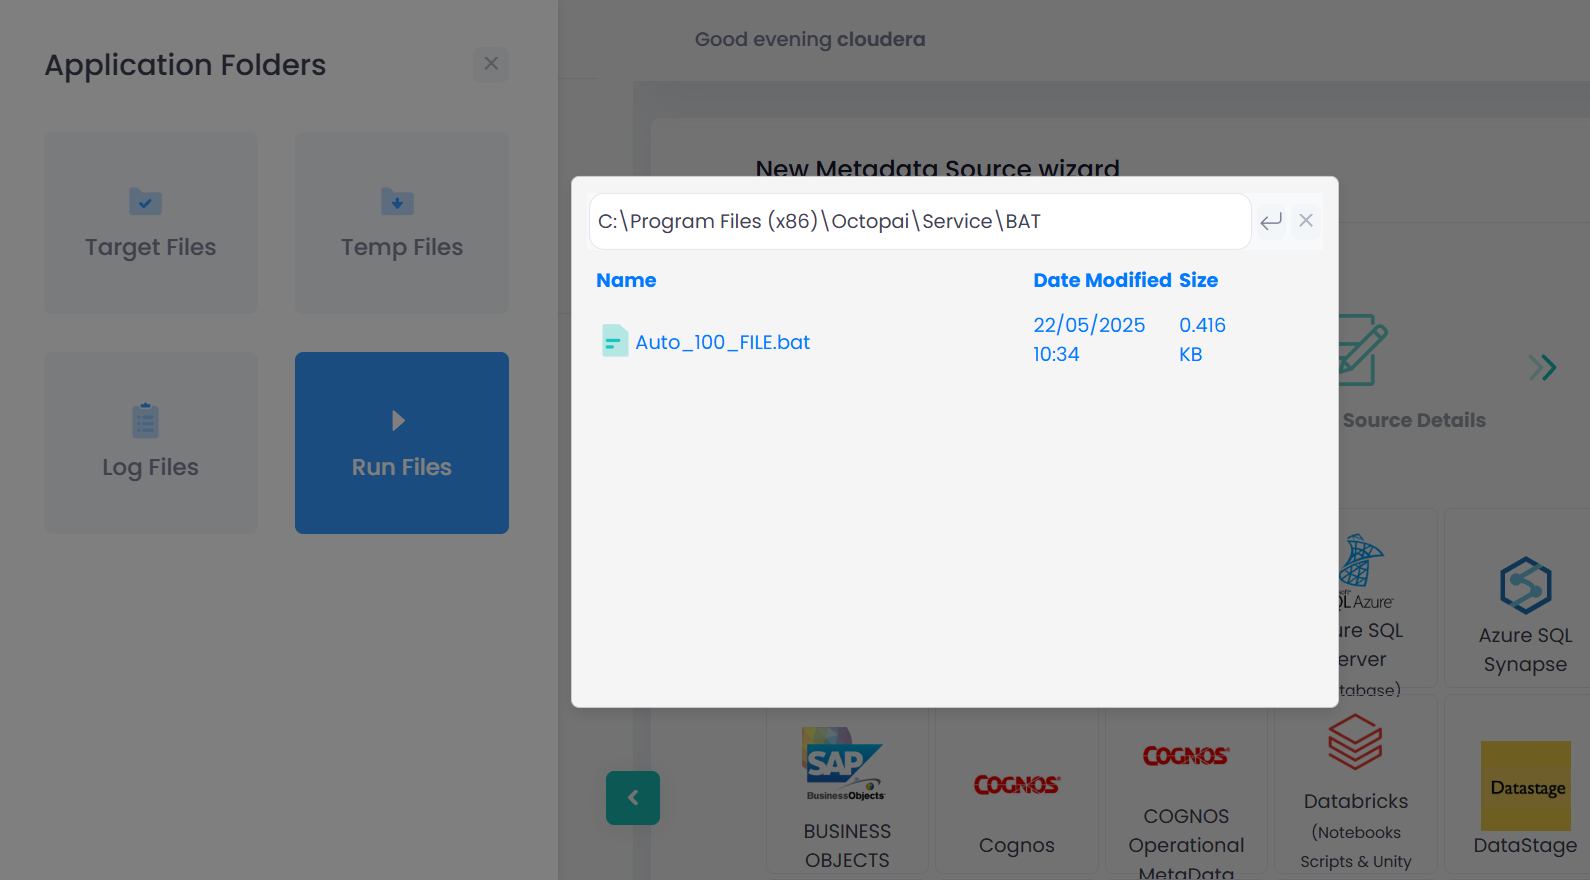
- Run Files – To automate the metadata extraction process, Cloudera Octopai provides Run (bat/sh) files that can be used in conjunction with Microsoft Task Scheduler. For instructions on using Microsoft Task Scheduler, see Automating Octopai metadata extractions with Microsoft Task Scheduler.
- Click Run Files.
- Select the respective Batch or shell script file, depending on your operating
system, to download to your computer for automation activity. Point your scheduler of
choice.
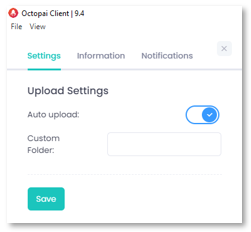
- Information and SettingsYou can see the following tabs in the Information and Settings section:
- The Settings tab defines if the extractions are automatically
uploaded to the Cloudera Octopai Cloud or are done
manually.
Set the Auto Upload to ON to enable the extractions to be automatically transferred to the Cloudera Octopai Cloud.
Set the Auto Upload to OFF to review the files before they are being transferred to the Cloudera Octopai Cloud.
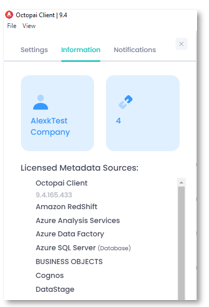
- The Information tab describes the Cloudera Octopai client version installed and the list of
tools in the purchased license.
- The Settings tab defines if the extractions are automatically
uploaded to the Cloudera Octopai Cloud or are done
manually.
- List of ConnectorsIf you create a new connector, it is shown on the Metadata Sources list or List of Connectors. The new source set gets a Connector Number, a common denomination between you and Cloudera Octopai Support.
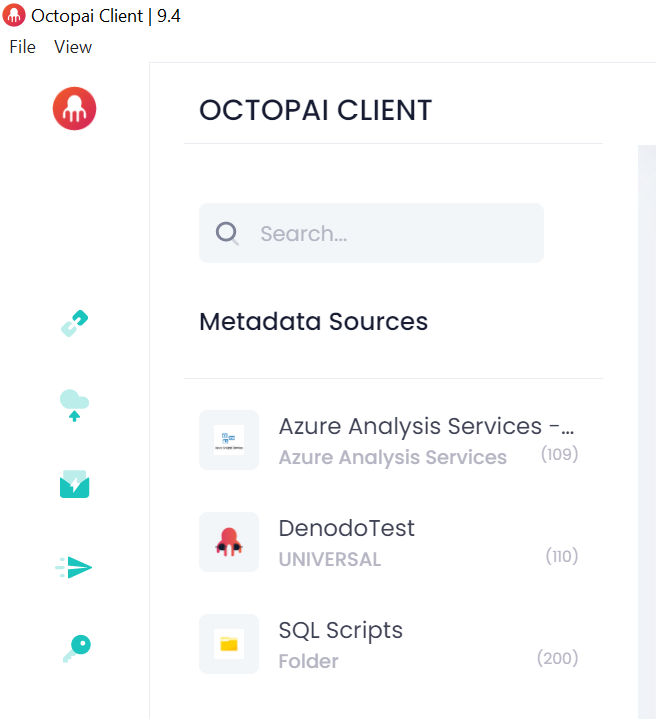
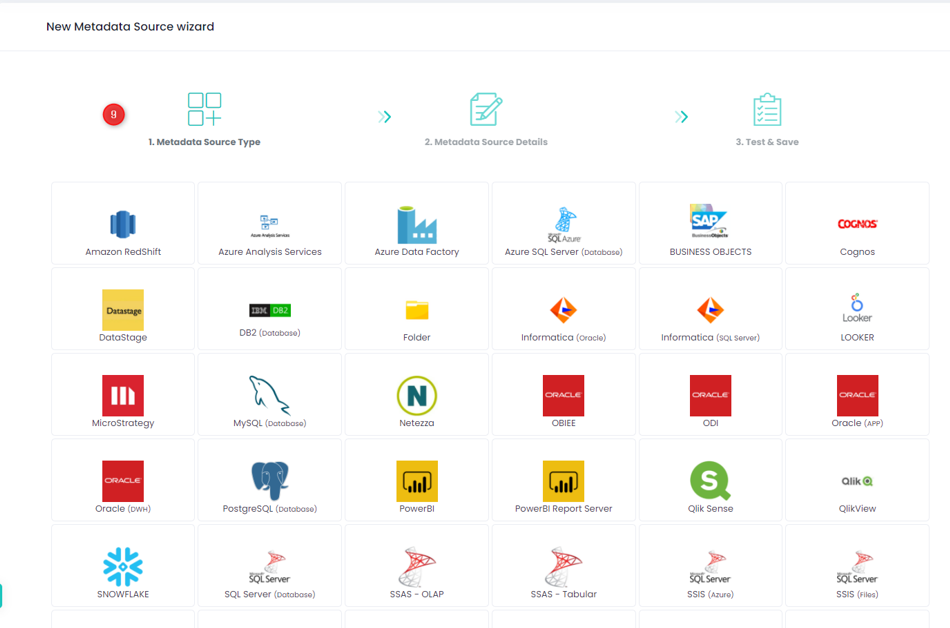
- Tools ListAll the tools purchased to create connectors to extract metadata are displayed in the main pane.