Setting up SSO authentication for Cloudera Octopai Data Lineage using Okta
Learn about setting up SSO authentication for Cloudera Octopai Data Lineage using Okta.
-
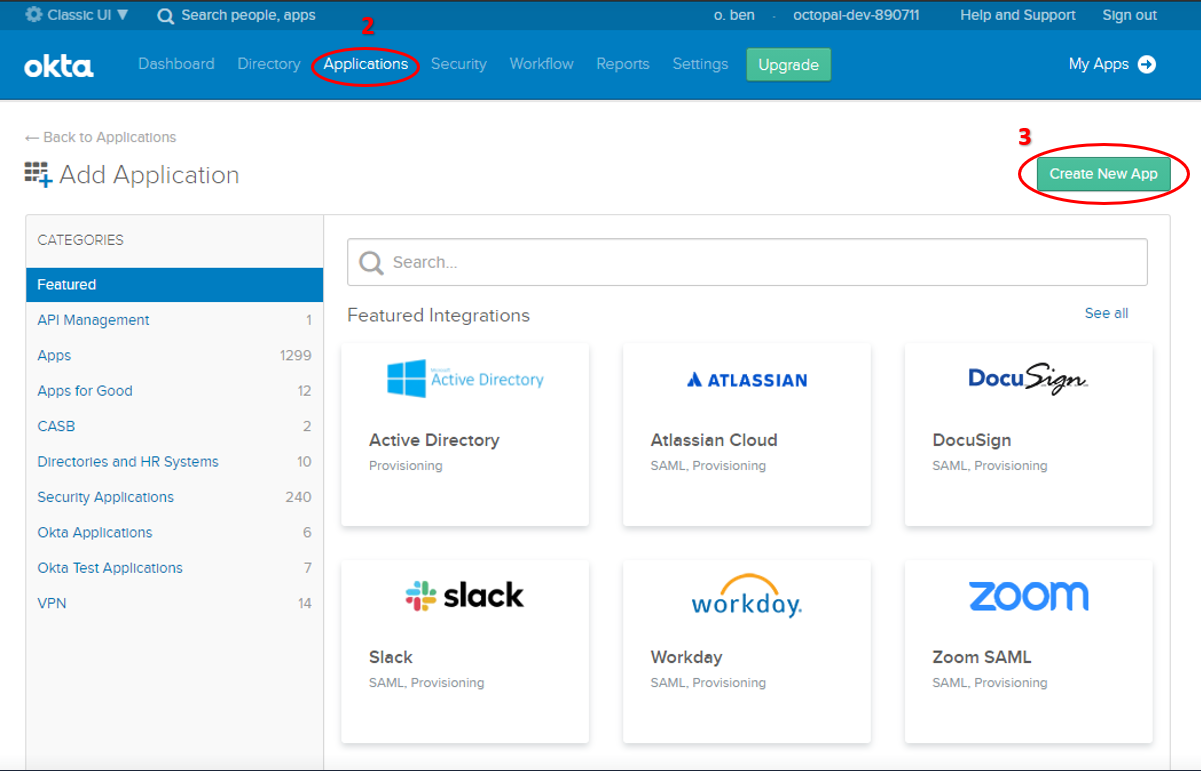
Login to Okta and access Applications
- Login to Okta with the Admin User of your Okta instance.
- Go to the Applications tab in the top menu.
- Click Create New App.
-
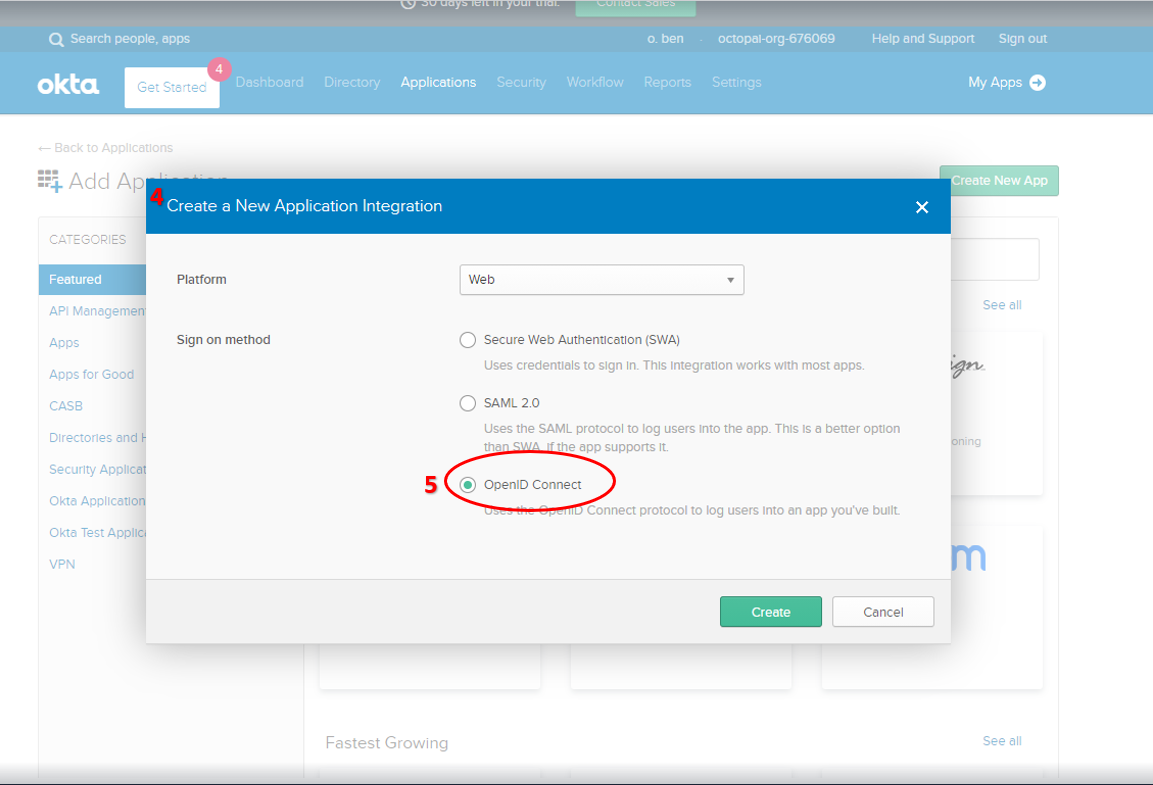
Configure the Application Integration.
- The Create New Application Integration window opens up.
- Select the OpenID Connect sign-on method.
-
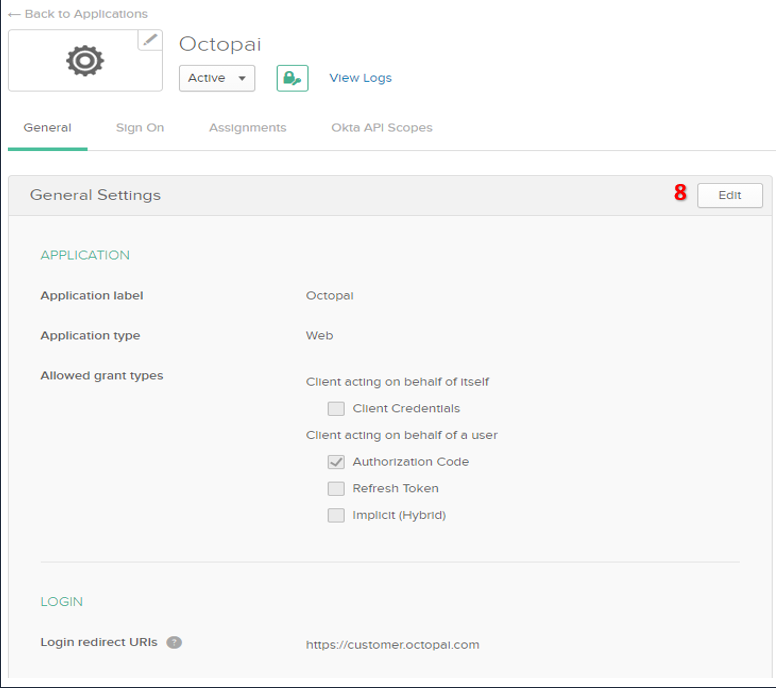
Fill in the Application parameters.

-
Click Edit in the General Settings to edit
the application settings.
-
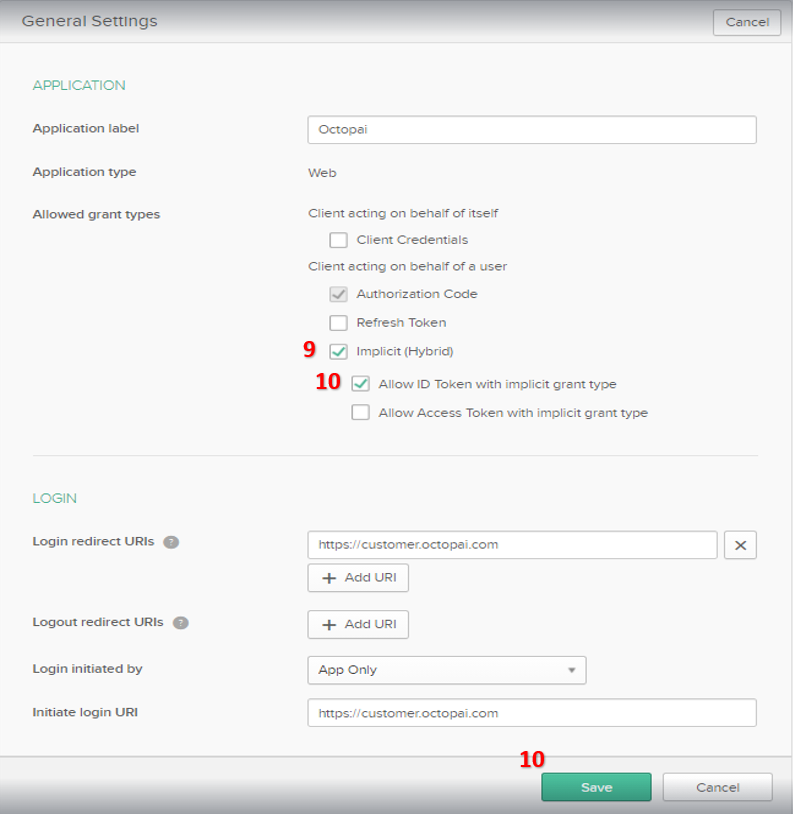
Configure the Grant Type.
- Select the Implicit (Hybrid) checkbox for the Allowed grant type.
- Select the Allow ID Token with implicit grant type checkbox.
- Click Save.
-
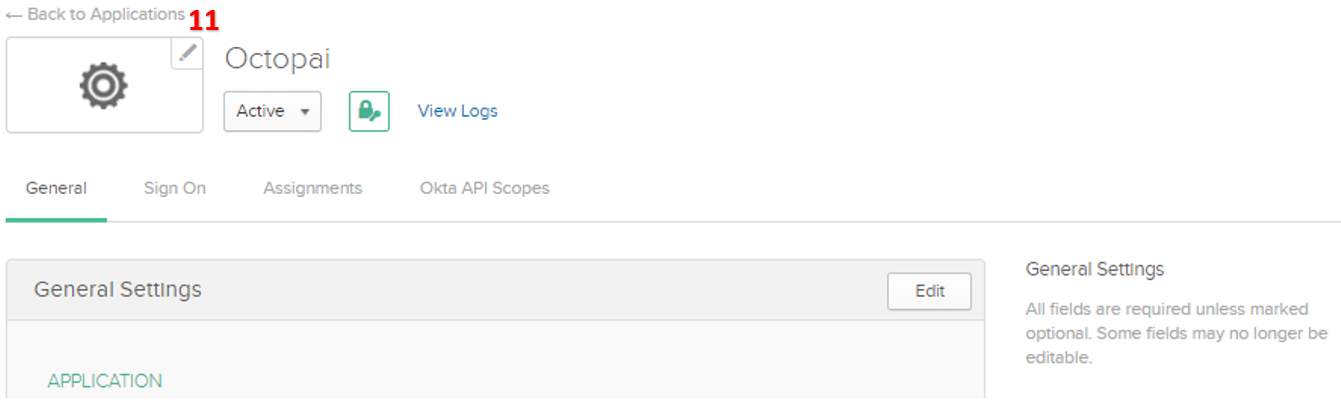
Click ← Back to Applications to return to the
Applications.
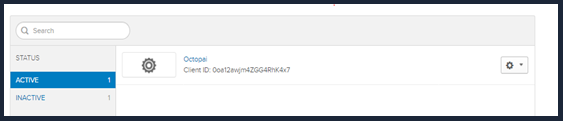
As a final step, send your Cloudera Octopai representative the following details to add Okta SSO to your Cloudera Octopai application authentication:
- Client ID. For more information, see Authorization | Okta
- Okta Redirect URI. For more information, see Authorization | Okta
- Okta Issuer. For more information, see Issuer
- SSO well-known (Metadata URI). This can be found in .