Cloudera Octopai Client - Installation guide
Learn about installing your Cloudera Octopai Client.
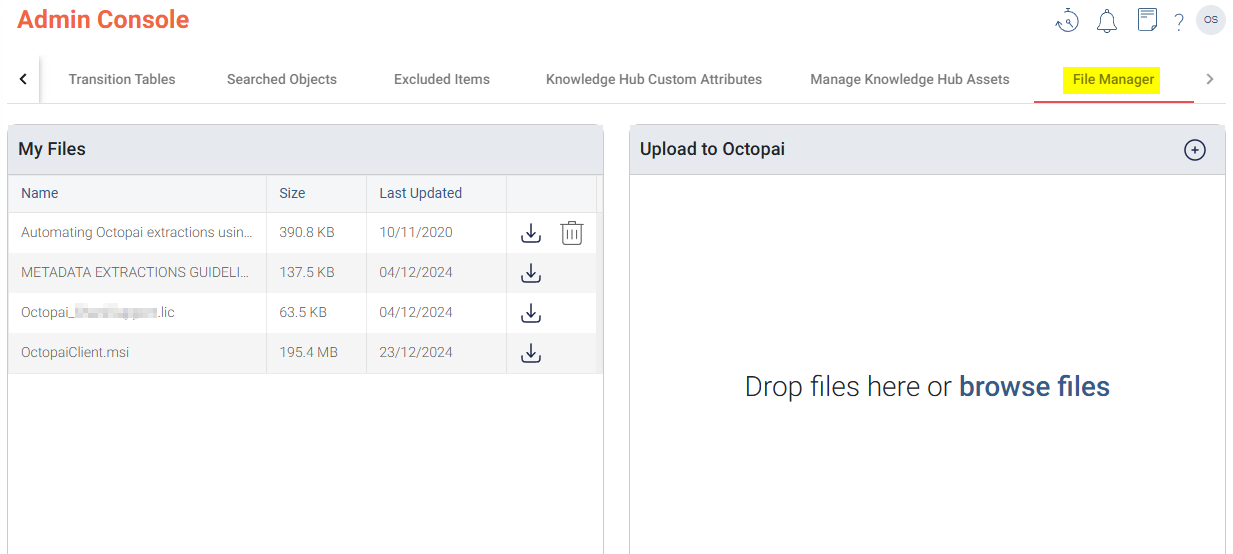
-
On the server, where the Cloudera Octopai Client is installed
or will be installed, go to your platform at
[***CUSTOMER NAME***].octopai.com, then go to the File Manager tab on the Admin Console. -
Download the latest version of the OctopaiClient.msi and the
license files.

- Run the MSI installation file and wait for it to finish.
-
If you aim to run the Cloudera Octopai Client with a dedicated
user or service account, perform the following steps:
- Go to Services.
- Right-click Octopai Agent and select the Properties option.
- Go to the Log On tab and set the user.
-
Grant Full Control permission to the Cloudera Octopai folder
for your dedicated user or group.
- Right-click the folder and select the Properties option.
- Go to the Security tab, and click Edit.
- Choose the user or group and check Full Control.
-
Open the Cloudera Octopai Client.
Choose the license by clicking on the green key or pop-up message.
-
Rerun the necessary or desired connections.
- Click the metadata source connection on the left-hand bar.
- Select Test & Save, click OK, and then click Run.
