Launch Cloudbreak from the quickstart template on GCP
Launch Cloudbreak from an Cloud Deployment Manager template by using the following steps. This is the quickstart deployment option.
 | Note |
|---|---|
As of December 31, 2021, Cloudbreak reached end of
support. For more information, see Support lifecycle policy. Cloudera recommends that
you migrate your workloads to CDP Public Cloud. |
Steps
- Log in to your GitHub account.
- Run the following command to download the following Hortonworks repo onto your computer
and check out the release
branch:
git clone https://github.com/hortonworks/cbd-quickstart
cd cbd-quickstart
git checkout 2.9.0
You may see a message similar to the following:
Note: checking out '2.9.0'. You are in 'detached HEAD' state. You can look around, make experimental changes and commit them, and you can discard any commits you make in this state without impacting any branches by performing another checkout. If you want to create a new branch to retain commits you create, you may do so (now or later) by using -b with the checkout command again. Example: git checkout -b <new-branch-name> HEAD is now at c243249... Updated CBD versions in templates to 2.9.0 - On your computer, browse to the
cbd-quickstart/gcp. - Open the vm_template_config.yaml file in a text editor.
- Edit the file by updating the property values:
 Note
NoteDo not edit any other parameters in the vm_template_config.yaml file.
Parameter Description Default region Enter the GCP region in which you would like to launch Cloudbreak. You can launch Cloudbreak and provision your clusters in all regions supported by GCP. us-central-1 zone Enter the GCP region’s zone in which you would like to launch Cloudbreak. You can launch Cloudbreak and provision your clusters in all regions supported by GCP. us-central1-a instance_type Enter the VM instance type. n1-standard-4 ssh_pub_key Paste your SSH public key enclosed in quotation marks ("..."). "You need to set the SSH_KEY environment variable" os_user Enter the name of the user that you would like to use to SSH to the VM. cloudbreak user_email Enter the email address that you would like to use to log in to Cloudbreak. admin@cloudbreak.com user_password Enter the password that you would like to use to log in to Cloudbreak. cloudbreak service_account_email Enter the email for the service account created in prerequisites. You need to set the GCP_ACCOUNT_EMAIL environment variable - Save the changes on your local machine.
- Run the following command to create a new
deployment:
gcloud deployment-manager deployments create cbd-deployment --config=/[$path-to-file]/cbd-quickstart/gcp/vm_template_config.yamlFor example:
gcloud deployment-manager deployments create cbd-deployment --config=/Users/testuser/Documents/cbd-quickstart/gcp/vm_template_config.yaml - Once your deployment has finished, you will see the
following:
gcloud deployment-manager deployments create cbd-deployment --config=/Users/testuser/Documents/cbd-quickstart/gcp/vm_template_config.yaml Waiting for create operation-1527749967574-56d7b021f73f1-773609ee-060d4332...done. Create operation operation-1527749967574-56d7b021f73f1-773609ee-060d4332 completed successfully. NAME TYPE STATE ERRORS INTENT cbd-deployment-default-route-1 compute.v1.route COMPLETED [] cbd-deployment-network compute.v1.network COMPLETED [] cbd-deployment-startup-config runtimeconfig.v1beta1.config COMPLETED [] cbd-deployment-startup-waiter runtimeconfig.v1beta1.waiter COMPLETED [] cbd-deployment-subnet compute.v1.subnetwork COMPLETED [] cbd-deployment-vm compute.v1.instance COMPLETED [] firewall-cbd-deployment compute.v1.firewall COMPLETED [] OUTPUTS VALUE deploymentIp 35.224.36.96 - The last output should be the the deploymentIp. Copy the IP address and paste it in the browser so that you can log in to the Cloudbreak web UI.
- Paste the link in your browser’s address bar.
- Confirm the security exception to proceed to the Cloudbreak web
UI.The first time you access Cloudbreak web UI, Cloudbreak automatically generates a self-signed certificate, due to which your browser warns you about an untrusted connection and asks you to confirm a security exception.
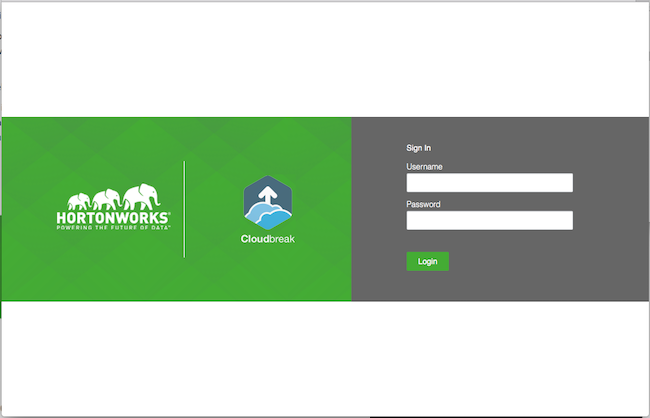
Browser Steps Firefox Click Advanced > Click Add Exception… > Click Confirm Security Exception Safari Click Continue Chrome Click Advanced > Click Proceed… - The login page is displayed:

- Log in to the Cloudbreak web UI using the credential that you configured in the CloudFormation template.
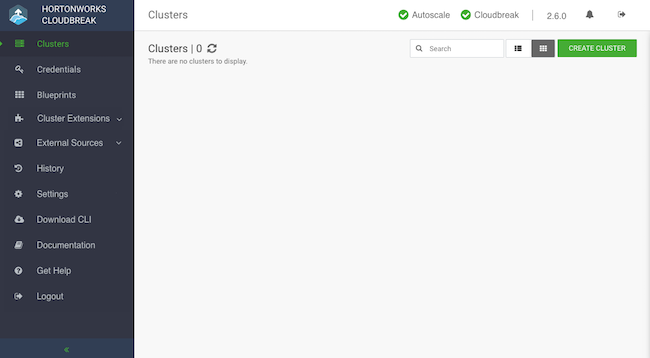
- Upon a successful login, you are redirected to the dashboard:

- Confirm the security exception to proceed to the Cloudbreak web
UI.

