

Enabling the Atlas Taxonomy Technical Preview
Because the Atlas Taxonomy feature is a Technical Preview, it is not enabled by default and does not appear on the Atlas web UI. Use the following steps to enable the Atlas Taxonomy feature.
Select Atlas > Configs > Advanced > Custom application-properties, then click Add Property.

On the Add Property pop-up, add the following properties:
Key –
atlas.feature.taxonomy.enableValue –
true
Click Add to add the new property.

The Advanced tab is redisplayed with the new property. Click Save to save the new configuration.

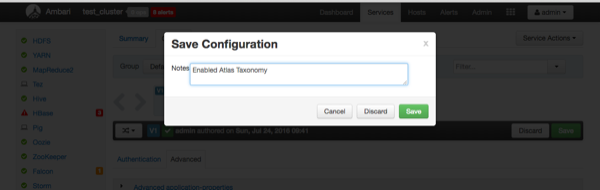
A Save Configuration pop-up appears. Type in a note describing the changes you just made, then click Save.
If a Consistency Check Failed pop-up appears, click Proceed Anyway.

Click OK on the Save Configuration Changes pop-up.

Select Restart > Restart All Affected to restart the Atlas service and load the new configuration.

Click Confirm Restart All on the confirmation pop-up to confirm the Atlas restart.

After Atlas restarts, the Taxonomy feature is enabled. Other components may also require a restart. To access the Atlas web UI, select Atlas > Quick Links > Atlas Dashboard.
