
Chapter 3. Searching and Viewing Entities
Using Basic and Advanced Search
Using Basic Search
You can search for entities using three basic search modes:
Search by Type – search based on a selected Entity type.
Search by Tag – search based on a selected Atlas tag.
Search by Query – full-text search.
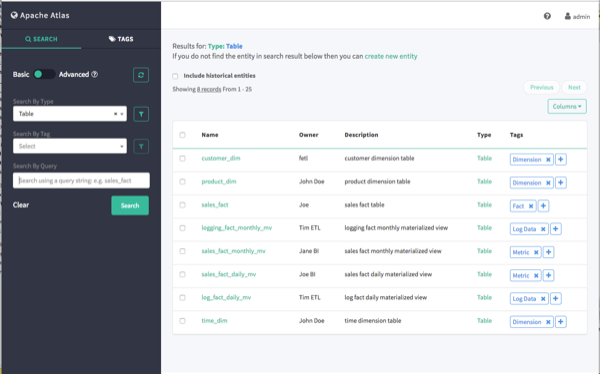
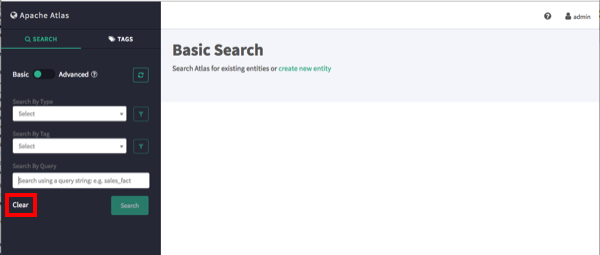
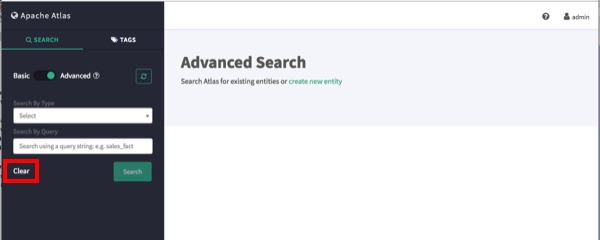
To search for entities, click SEARCH on the Atlas web UI. Select an entity type, an Atlas tag, or enter a text string, then click Search to display a list of the entities associated with the specified search criteria.
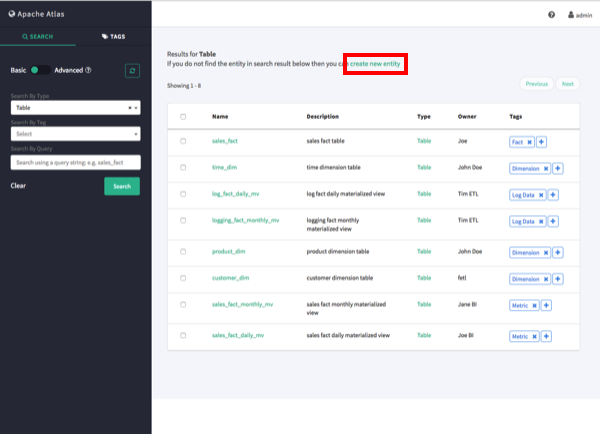
In the example below, we searched for the Table entity type.
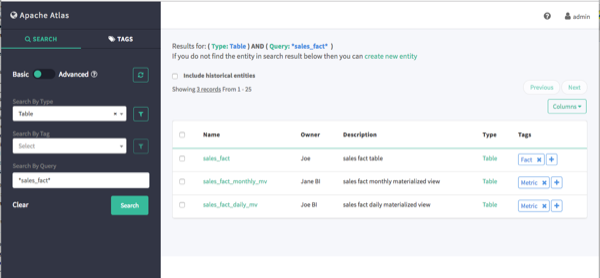
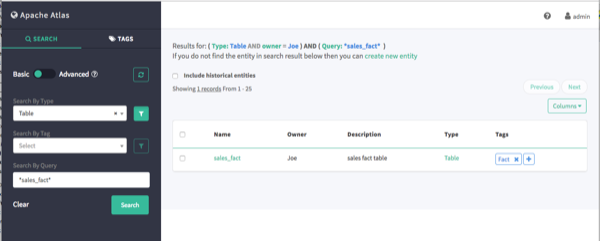
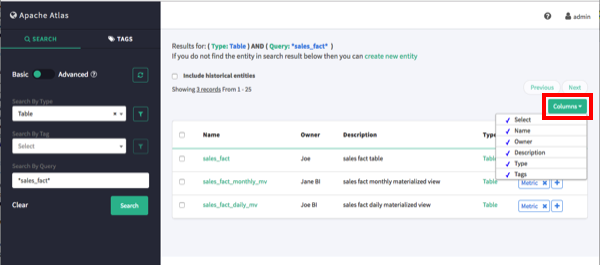
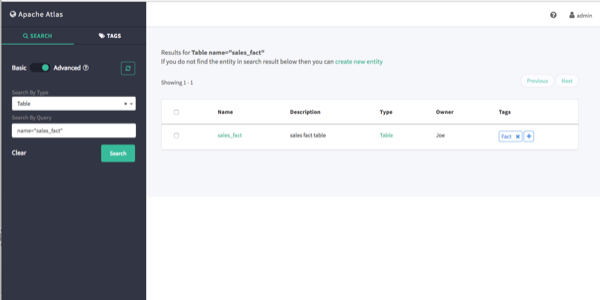
You can also combine search criteria. In the example below, we combined Type and full-text search to find Table entities whose name contains the text string "sales_fact".
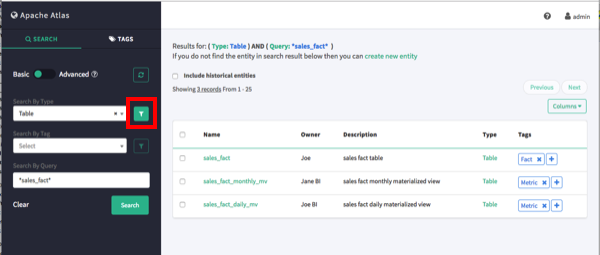
You can use the attribute filters to further refine search criteria. Click an Attribute Filter symbol to display the Attribute Filter pop-up.
Use the selection boxes on the Attribute Filter pop-up to specify an attribute filter. The attributes listed reflect the entity type. In the following example, we set an attribute filter to return entities with an Owner attribute of "Joe".
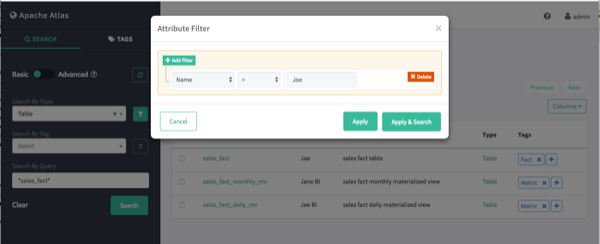
Click Add filter to add more attribute filters.
Click Delete to remove an attribute filter.
Click Apply & Search to immediately apply the attribute filter to the search results.
Click Apply to temporarily save the attribute filter (to the current search) without applying it to the search results. Clicking the main Search button applies the attribute filter to the search results.
Click Columns to control which columns are displayed in the list of search results.
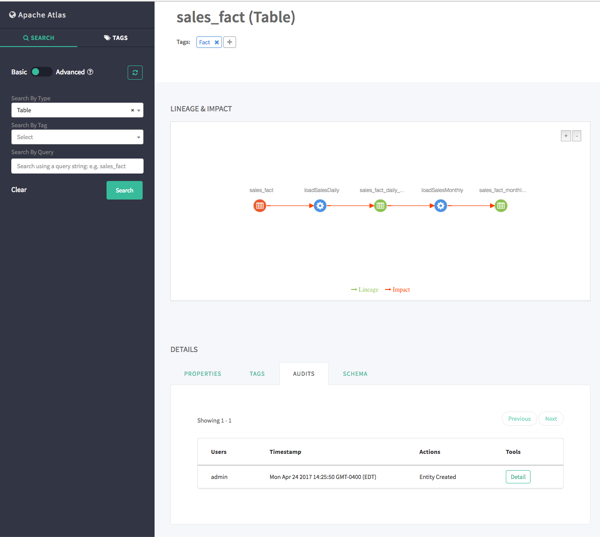
To view detailed information about an entity, click the entity in the search results list. In the example below, we selected the "sales_fact" table from the list of search results.
Click Clear to clear the search settings.
Using Advanced Search
To switch to Advanced search mode, slide the green toggle button from Basic to Advanced. You can search for entities using two advanced search modes:
Search by Type – search based on a selected Entity type.
Search by Query – search using an Apache Atlas DSL query. Atlas DSL (Domain-Specific Language) is a SQL-like query language that enables you to search metadata using complex queries.
To search for entities, select an entity type or enter an Atlas DSL search query, then click Search to display a list of the entities associated with the specified search criteria.
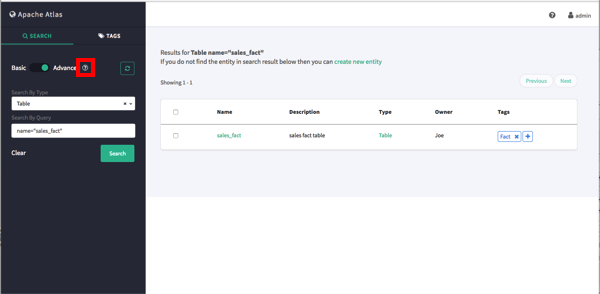
You can also combine search criteria. In the example below, we searched for Table entity types named "sales_fact".
To display more information about Atlas DSL queries, click the question mark symbol next to the Advanced label above the search boxes.
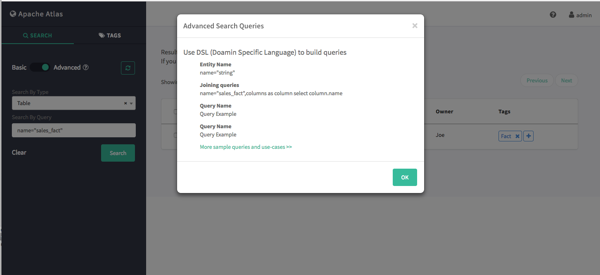
The Advanced Search Queries lists example queries, along with a link to the Apache Atlas DSL query documentation:
Click Clear to clear the search settings.
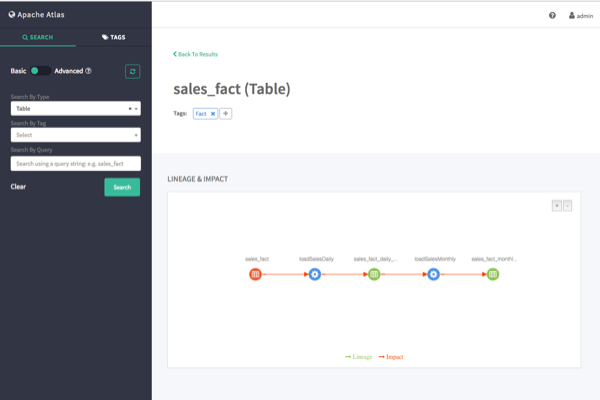
Viewing Entity Data Lineage & Impact
Data lineage and impact is displayed when you select an entity. In the following example, we ran a Type search for
Table, and then selected the "sales_fact" entity. Data lineage and impact is displayed graphically, with each icon representing an action. You can use the + and - buttons to zoom in and out, and you can also click and drag to move the image.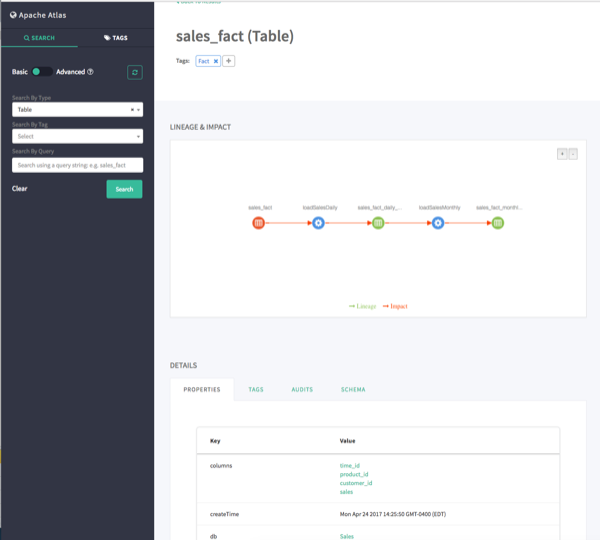
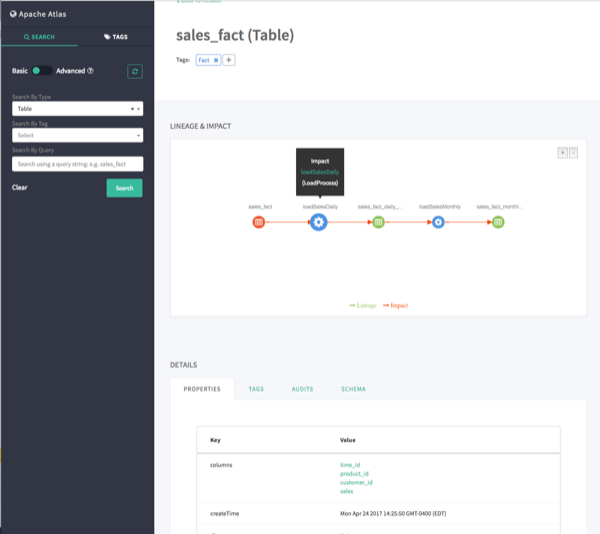
Moving the cursor over an icon displays a pop-up with more information about the action that was performed. In the following example, we can see that a query was used to create the "loadSalesDaily" table from the "sales_fact" table.
Viewing Entity Details
When you select an entity, detailed information about the entity is displayed under DETAILS.
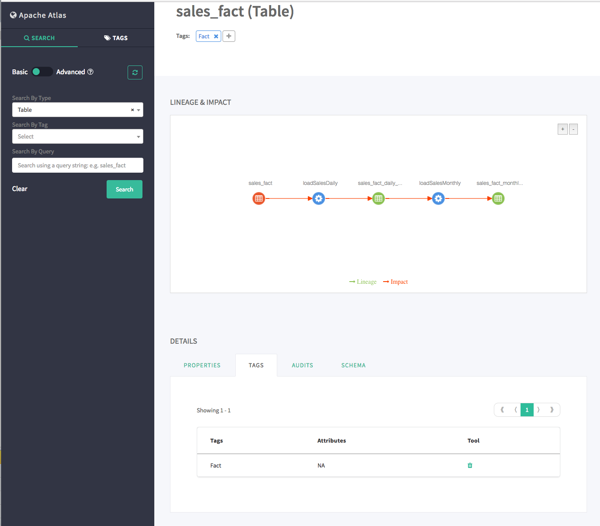
The Properties tab displays all of the entity properties.

Click the Tags tab to display the tags associated with the entity. In this case, the "fact" tag has been associated with the "sales_fact" table.
The Audits tab provides a complete audit trail of all events in the entity history. You can use the Detail button next to each action to view more details about the event.
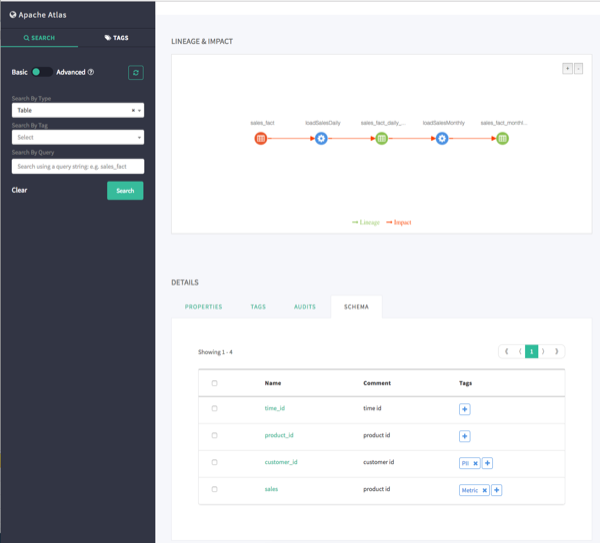
The Schema tab shows schema information, in this case the columns for the table. We can also see that a PII tag has been associated with the "customer_id" column.
Manually Creating Entities
Currently there is no Atlas hook for HBase, HDFS, or Kafka. For these components, you must manually create entities in Atlas. You can then associate tags with these entities and control access using Ranger tag-based policies.
On the Atlas web UI Search page, click the create new entity link at the top of the page.
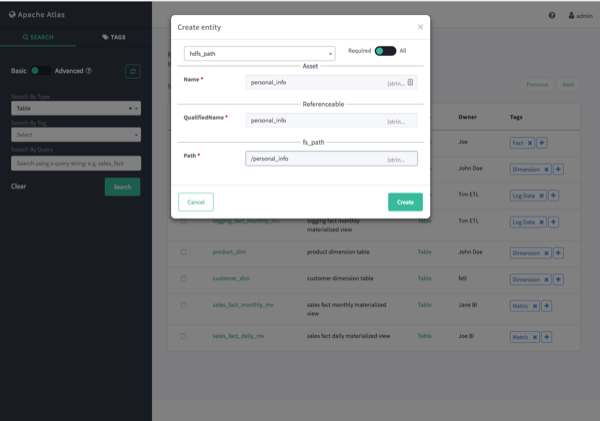
On the Create Entity pop-up, select an entity type.
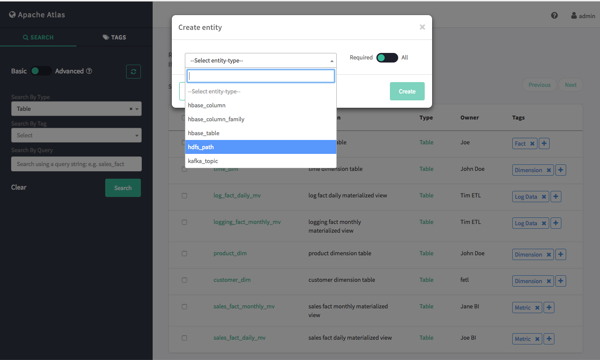
Enter the required information for the new entity. Click All to display both required and non-required information. Click Create to create the new entity.
The entity is created and returned in search results for the applicable entity type. You can now associate tags with the new entity and control access to the entity with Ranger tag-based policies.
