Creating new email jobs
Cloudera Data Visualization supports two types of email jobs:
Immediate email
You can share existing visuals with other users on an ad-hoc basis using email.
Follow these steps to email a visual, a sheet, or a dashboard of your choice. You can accomplish this task either from Edit mode or from View mode.
-
Access the supplemental menu.
- For visuals:
-
Click
 in the upper-right corner of the visual.
 - For dashboards:
-
Click the same icon (
) but in the upper-right corner of the
dashboard.
-
Select Email now.
You can choose to review the list of pending emails, cancel any running email jobs, or resend previously sent emails. For more information, see Managing jobs.
Schedule-based email
You can schedule regular emails to share visuals, sheets, and dashboards. These jobs run automatically based on a defined schedule or or are triggered when specific dataset measures meet predefined thresholds.
Follow these steps to schedule sending emails of visual, sheet, or dashboard. You can accomplish this either in Edit or in View mode.
-
You have the option to use an email template for this task, but it is not required. You can send the email as-is, without a message, or include your own custom message. If you decide to use a template, you can choose the default template or create a custom one. For guidance, see Creating new email templates.
-
Before you schedule an email, check the Enable scheduled jobs option in . For more information, see Enabling scheduled jobs in the Site Settings documentation.
-
Access the supplemental menu.
- For visuals:
-
Click
in the upper-right corner of the
visual. - For dashboards:
-
Click the same icon (
) but in the
upper-right corner of the dashboard.
-
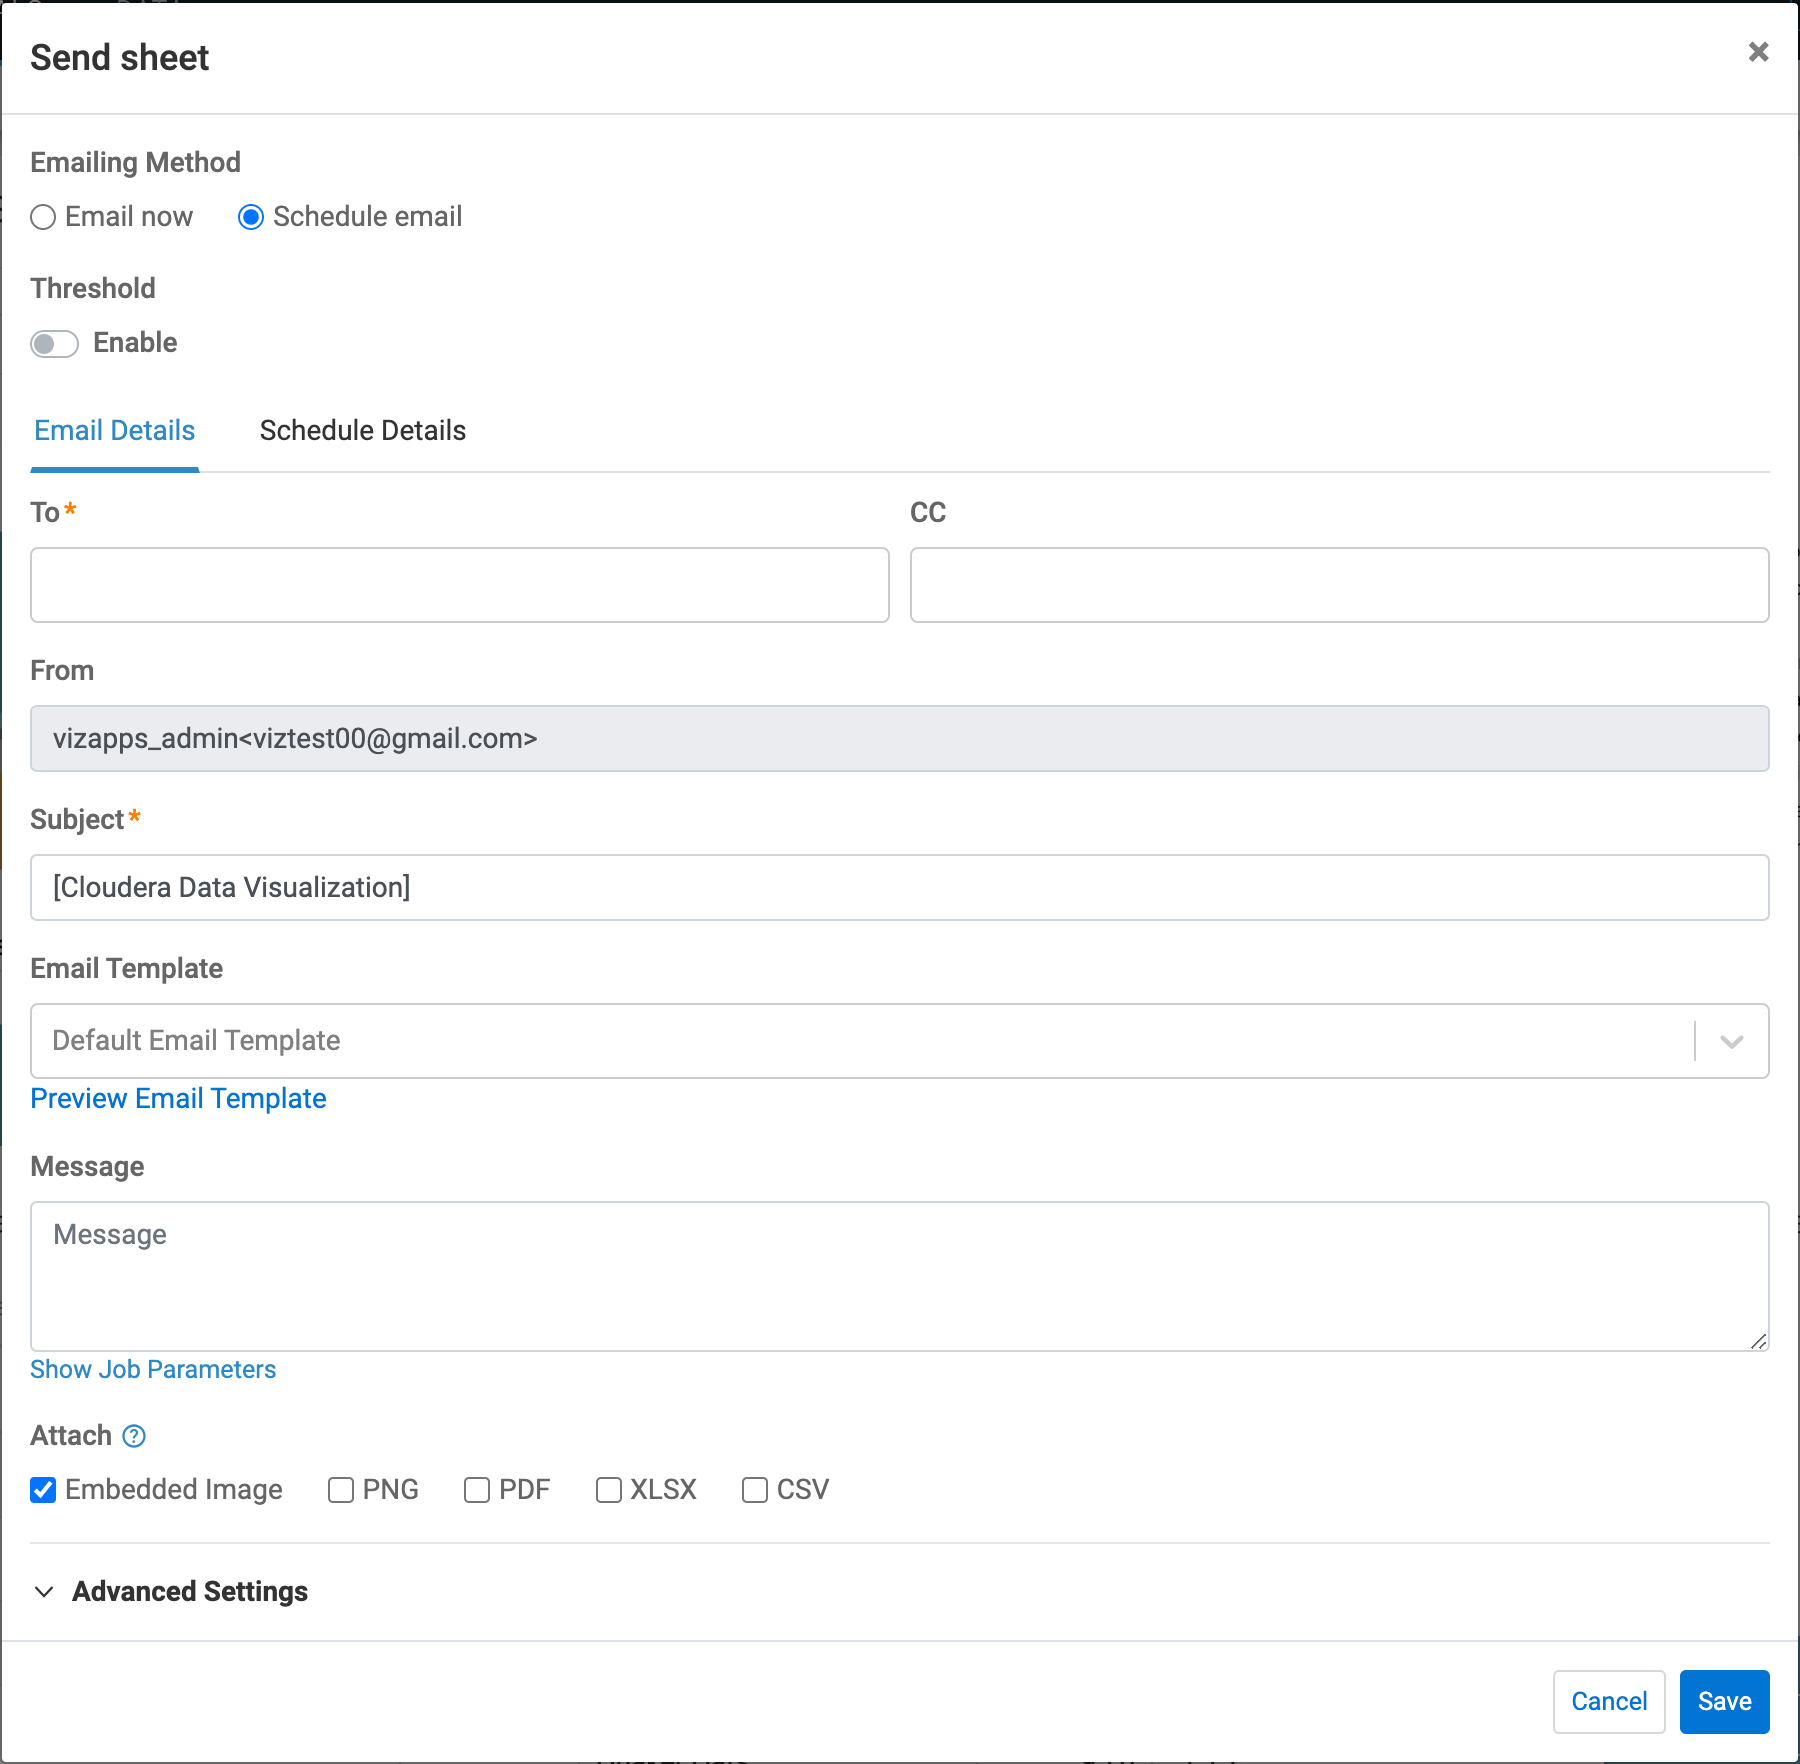
Fill in the fields on the available tabs.
- If Threshold is not enabled, you will see the Email Details and Schedule Details tabs.
- If Threshold is enabled, the Threshold
Details will also appear.
With threshold, you can schedule an email job that is triggered by measures on the dataset reaching a defined threshold. It means that email notifications are sent when the specified triggering condition occurs.
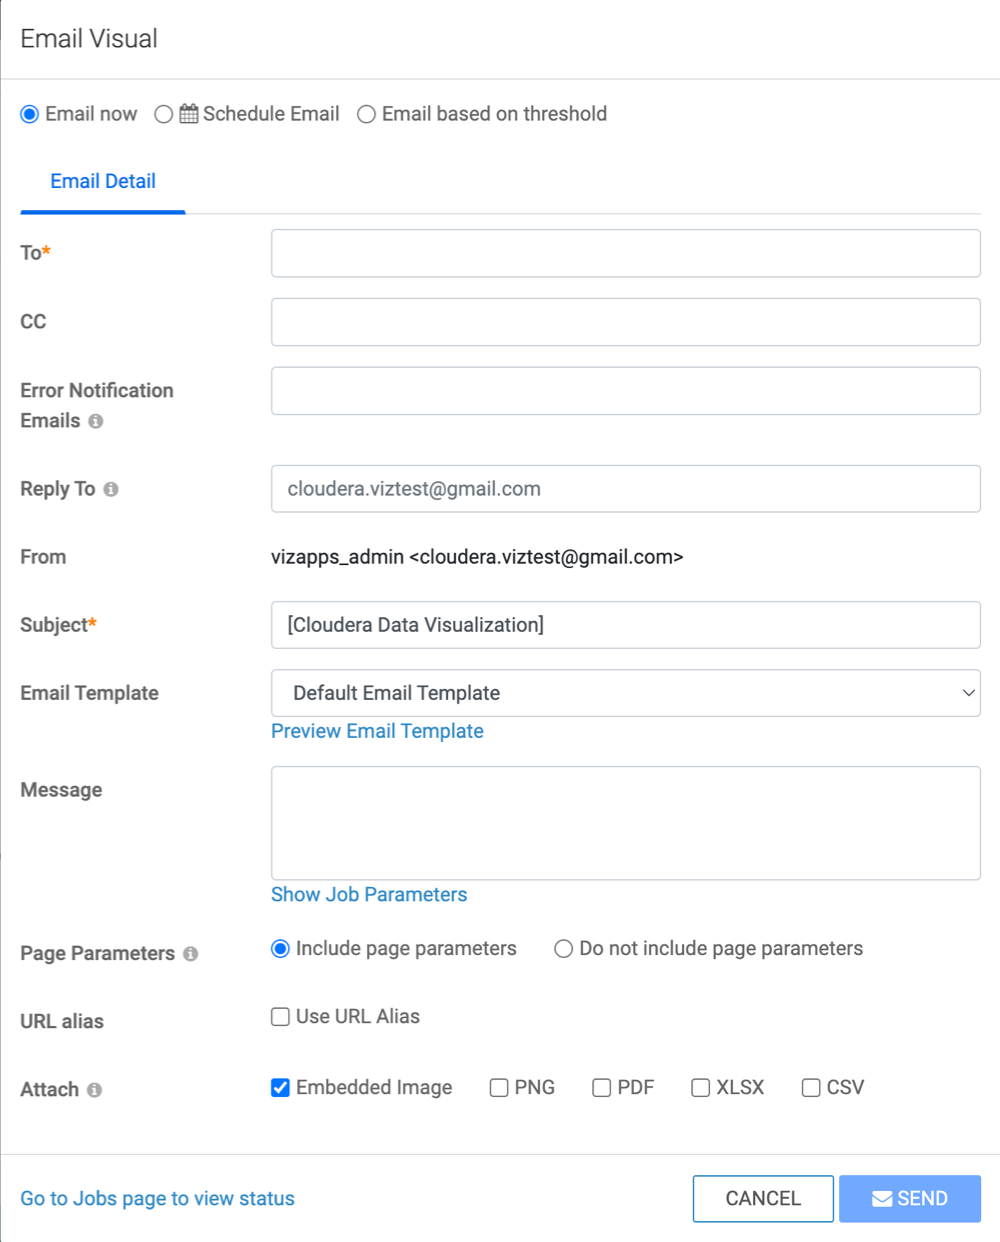
Fields marked with an asterisk are mandatory.
-
To* – Enter the primary recipients' email addresses.
-
CC – Enter the email addresses of additional recipients.
-
From – You can set the value of this field in Site Settings.
-
Subject* – You can modify the default title of the email.
-
You can set the Email Template that you want to use.
If you want to see how the template looks, click Preview Email Template.
-
Enter the body text of the email in the Message field.
-
[Optional] Click Show Job Parameters to view the list of parameters you can add to the message.
-
Choose how the visual is included in the email.
You can either embed the visual directly into the email body (default option) or attach it in one of the following formats:- PNG
- XLSX
- CSV
- Configure Advanced Settings.
-
Error Notification Emails To – Specify an email address to receive error messages.
-
Reply To – Specify a different reply-to address if needed.
-
Use Alias – Create a new or use an existing alias for easier access.
-
Page Parameters – For visuals that have parameterized fields on their shelves, you can choose:
- Include page parameters (default)
- Do not include page parameters
-
-
Enter a name for the scheduled job.
-
In the Schedule field of the Schedule Details tab, select an existing schedule interval from the following options:
- Hourly (default)
- Daily
- Every Weekday
- Weekly
- Monthly
- Quarterly
- Custom intervals (available to administrators only)

You can define a threshold-based trigger to send email notifications when specific conditions are met.
-
Trigger Visual ID – Define a new trigger visual or add the ID of an existing table visual.
-
Send Email Limit – Specify how often emails should be sent when the condition is met:
- Only on first trigger
- When trigger occurs
- Once a half hour (default)
- Once an hour
- Once a day
- Once a week
- Once in 2 weeks
- Once a month
-
Trigger Type – Select one of the following options:
- Threshold met: Triggers an email when the first measure of the first row in the trigger visual meets the conditional expression.
- Value changed since last assessment: Triggers an email when the change in the first measure of the first row after the last assessment meets the conditional expression.
-
Trigger Conditions – Set logical operators (one of
<,>,≤,≥, or=) and values.You can add multiple trigger conditions with + Add Condition.

You can choose to review the list of pending emails, cancel any running email jobs, or resend previously sent emails. For more information, see Managing jobs.