
Creating new email templates
To define a new email template, follow these steps:
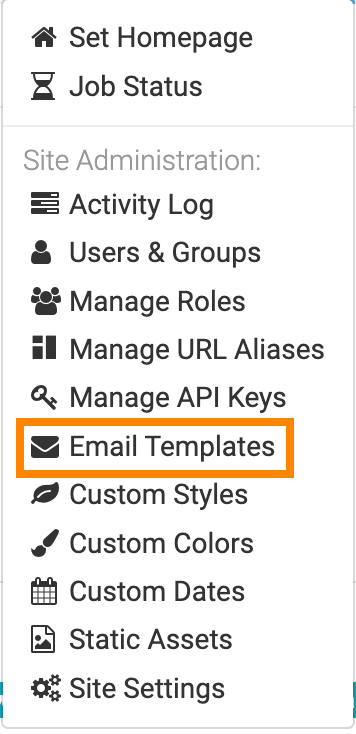
- Click the Gear icon on the main navigation bar to open the Administration menu.
-
Select Email Templates.
-
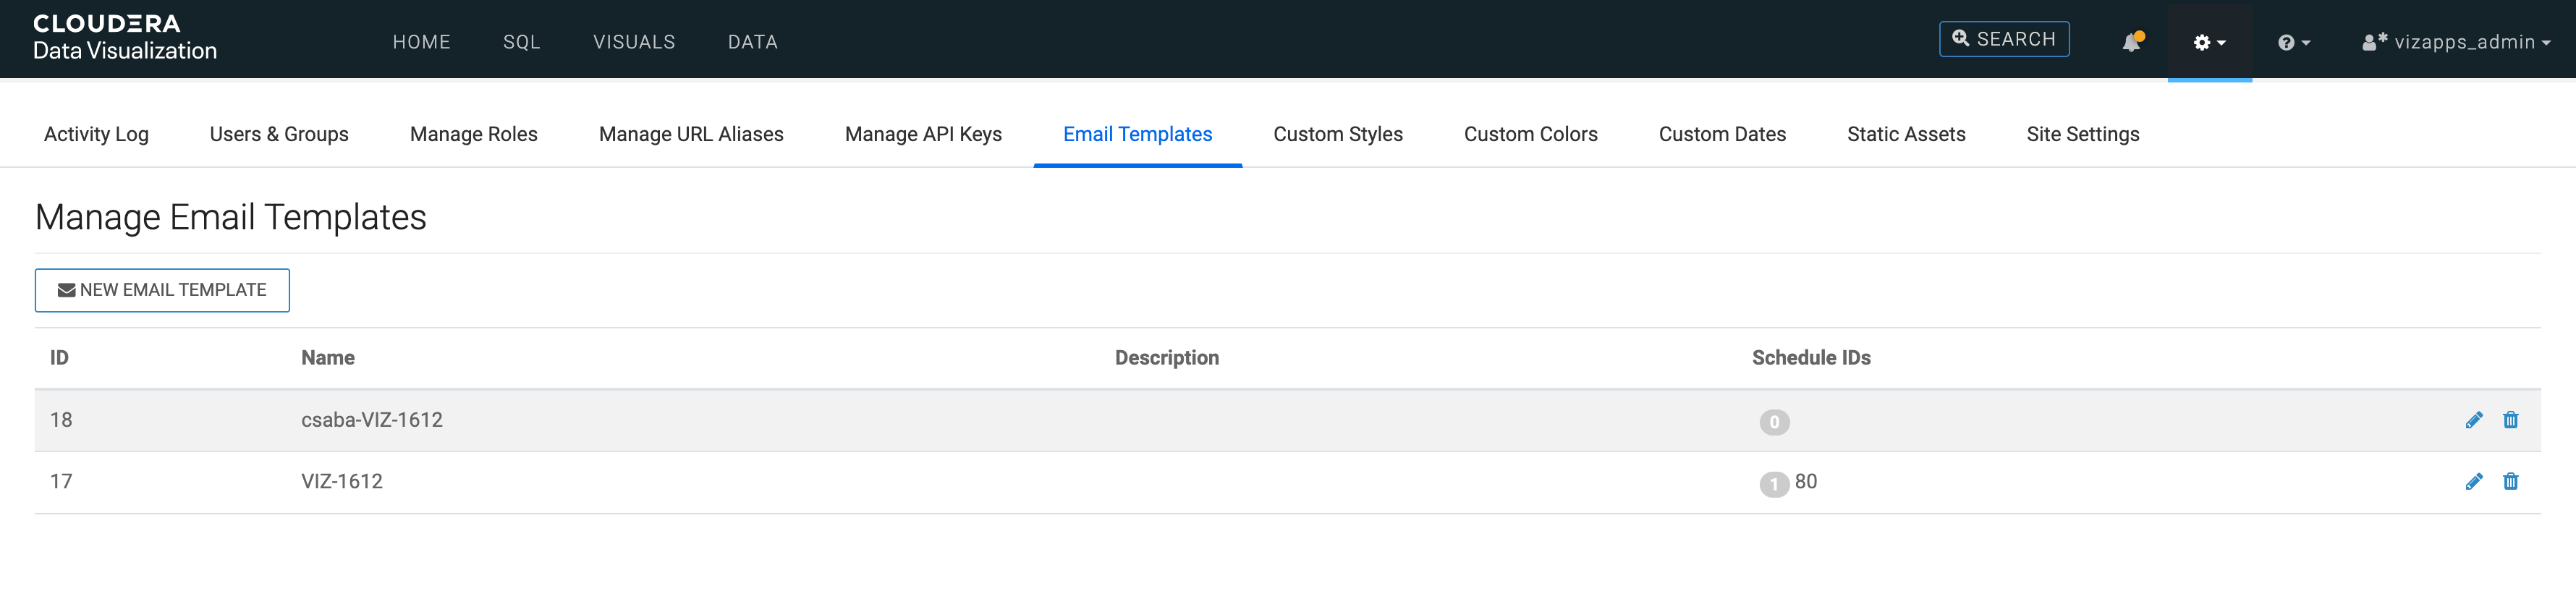
In the Manage Email Templates interface, click NEW
EMAIL TEMPLATE.
Before creating a new template, it is recommended that you explore the available sample templates. Click SAMPLE TEMPLATE 1 or SAMPLE TEMPLATE 2 to explore the available templates. You may find it easier to create your own template by starting from a sample template and making necessary adjustments.
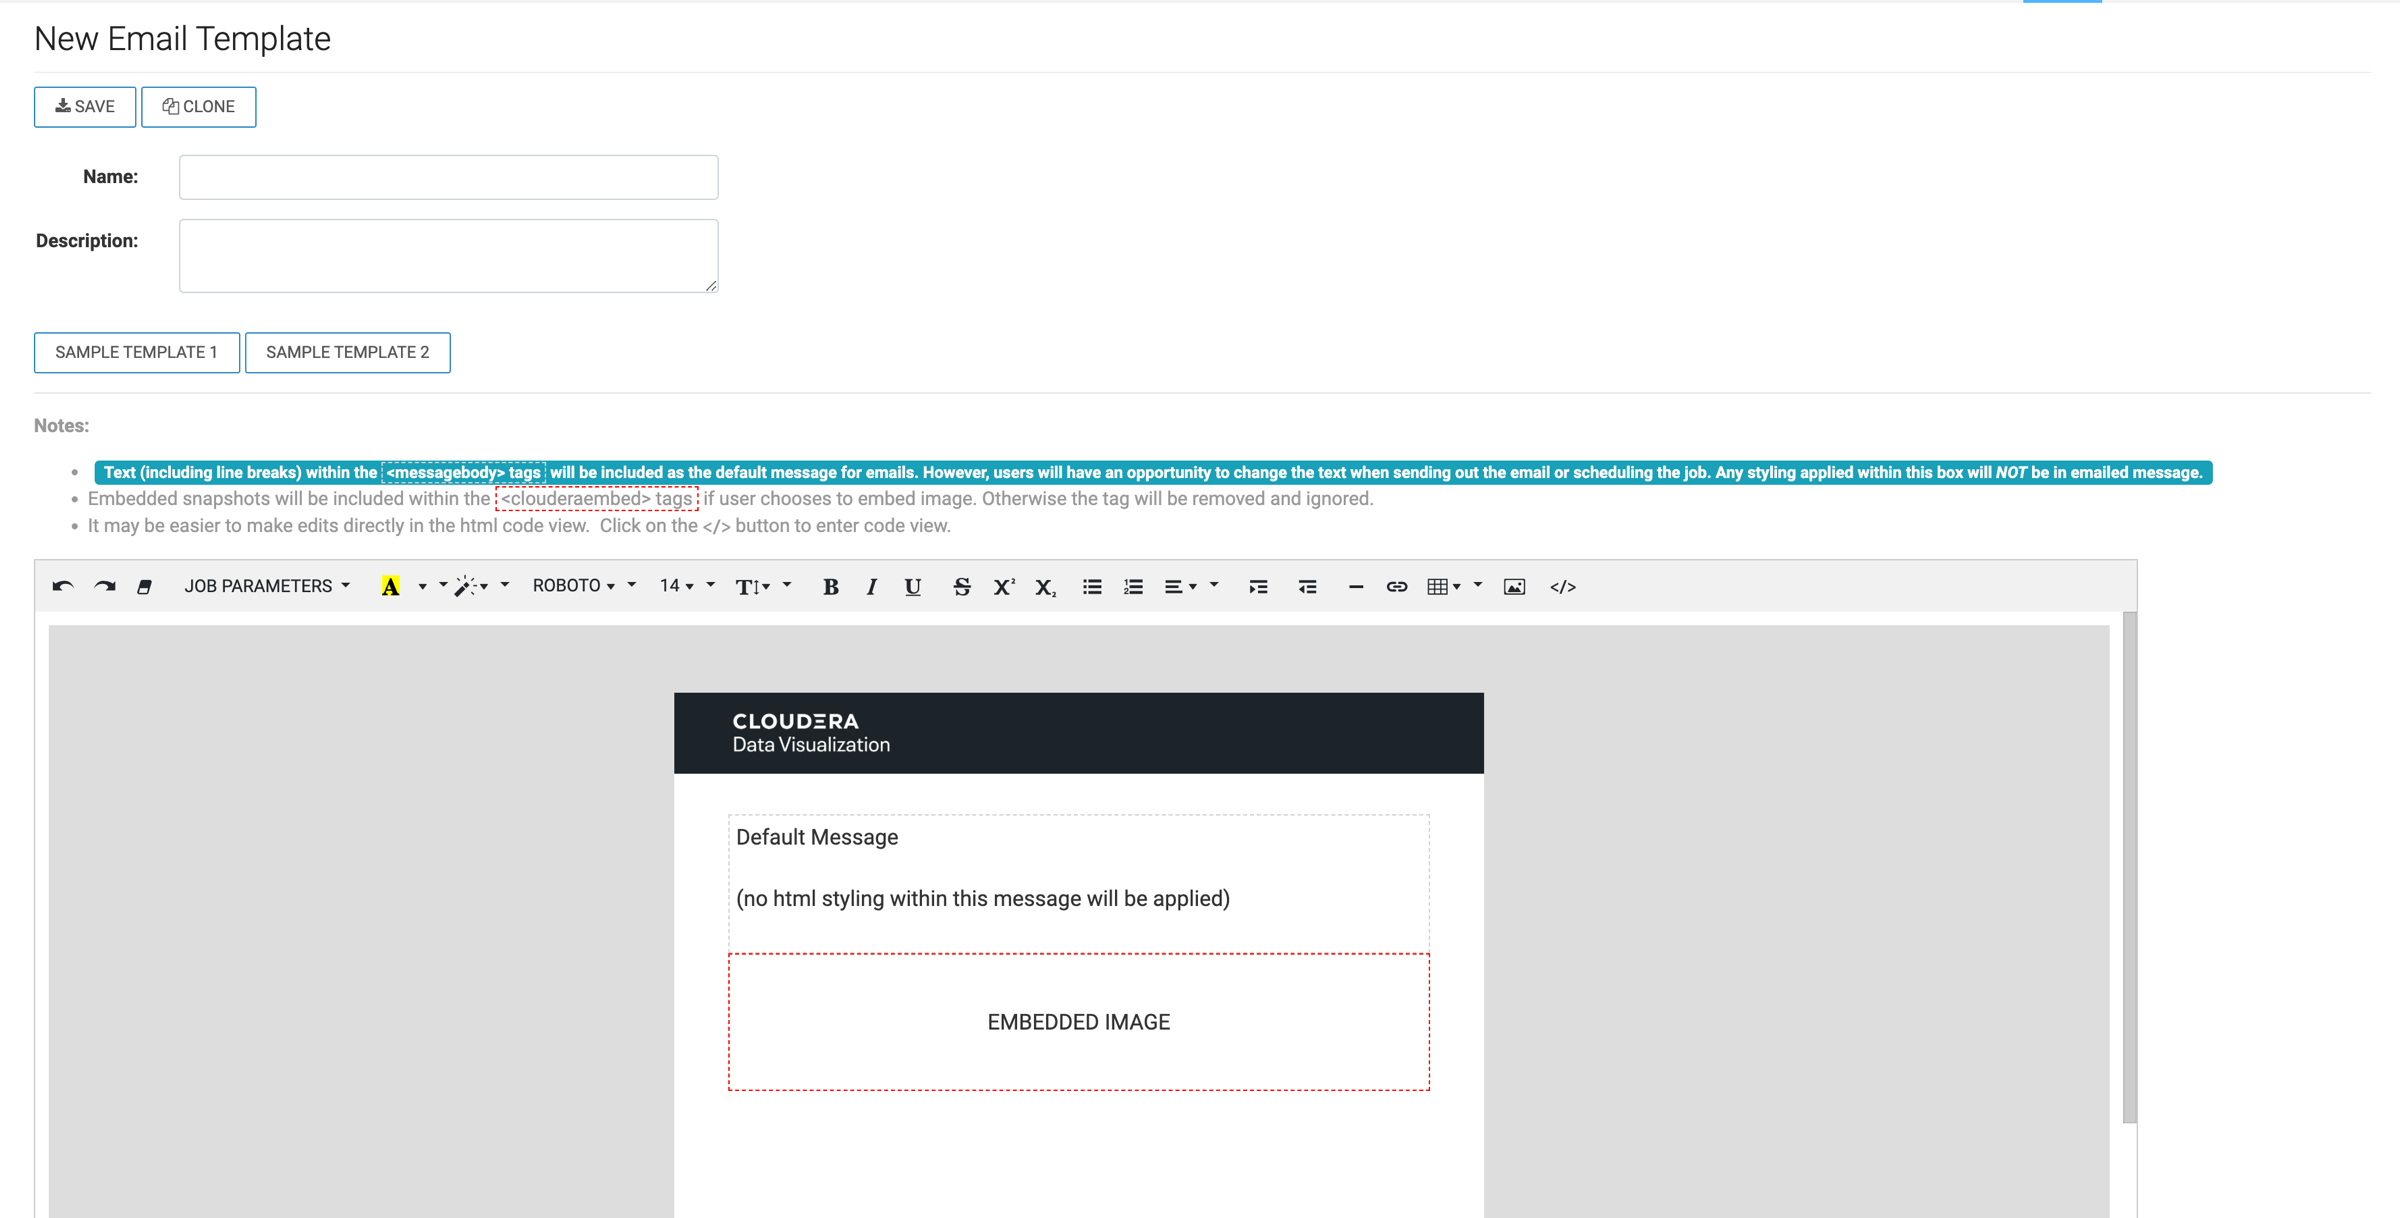
- Under Name, enter the name of the template.
- Under Description, enter the information that helps the user select the appropriate template.
-
Use the Rich-Text Editor to create the message template.
In addition to a large text entry box and a set of editing options on the toolbar, the following key options are also included:
-
Job Parameters
This menu provides access to some standard Job Parameters. For more infornation, see Parameters for jobs.
-
Code View
To edit the template directly in HTML format, click </> on the toolbar. The HTML used for email formatting is somewhat different from standard HTML. For example, you can format the content as a set of nested tables. Before working directly in HTML mode, see Email development recommendations for design and development best practices.
- Logo
-
You can change the size of the logo by clicking on it, and selecting one of the standard sizes: 100%, 50%, or 25%.
-
To delete the logo image, click on it, and select the trash icon.
Note that the code view option has a placeholder for the logo, even when you deleted the image.
-
To insert a new logo, click on the placeholder in the top bar, and then click the Picture option.
In the Insert Image modal window, add the image either through the Select from files option (browsing through local directory), or through the Image URL option. -
To change the background color (so the logo blends in), open Code View, and change the
bgcolorparameter. In this example, the background is set to black:<td align="center" valign="middle" bgcolor="#000000" style="padding:10px;font-size:24px"> <!-- company logo goes here --> <img src="image_location/file_name.png" alt="Cloudera Data Visualization" style="max-width: 200px; max-height: 50px;"> </td> -
To change the size of the logo image, you may need to change not only the percentage width of the image, but also the
max-widthandmax-heightparameters in Code View. For example, The Sample Template uses the following style settings:<td align="center" valign="middle" bgcolor="#000000" style="padding:10px;font-size:24px"> <!-- company logo goes here --> <img src="image_location/file_name.png" alt="Cloudera Data Visualization" style="max-width: 200px; max-height: 50px;"> </td>To increase the size of the image, increase these parameter values and add thewidthparameter.<td align="center" valign="middle" bgcolor="#000000" style="padding:10px;font-size:24px"> <!-- company logo goes here --> <img src="image_location/file_name.png" alt="Cloudera Data Visualization" style="max-width: 300px; max-height: 80px; width: 150%;"> </td> -
To change the alignment of the logo, click the Paragraph icon and select another alignment option. Alternatively, add the
text-alignparameter in Code View.<td align="center" valign="middle" bgcolor="#000000" style="text-align:left;padding:10px;font-size:24px"> <!-- company logo goes here --> <img src="image_location/file_name.png" alt="Cloudera Data Visualization" style="max-width: 200px; max-height: 50px;"> </td> -
To reduce or increase the height of the top banner that contains the logo, change the
paddingparameter in Code View.<td align="center" valign="middle" bgcolor="#000000" style="text-align:left;padding:2px;font-size:24px"> <!-- company logo goes here --> <img src="image_location/file_name.png" alt="Cloudera Data Visualization" style="max-width: 200px; max-height: 50px;"> </td>
-
- Message Body
The message body appears between the
<messagebody> …
                  </messagebody>
tags. Use<br>tags to separate lines of text.You can easily embed Cloudera Data Visualization parameters in the text body.<td style="padding:30px 40px;"> <p style="font-size: 16px; min-height: 300px; line-height: 1.4;"> <!-- use <br> for line breaks --> <messagebody>This is a general email to notify you of the key performance metrics tracked by Dashboard <b><span><<app_id>>:</span> </b><b><<app_name>></b>.<br> <br>Cloudera generates this message automatically.<br> <br>Most recent run date is: <span><<start_time>></span> <br>You can see the dashboard here: <<relative_url>></messagebody> </p> -
Embedded Images
Click inside the EMBEDDED IMAGE area of the template, and then click the picture option. Add an image and configure it in the same way as you did for the logo. Remember to contain it between
<clouderaembed> … </clouderaembed>tags.In this exmaple, a very large image has been embedded, so thestyle="width: 200px;"parameter has been applied to it.<clouderaembed><img src="image_location/koda.jpg alt="mascot" style="width: 200px;"></clouderaembed>
-
Footer text
Enter and configure footer text.
In this exmaple "Footer Text" has been replaced with "Greetings from Koda".
-
Copyright text
The template contains a default statement about the authorship of the email. You may choose to use it as a copyright statement.
In this example "This email was sent by Cloudera" has been replaced with "Email © Cloudera".
-
Job Parameters
- Click SAVE to save all changes to the template.
- Click the Email Templates tab at the top of the screen to see the new item in the list of templates.
