Changing existing assets

To change an existing asset, follow these steps.

  1. Click the Gear icon on the main navigation bar to open the Administration menu.
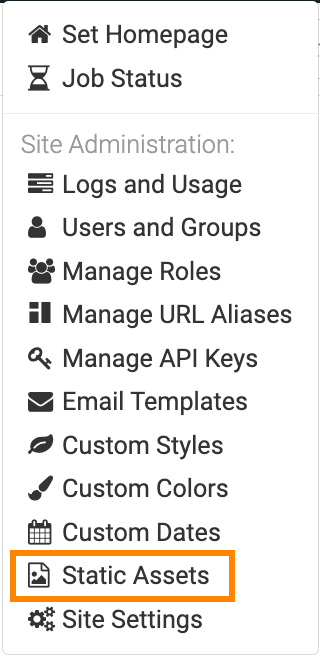
  2. Click Static Assets.
  3. In the Manage Image, CSS, and JS Assets interface, click the Pencil icon that corresponds to the asset.

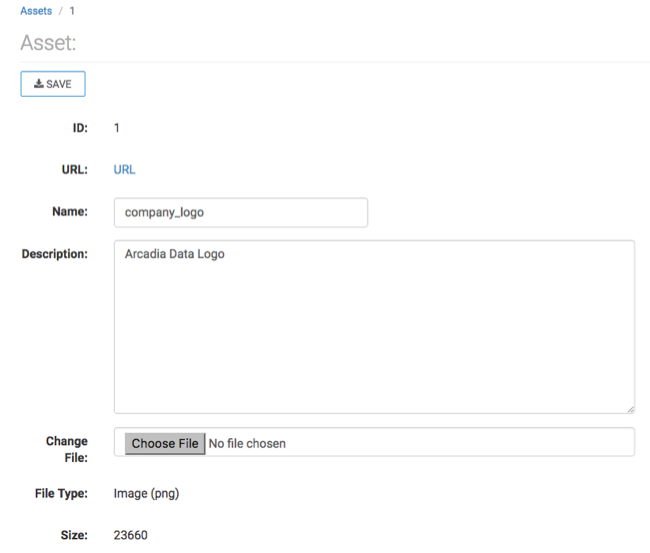
    The Asset information interface appears. It contains the information about the asset.

  4. In the Asset interface, you can perform the following actions:
    • Change the Name of the asset.
    • Change the Description of the asset.
    • Click URL to view the asset. This is equivalent to the linked ID on the Manage Image, CSS, and JS Assets interface. Also, note the navigation path to the asset; in our case, it is:
      http://127.0.0.1:8000/arc/reports/staticasset/raw/1.png

      In general, the link has the following form:

      [http|https]://ip_address/arc/reports/staticasset/raw/ID.file_extension

      Where ID is the ID of the asset as it appears on the interface, and file_extension is one of the supported file formats: png, jpg, css, or js.

    • To substitute the file by a newer version, click Choose File and use the file system to select and upload a replacement.
    • Click SAVE after making changes.