
Creating new roles
Administrators with Manage roles and users privilege can introduce new roles into the Role-Based Access Control (RBAC) system.
Follow these steps demonstrate to create a new role.
-
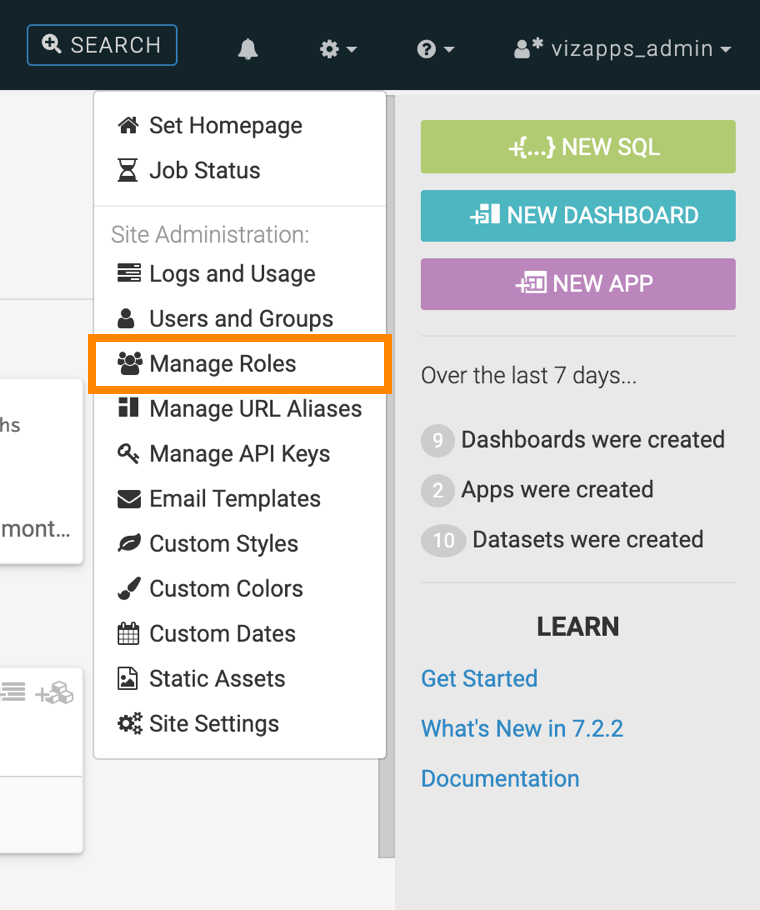
In the drop-down menu, click Manage Roles.
-
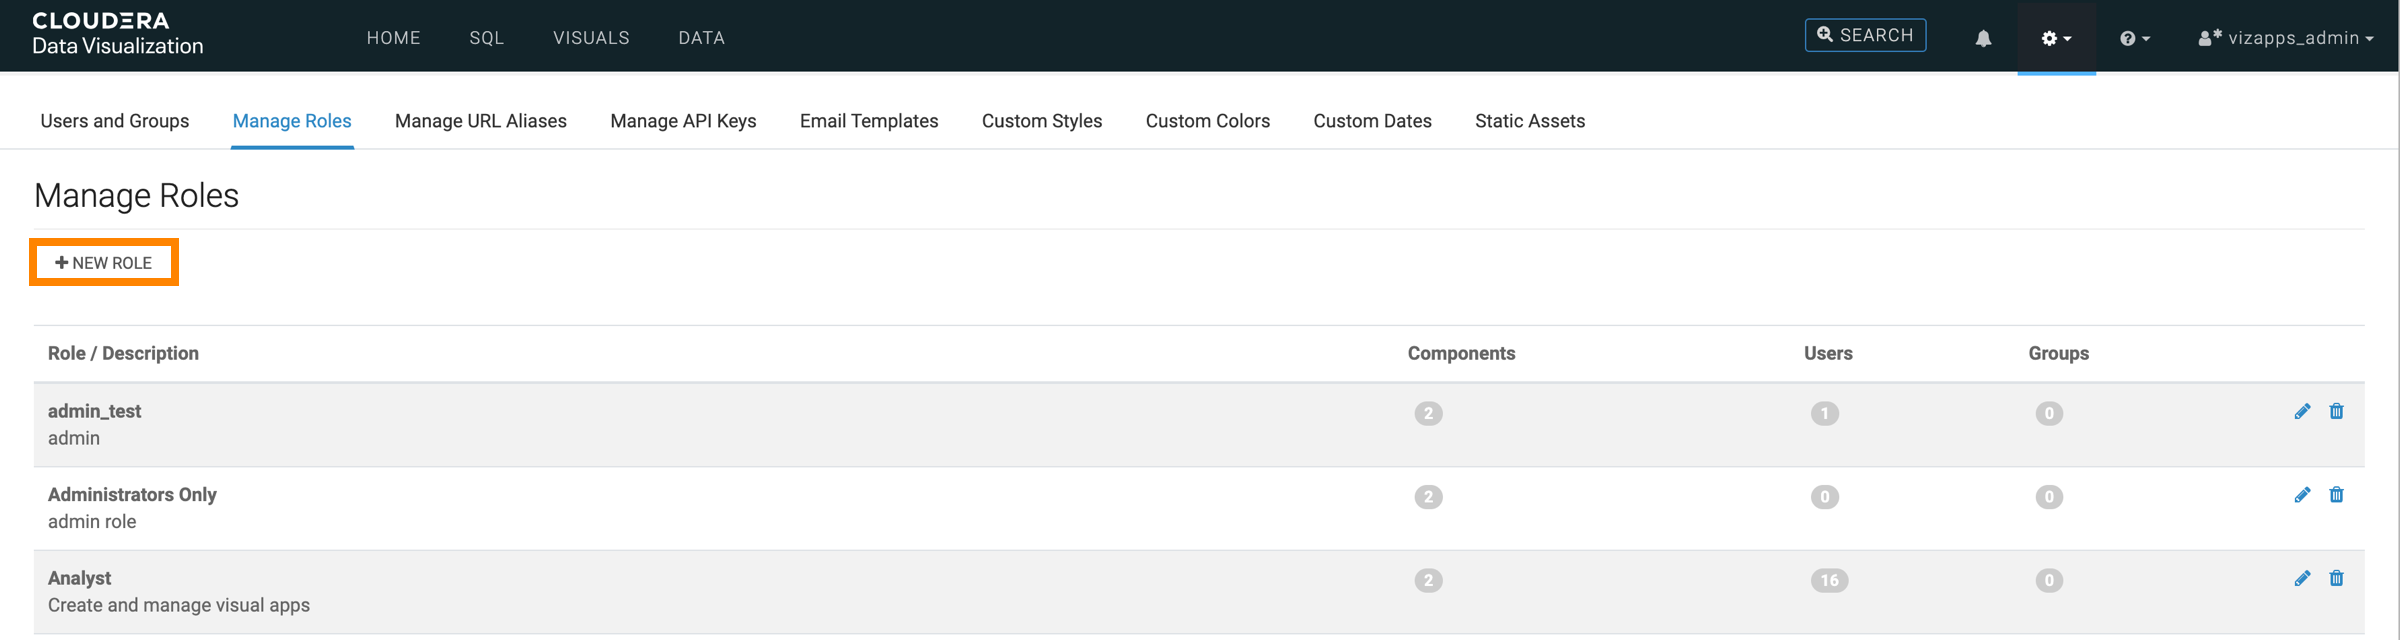
Click NEW ROLE.
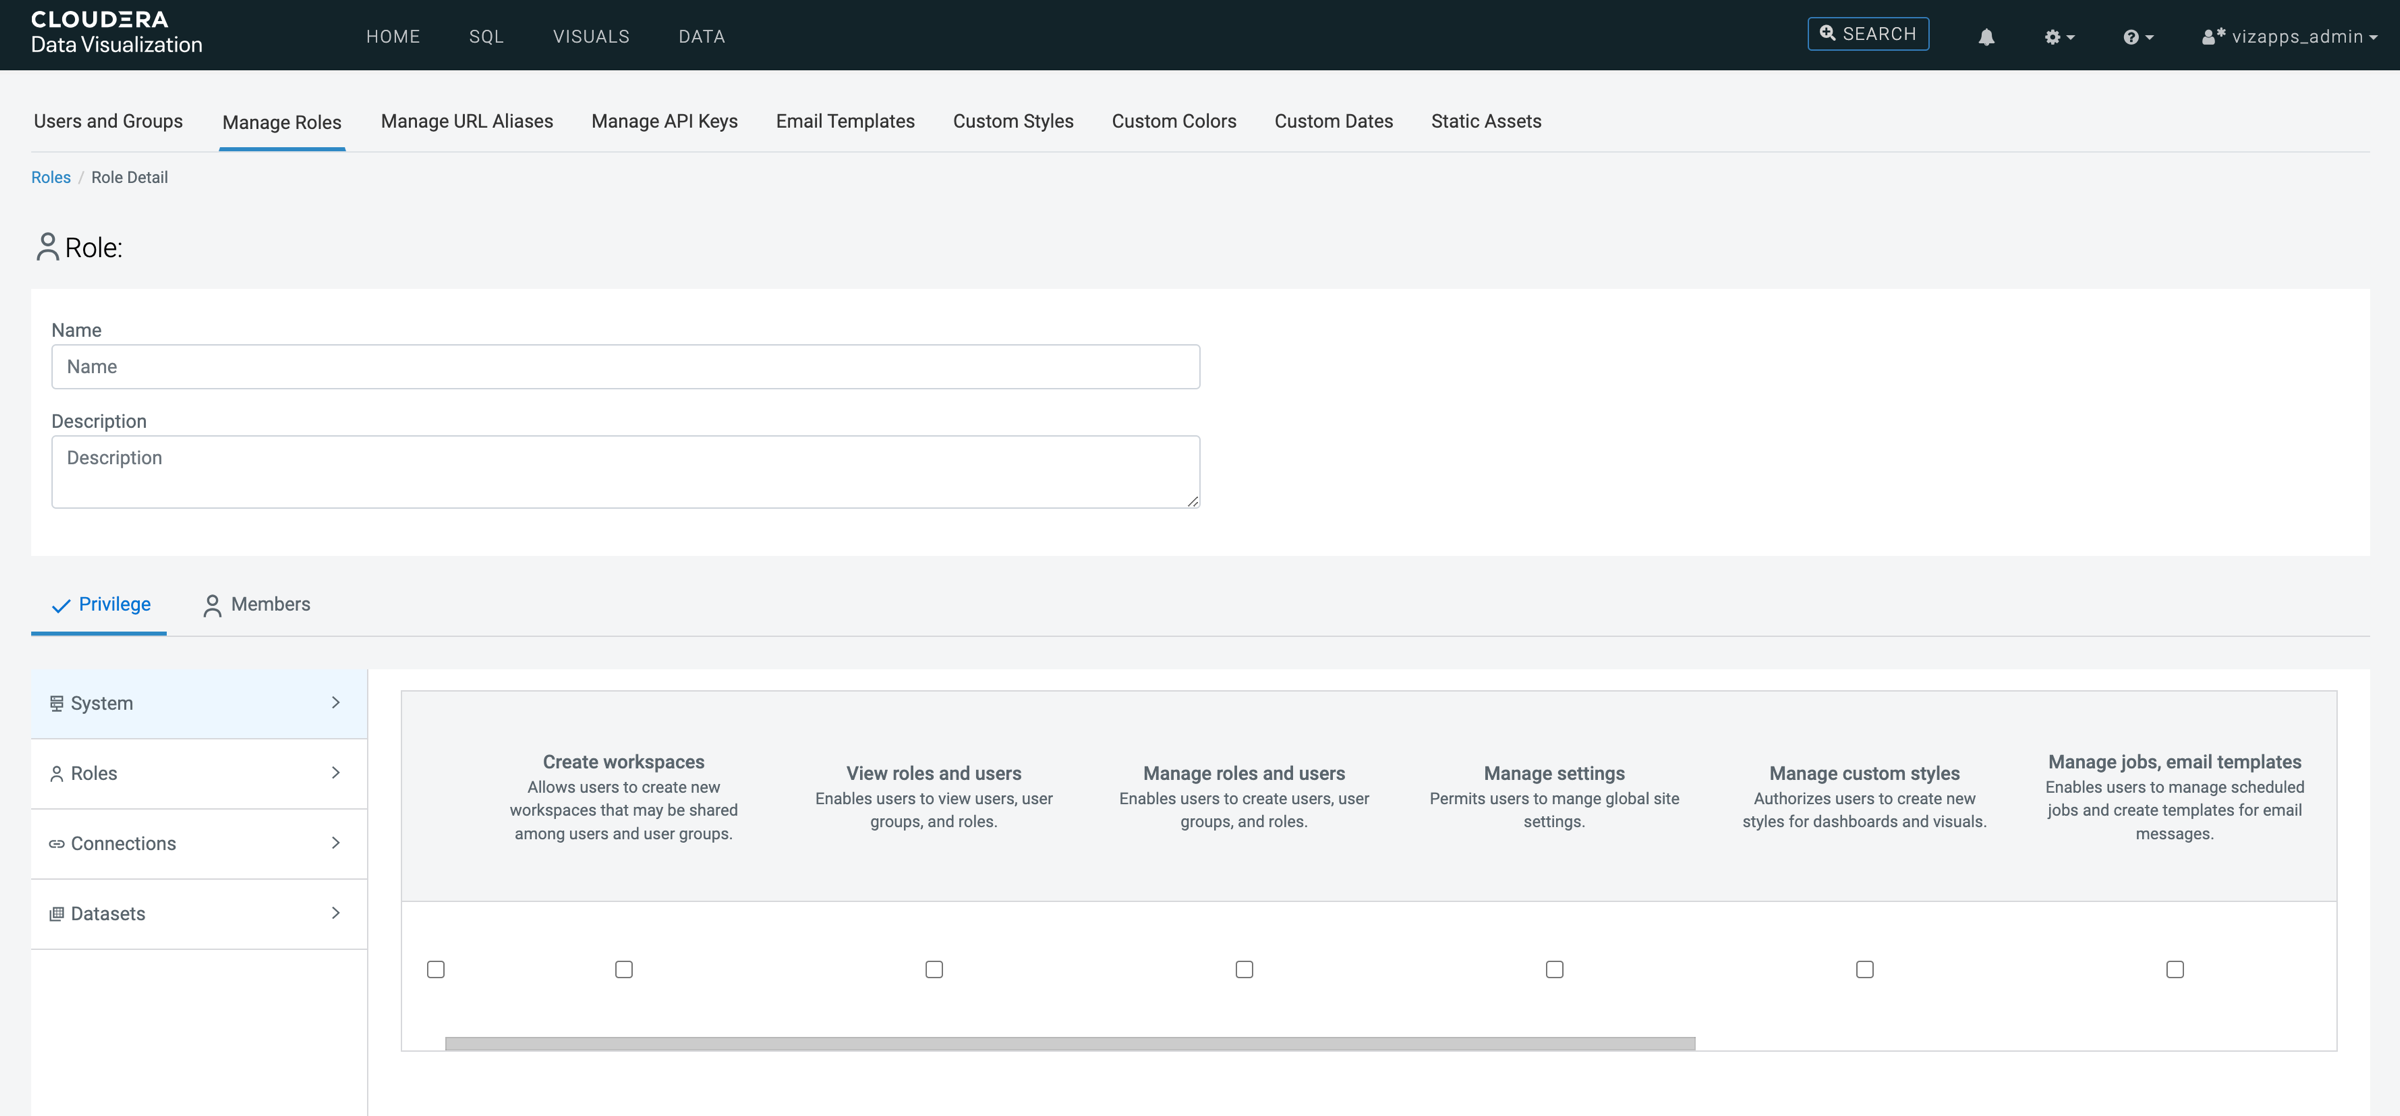
The Role Detail interface appears, open on the Privileges tab.
-
To ensure the role was successfully created, click Roles in the
top left corner of the page.
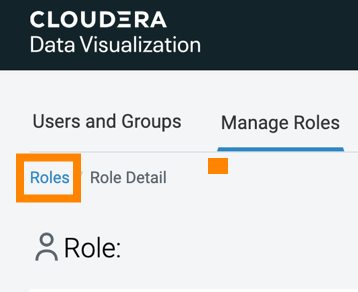
The newly created role should now be visible in the role list.
