Creating segments
Cloudera Data Visualization lets you easily create a new segment definition.
-
On the main navigation bar, click DATA.
The Data view appears.
- Open the Datasets tab.
-
Find the dataset in the list of datasets, either by scrolling or by using search, and
click it.
Dataset side navigation appears, open at Dataset Detail view.
In this example, the dataset Flight Delays is used, which is based on data previously imported into Cloudera Data Visualization from a data file. Some additional data files are also used.
-
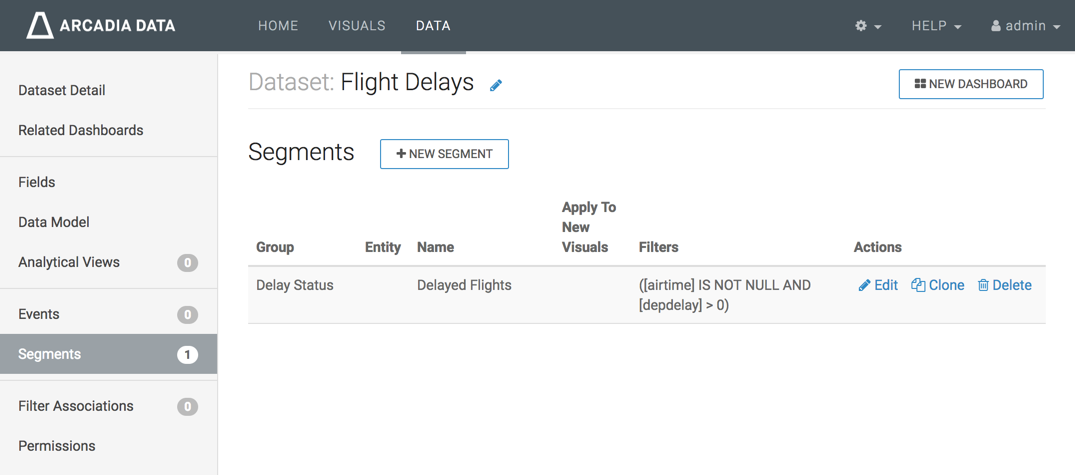
In the side navigation menu, click Segments.
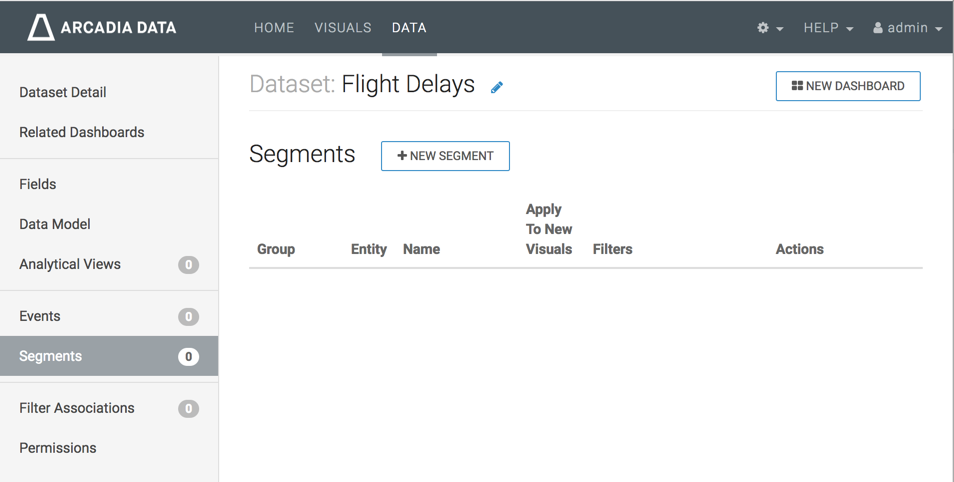
The Segments view appears.
-
In the Segments interface, click New
Segment.
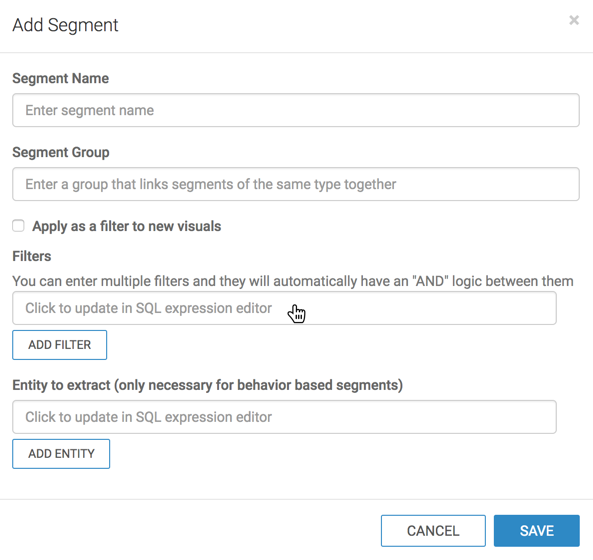
The Add Segment modal window appears.
-
Make the following entries:
- Under Segment Name, enter Delayed Flights.
- Under Segment Group, enter Delay Status.
- Under Filters, click the text box to open the Filter Expression modal window.
-
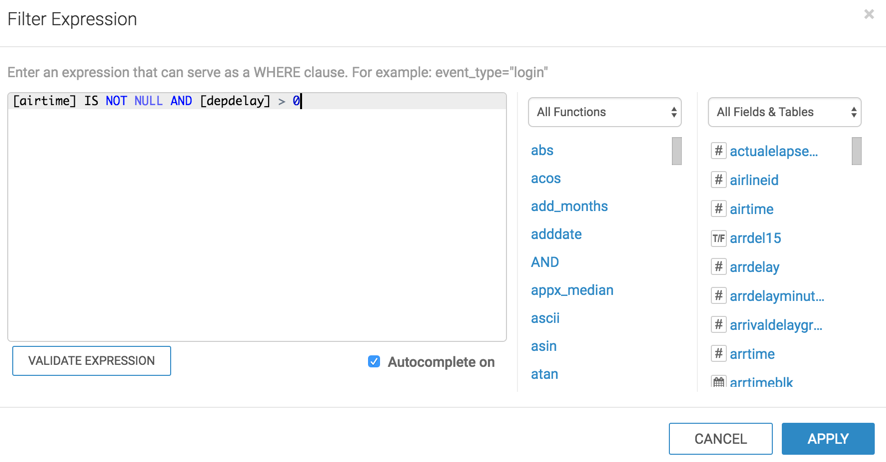
In the Filter Expression modal window, enter the following
expression to show flights that are delayed.
[airtime] IS NOT NULL AND [depdelay] > 0
- Optional:
Click Validate Expression to verify correctness.
-
Click APPLY to save the filter and return to the Add
Segment modal window.
The new filter appears under Filters.
-
Click SAVE.
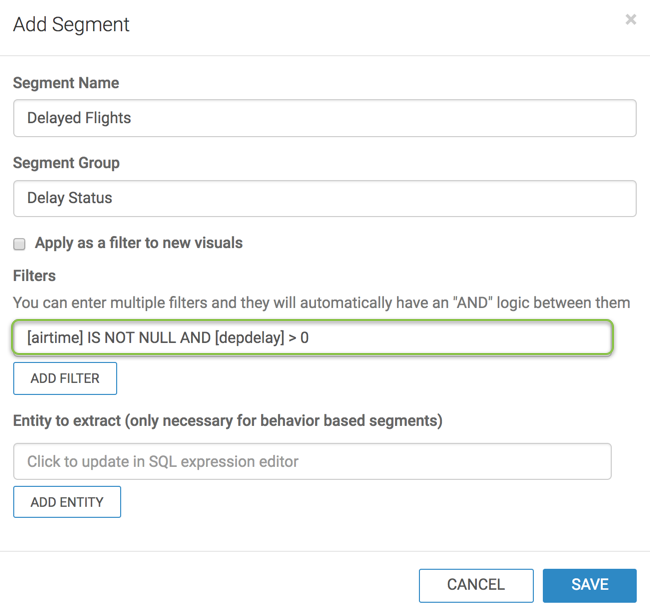
The new segment definition appears in the Segments interface.
To view how segments work in a visual, see Using Segments in Visuals.


