Create a data connection
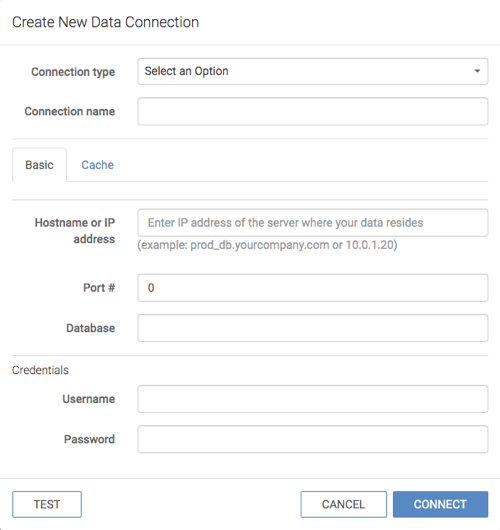
You must connect to your data before you can start using Cloudera Data Visualization for modeling and visualizing the data. You can define connections to various source systems. Learn how to create a simple data connection.
In Cloudera Data Warehouse, the connection to the database catalog is
automatically set up when you enable Cloudera Data Visualization in a Virtual Data
Warehouse. Database catalogs and virtual data warehouses
automatically inherit the same security restrictions that are applicable to your Cloudera environment. There is no need to specify the security
setup again for each database catalog or virtual warehouse. If you cannot see the data in
the connected database catalog after you log in, check and adjust data access permissions or
your environment and data warehouse user permissions.
In Cloudera AI, you can set up several connection types. For example, you can connect Cloudera Data Visualization to an Impala or Hive data warehouse. For more information on connection types, see Data connections in Cloudera Data Visualization.
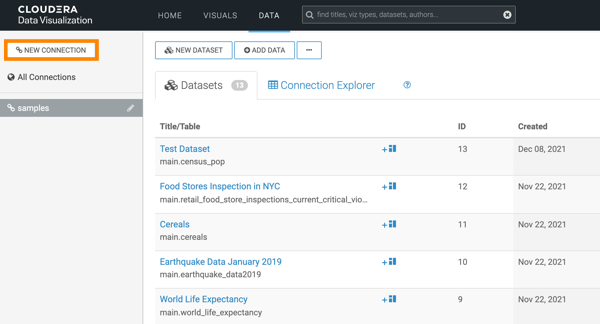
If this operation succeeds, the name of the new connection appears on the side menu bar.


