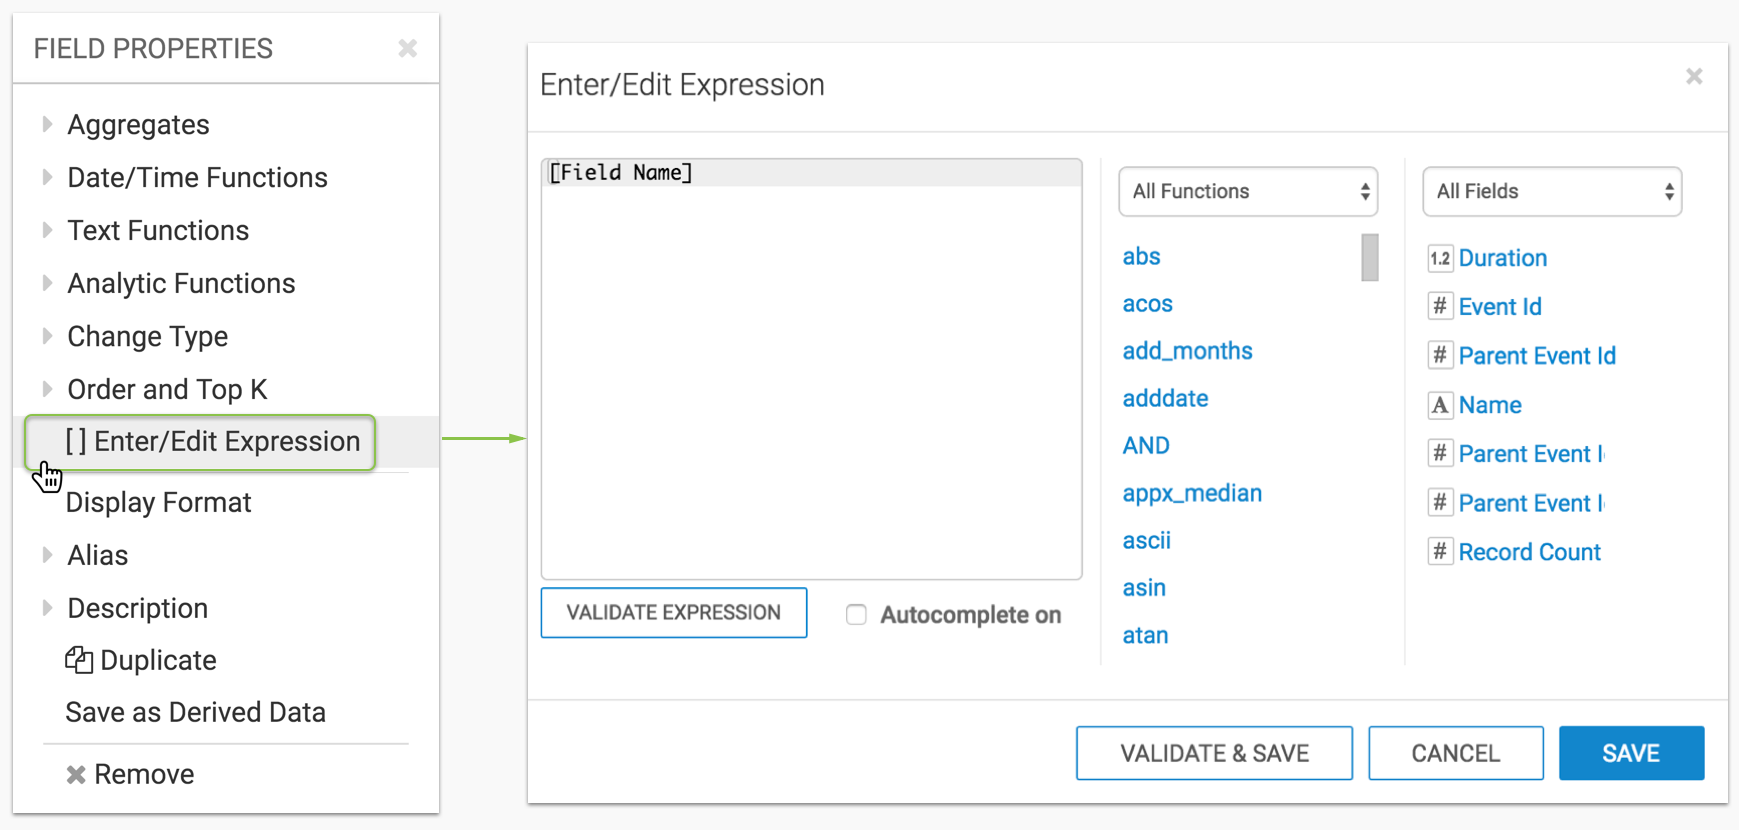
Customizing enter/edit expressions
Cloudera Data Visualization provides you with an option to manually adjust expressions that modify the field values of the visual, the Enter /Edit Expression interface.
- Under Field Properties, click to expand the [ ]
Enter/Edit Expression menu to open the Expression
Editor.
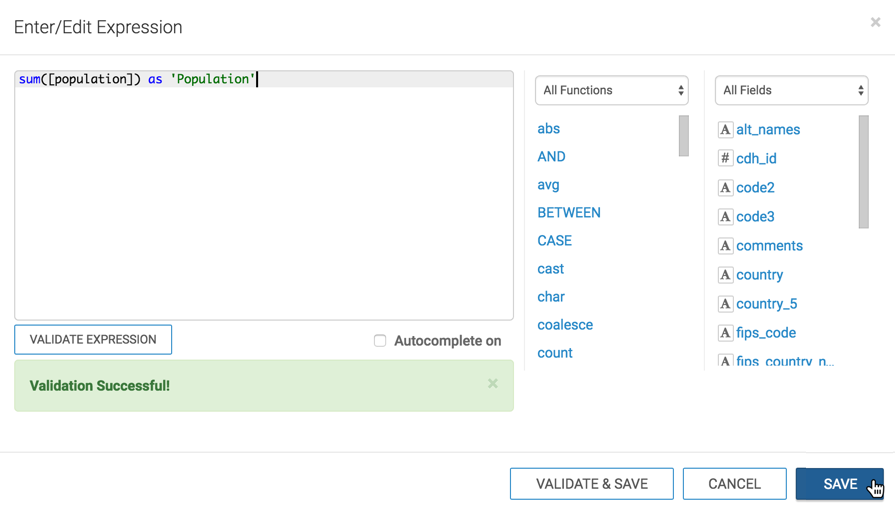
- Validate Expression: Validate the expression that you
build.
Simple Alias expression
You can add an alias to the expression simply by typing it in the text field:
sum([population]) as 'Population'
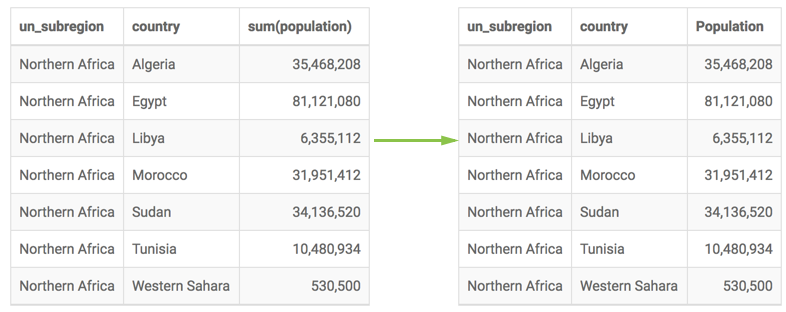
Remember to Validate Expression and click Save.
After clicking Refresh Visual, you will see a change similar to the one in the following image:
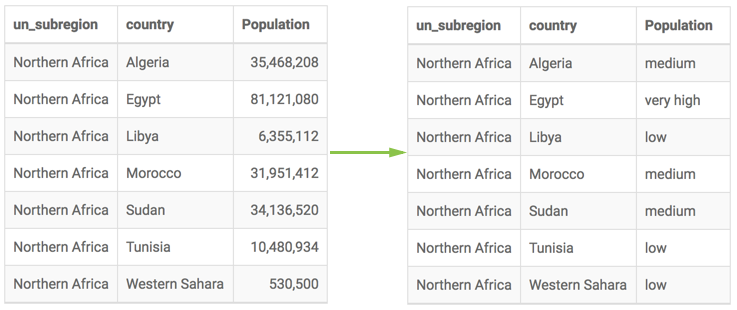
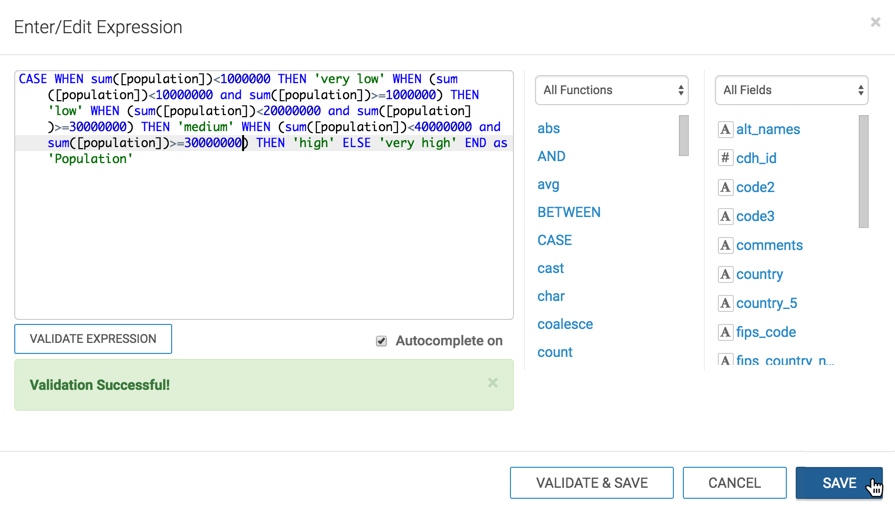
CASE expression
You can add a CASE expression to categorize the values, by selecting
CASE in the functions area, and using autocomplete. The expression
in this example follows; if you paste it into the editor, remove hard line returns:
CASE WHEN sum([population])<1000000 THEN 'very low'
  WHEN (sum([population])<10000000 and sum([population])>=1000000) THEN 'low'
  WHEN (sum([population])<20000000 and sum([population])>=30000000) THEN 'medium'
  WHEN (sum([population])<40000000 and sum([population])>=30000000) THEN 'high'
  ELSE 'very high'
END
as 'Population'
Remember to validate the expression and click Save.
After clicking Refresh Visual, you will see a change similar to the one in the following image: