Creating a Cloudera Data Warehouse data connection in Cloudera Data Visualization
Learn how to connect to data when using Cloudera Data Visualization in Cloudera Data Warehouse data service. You can connect Cloudera Data Visualization to a Virtual Warehouse to visualize your data. Similar to using a BI client, you can
configure and connect to Virtual Warehouses from different clusters.
You must connect to your data prior to using the data modeling and visualization functions.
You make the connection to the Virtual Warehouse when you select your warehouse in the steps
below. The Cloudera Data Warehouse URL has the same compute instance ID as your
Virtual Warehouse.
When you create a connection, you automatically gain privileges to create and manage
datasets associated with this connection, and to build dashboards and visuals within these
datasets.
For more information on the Manage data connections privilege, see RBAC
permissions.
For instructions on how to define privileges for a specific role, see Setting role
privileges.
For instructions on how to assign the administrator role to a user, see Promoting
a user to administrator.
When you are creating a Hive or Impala data connection within the same cluster, the
connection is considered secure and trusted, and the connection details can be
auto-populated with a default authentication user.
Start Cloudera Data Visualization from the left navigation panel in Cloudera Data Warehouse.
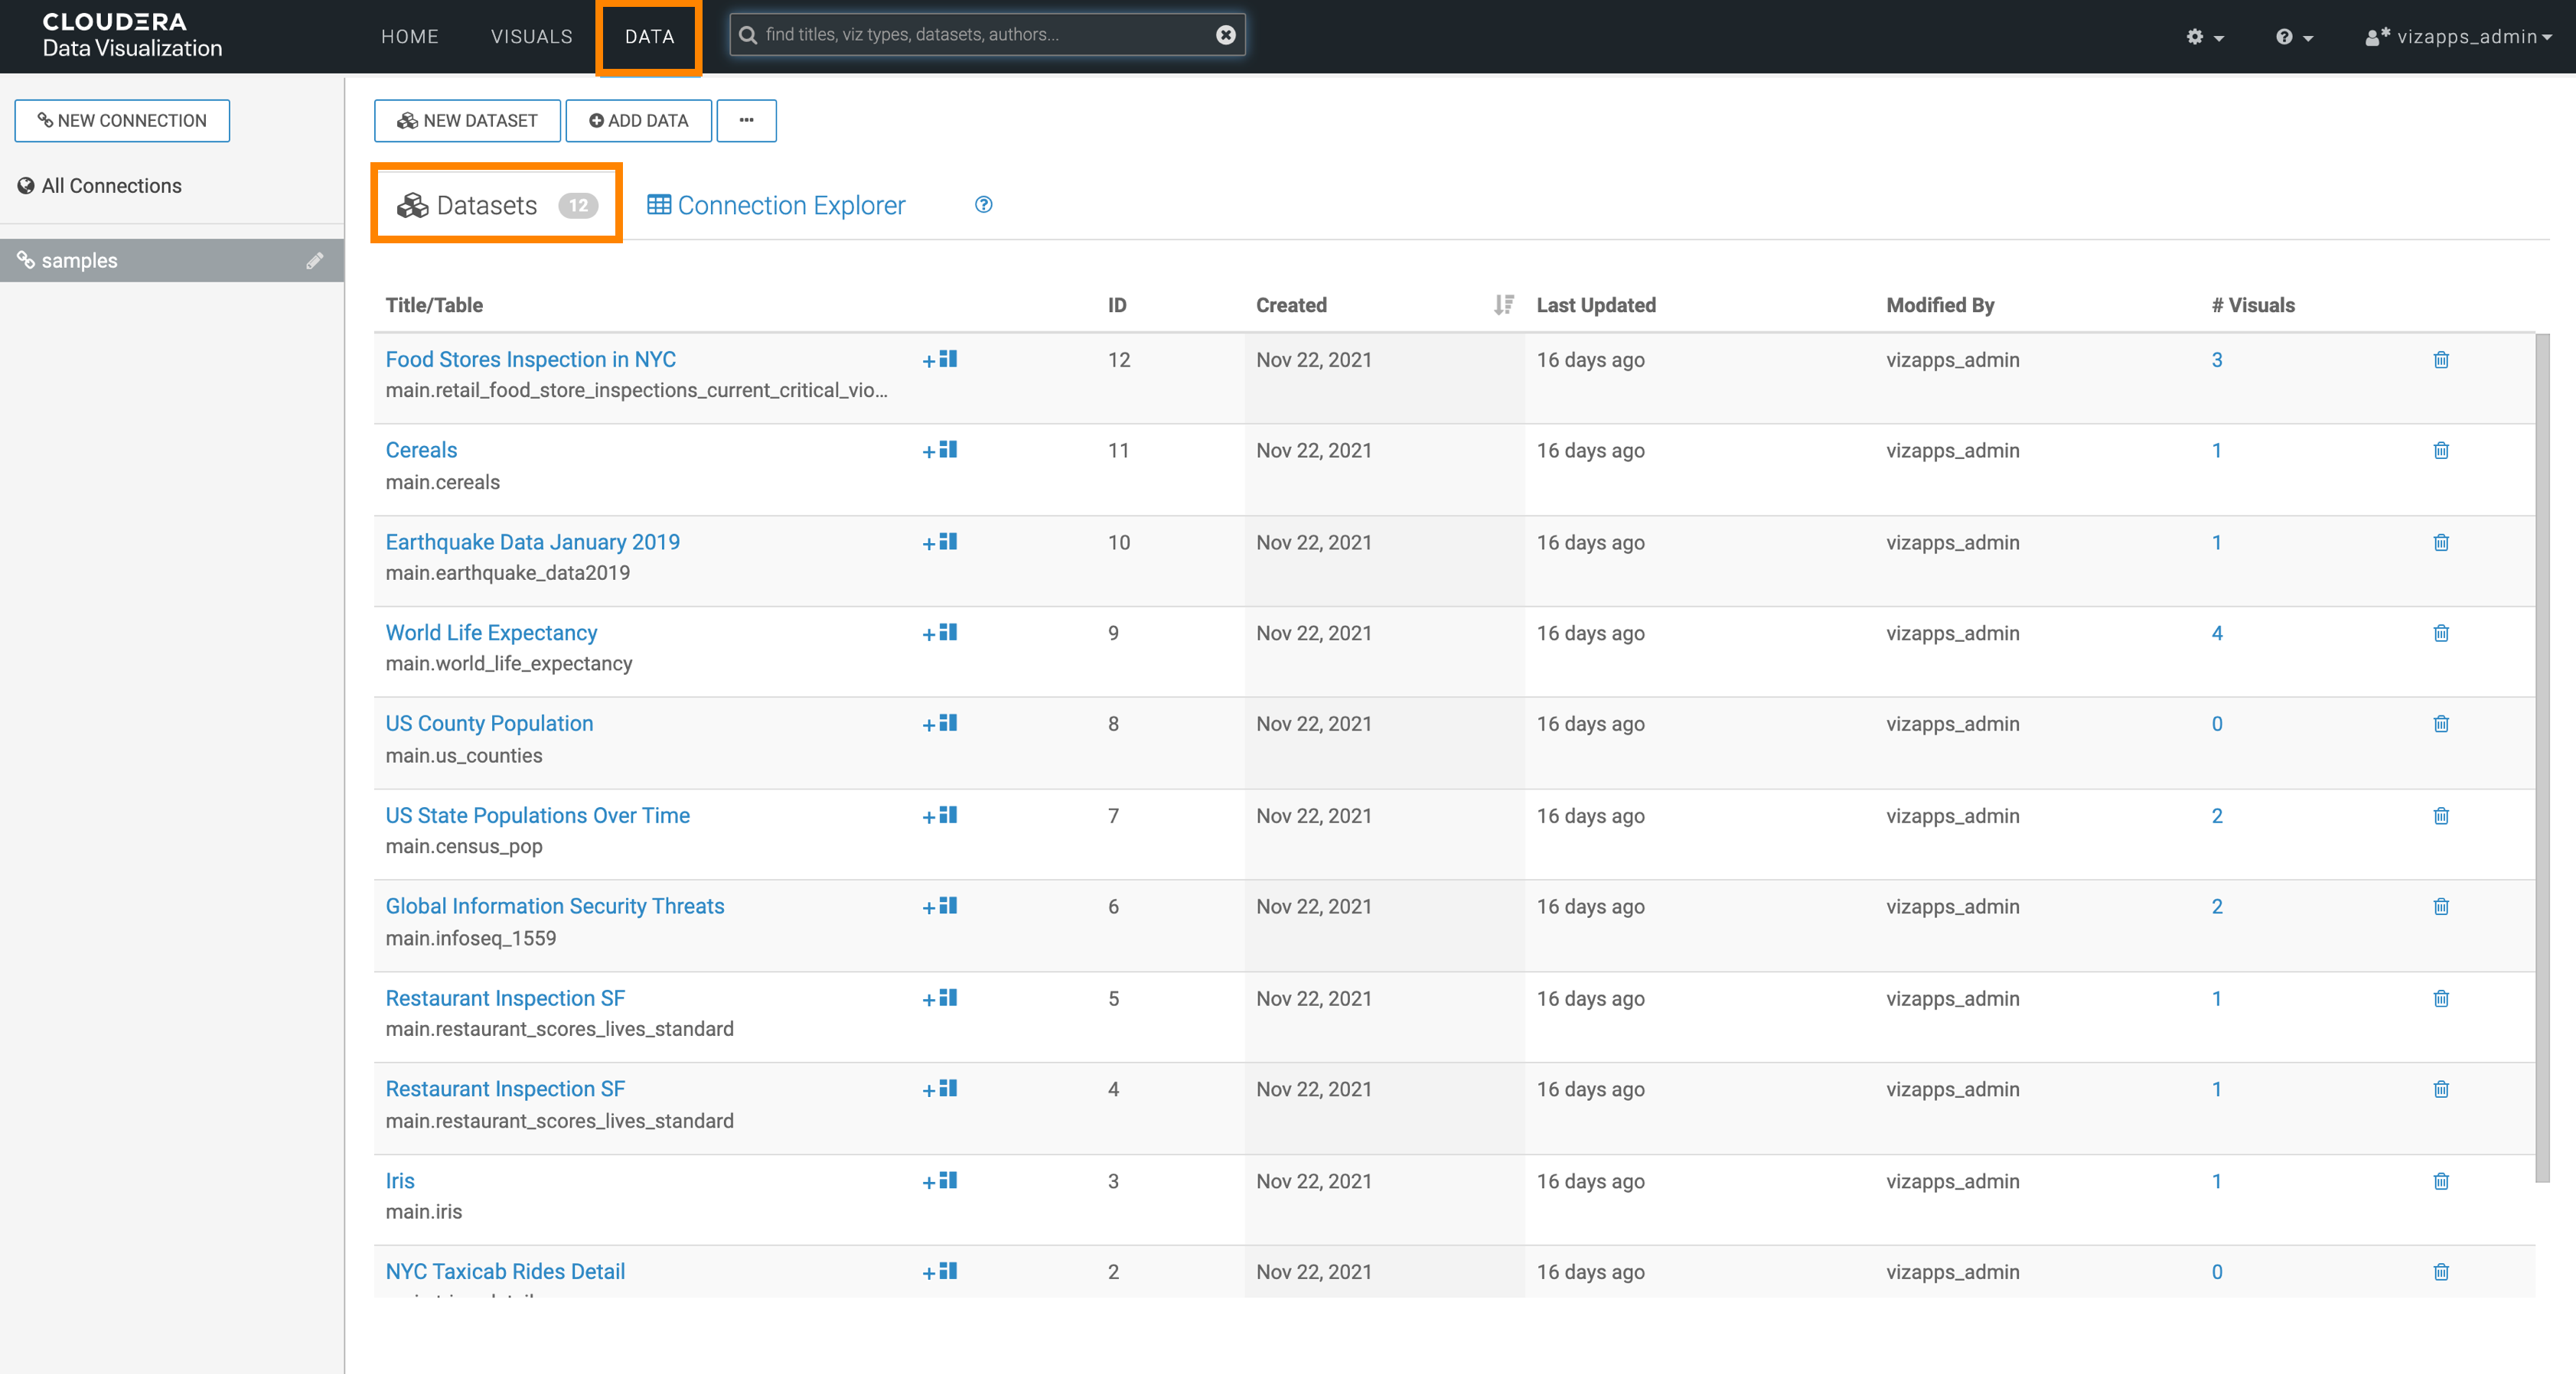
On the main navigation bar, click DATA.
The DATA interface appears, open on the
Datasets tab.
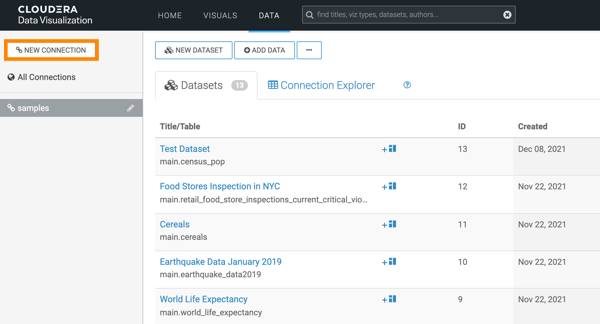
In the side menu bar of DATA, click NEW
CONNECTION.
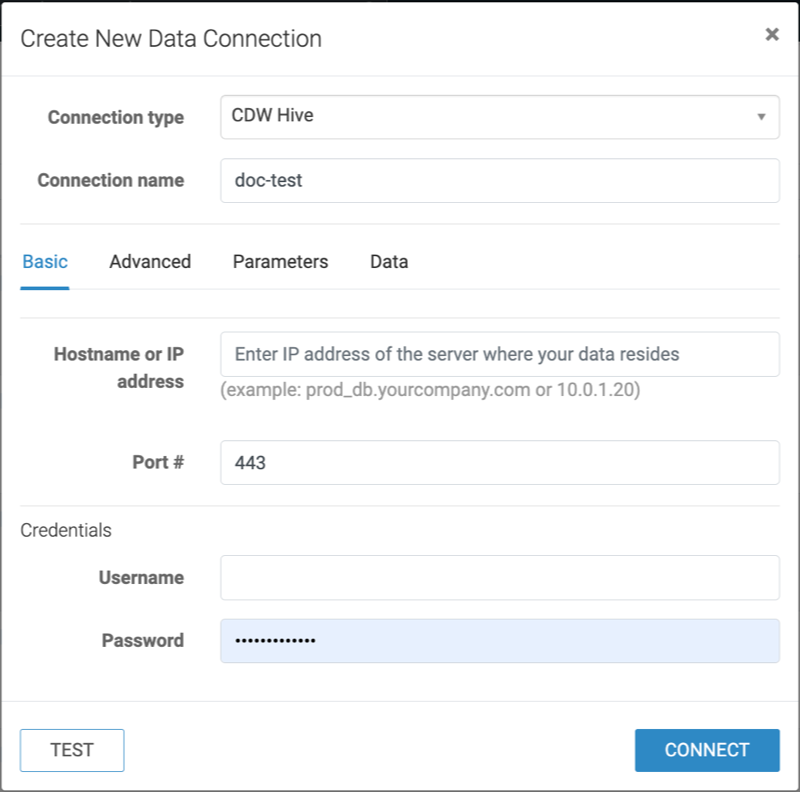
The Create New Data Connection modal window appears.
In Connection type, select CDW Hive or CDW Impala,
and provide a name for your connection.
Select a Cloudera Data Warehouse warehouse to connect to.
Click the Advanced tab and configure the additional
details.
Click TEST.
If the connection is valid, the system returns a Connection Verified
message.
Click CONNECT.
You can create a data set, and then start creating visuals,
dashboards, and applications. For more information, see Creating datasets and
Creating a visual.