
Configuring date and time for search requirements
To configure date and time settings on datasets in Cloudera Data Visualization, follow the steps below.
-
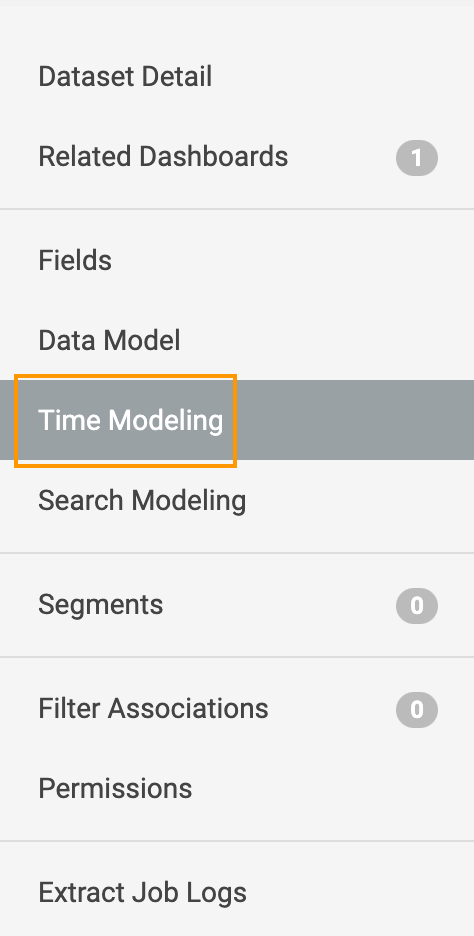
On the left navigation menu of the Dataset Detail
page, click Time Modeling.
Specifying date/time field format for a dataset
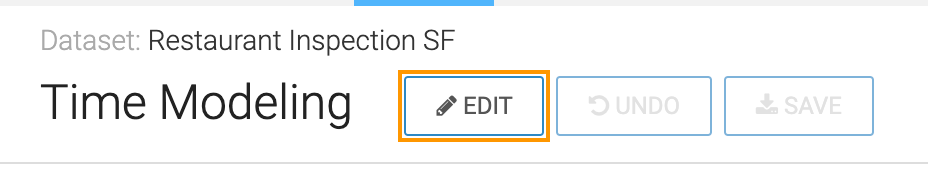
On the Time Modeling page, specify the Date/Time Field of the dataset to ensure that Cloudera Data Visualization can correctly interpret and utilize the date/time information for search and analysis.
-
At the top of the page, click EDIT.
-
In the Date/Time Field section, select the name of the
correct field that contains the date information from the first drop-down
list.
The system groups dataset fields in timestamp or other time formats at the top, under the heading Date Fields.
In this example, the 'inspection_date' field has been selected.

-
In the Date/Time Field section, select the appropriate
date format mask from the second drop-down list.

Depending on your location, the masks may have a different format. For example, the two options in this example are YYYY-MM-DD and YYYY-MM-DD HH:mm:ss. In this example, the dataset does not contain the hour, minute, and second information, so the default format YYYY-MM-DD is kept.
Specifying default time interval in dataset
On the Time Modeling page, specify the default time interval for data aggregation and analysis to ensure that time-based filters, visualizations, and searches are applied consistently across the dataset, based on the selected interval.
-
From the options provided, select the appropriate interval for analyzing metric
trends.
Depending on your location, you may have different options. For example: Month, Quarter, or Year.

