Assigning groups to roles

  • There are three distinct access levels across the organization: Data Admins, Analysts, and Visual Consumers.
  • There are three teams: Marketing, Sales, and Operations.

The following steps demonstrate how to create the necessary user groups in ArcViz. Note that depending on your architecture, this definition may happen at the LDAP layer, with groups visible to Data Visualization.

  1. On the main navigation bar, click the Gear icon, and select Manage Roles.
  2. In the Roles interface, click either the name of the role, Marketing Data Admin, or the Edit icon on its row.
  3. In the Role Detail interface, select the Members tab.
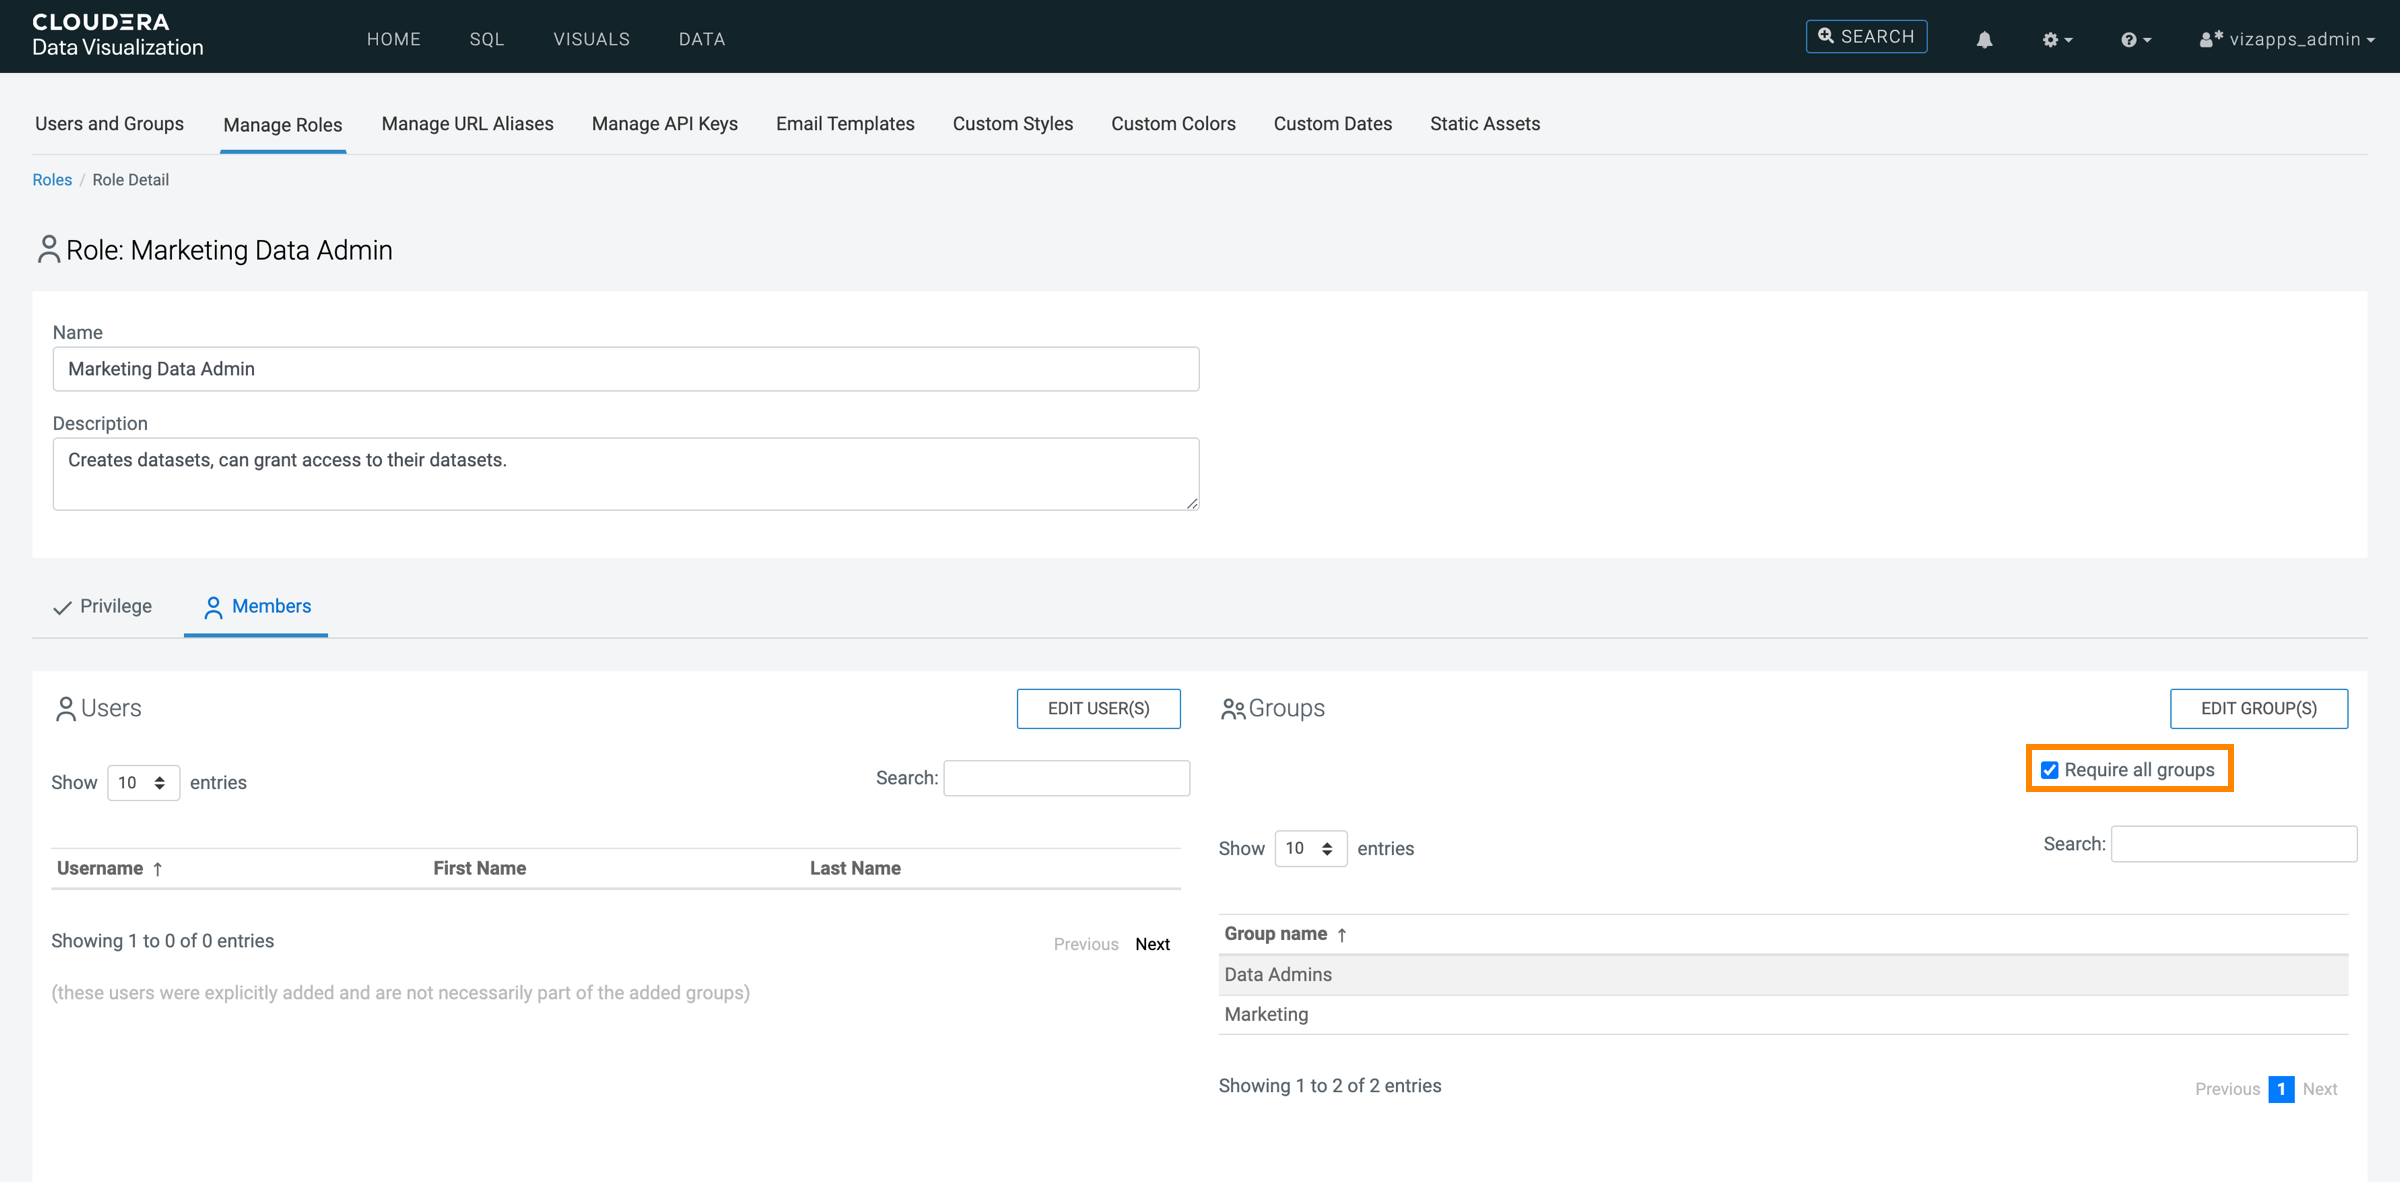
  4. In Groups section, click EDIT GROUP(S).

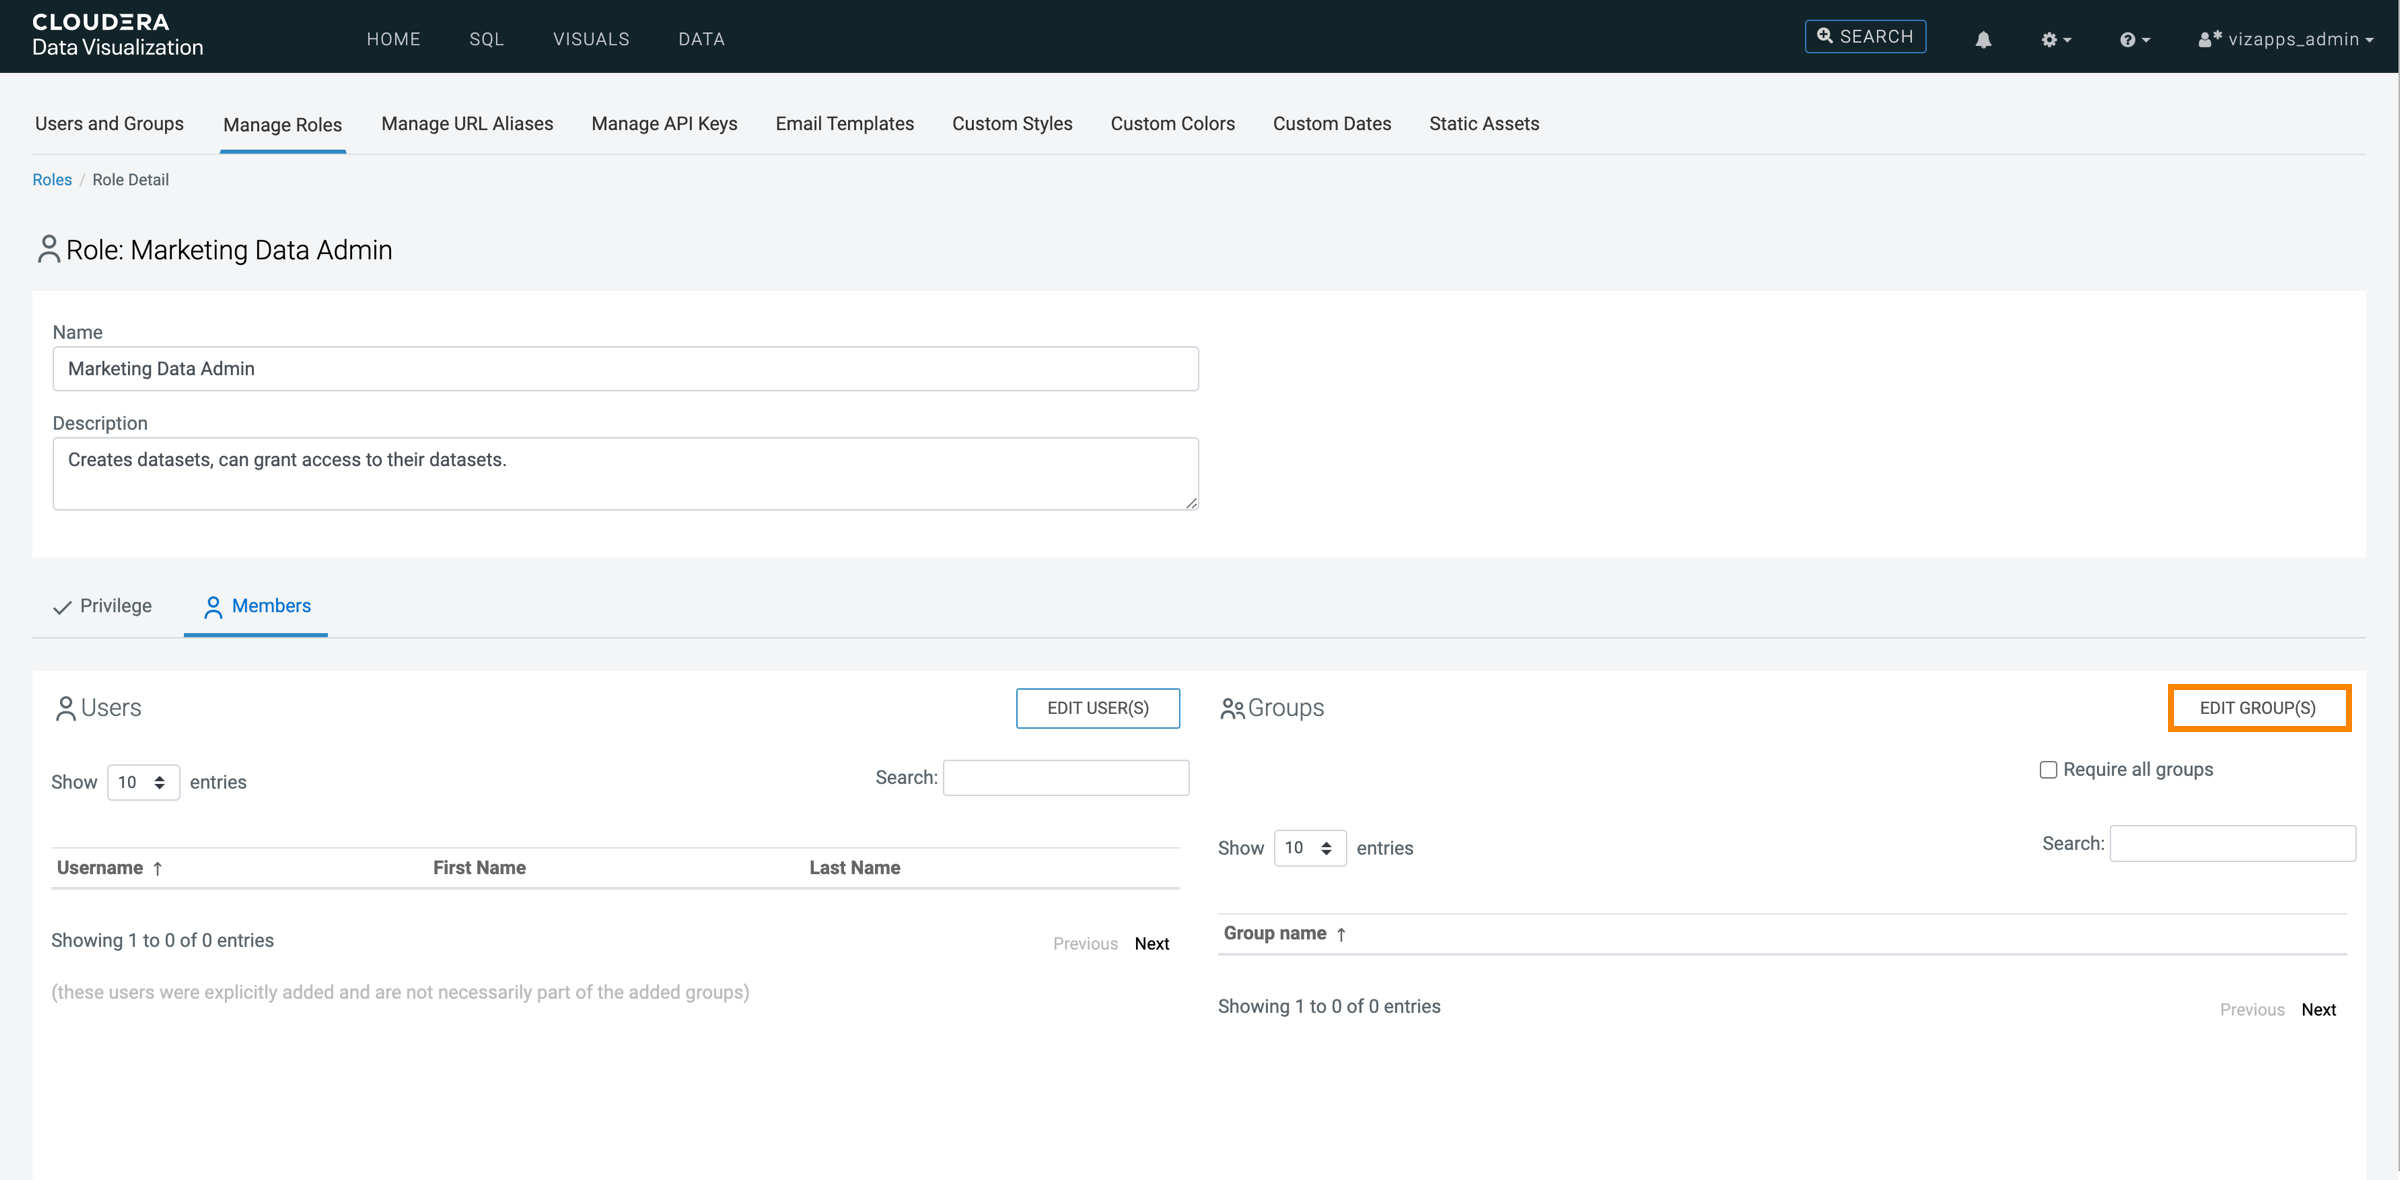
    The Role Assignment modal window appears.

  5. Select the groups Data_Admins and Marketing.
  6. Click ADD.
  7. Click APPLY.

    The Groups list now contains Data_Admins and Marketing.

  8. Select the Require all groups option.
  9. Click SAVE.

    A confirmation message appears briefly.

  10. Repeat the previous steps to assign groups to the rest of the roles, according to the following information. Remember that you must use the Require all groups option.
    Table 1. Roles and their group assignments
    Role Name Assigned groups
    Marketing Data Admin
    • Data_Admins
    • Marketing
    Marketing Analyst
    • Analysts
    • Marketing
    Marketing Visual Consumer
    • Visual_Consumers
    • Marketing
    Sales Data Admin
    • Data_Admins
    • Sales
    Sales Analyst
    • Analysts
    • Sales
    Sales Visual Consumer
    • Visual_Consumers
    • Sales
    Operations Data Admin
    • Data_Admins
    • Operations
    Operations Analyst
    • Analysts
    • Operations
    Operations Visual Consumer
    • Visual_Consumers
    • Operations