To create a new asset, follow these steps.
-
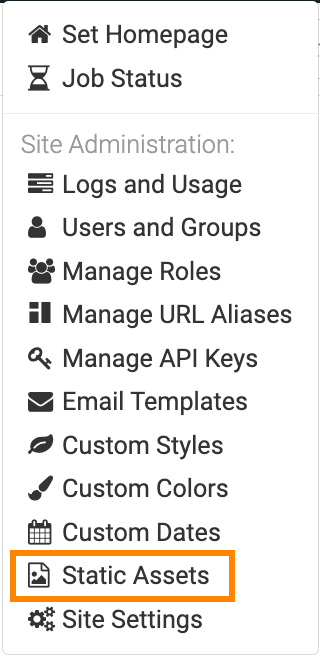
Click the Gear icon on the main navigation bar to open the
Administration menu.
-
Click Static Assets.
-
In the Manage Image, CSS, and JS Assets interface, click
NEW ASSET.
-
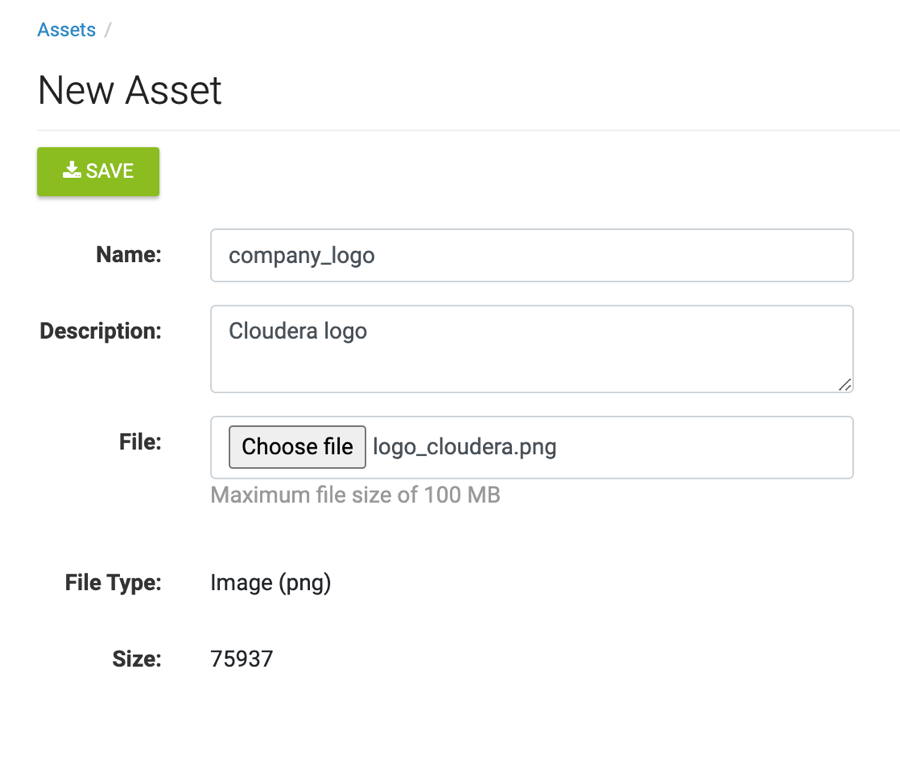
In the New Asset interface, define the new asset:
-
Enter the Name of the asset.
In this example, company_logo is used.
-
Provide a Description for the asset.
In this example, Cloudera Logo is used.
-
Under File, click Choose File and use
your system interface to add the file to Cloudera Data Visualization.
-
After you add the file, Cloudera Data Visualization adds the correct
information to the immutable fields File Type and
Size.
-
Click SAVE.
The Asset information interface appears.
-
You can change the Name and Description
of the asset, and even replace the file, using Change File. The
asset also has its assigned ID.
The asset also has a clickable URL for viewing its contents.
This is equivalent to the linked ID on the Manage
Image, CSS, and JS Assets interface. Also, note the navigation path to the
asset; in this case, it is:
http://127.0.0.1:8000/arc/reports/staticasset/raw/1.png
In general, the link has the following form:
[http|https]://ip_address/arc/reports/staticasset/raw/ID.file_extension
Where ID is the ID of the asset as it
appears on the interface, and file_extension is one of the
supported file formats: png, jpg,
css, or js.