
AI visual [Technical Preview]
Cloudera Data Visualization enables you to embed interactive and actionable elements within your dashboards and applications. The AI visual introduces a natural language interface for interacting with dashboards and datasets. It leverages text input and speech detection with interactive data visualization to provide an intuitive user experience. The AI visual is a powerful tool for enhancing your dashboards. It helps you to obtain data insights through interactive conversations about the information stored in a dataset.
How does it work?
When added to a dashboard, the AI visual connects to a vector database (Solr 9 or SQLite). It queries this database based on user-entered text, providing augmented chat support. Results resembling your query are sent to the specified large language completion model defined in the site settings. The model processes the information and displays the results within the visual as a text response.
How to use it?
You can simply ask a question and the AI visual provides a textual response. After configuring and adding the visual to your dahsboard, you can interact with it by entering your question into the text box. You can also use the [microphone] icon to ask your question. The system will detect your speech, convert it to text, and enter it to the text box. The AI visual will provide a response based on the underlying data. You can ask further questions or refine your queries through voice or text, and the system will offer additional insights by updating the visualizations accordingly.
To explore the data behind the AI visual's response, you can click the [info] button to reveal the underlying data. The information displayed is based on the settings defined for Tooltips when the visual was created. Additionally, you can explore other components of the dashboard to validate your insights and enhance your analysis.
The following steps demonstrate how to create an AI visual. For an overview of the shelves that specify this visual, see Shelves for AI visual.
Before using the AI visual in Cloudera Data Visualization, ensure the following prerequisites are met:
- Enable the AI visual feature in . For more information, see Managing AI settings.
- Select the AI engine and configure the necessary settings for the selected engine. For more information, see Managing AI settings.
- Ensure the data you intend to use with the AI visual has been vectorized.
- Ensure that a data connection has been configured for a data source
that supports columns of vector type.
- If using Solr as the vector database, note that Solr vector database integration in Cloudera Data Visualization requires Solr 9 and does not work with Solr 8.
-
You need to enable the data profiling feature in . For more information, see Managing data related site settings.
-
Add the AI visual to the dashboard.
-
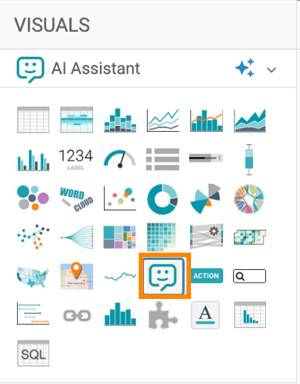
In the VISUALS menu, click the icon of the AI
visual.
-
In the VISUALS menu, click the icon of the AI
visual.
