Creating visuals with optional measures

You may choose to duplicate the dashboard that you created earlier according to the instructions in Creating visuals with optional dimensions. In this case, open the visual, and jump to Step 6 in the following workflow.
  1. Open a new dashboard.
  2. Click New Visual.
  3. Select the World Life Expectancy dataset in the Data menu.
  4. Select the Table visual type in the Visuals menu.
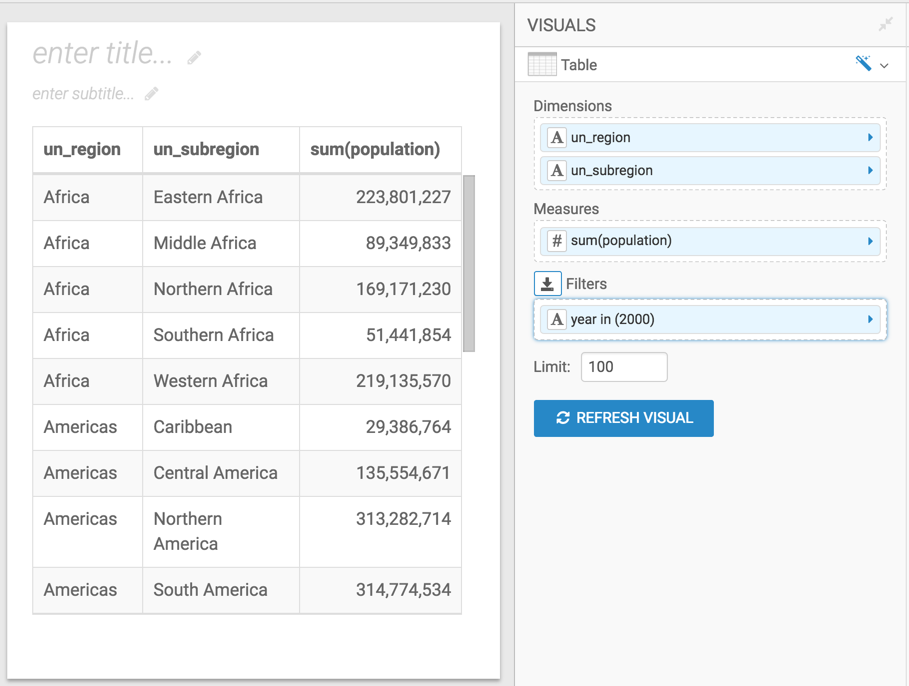
  5. Populate the shelves of the visual:
    • From Dimension, select and move un_region and un_subregion fields to the Dimension shelf.
    • From Measures, select and move population field to the Measures shelf.
    • From Dimensions, select and move year field to the Filters shelf.
    • On the Filters shelf, select year field, choose Pick values from a list, select 2000, and click SAVE.
  6. From Measures, select and move the life_expectancy field to the Measures shelf.
  7. On the Measures shelf, click the life_expectancy field.
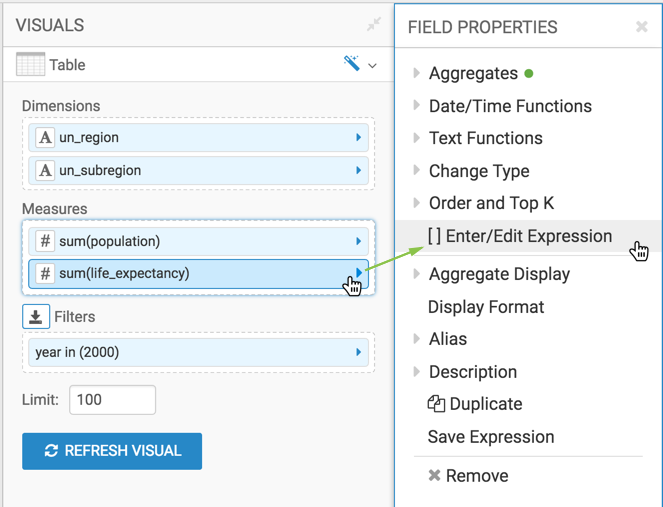
  8. In the FIELD PROPERTIES menu, select [ ] Enter/Edit Expression.
  9. In the Enter/Edit Expression modal window, change the text to the following expression: [<<mes:>>].
  10. Click VALIDATE & SAVE.
  11. Click REFRESH VISUAL.
  12. Change the name of the visual to Regional Populations.
  13. Click SAVE.