
Creating a data extract
Learn how you can extract data from a dataset to a table in the same or a different data connection.
-
You need to enable the data extract feature in . For more information, see Managing data related site settings.
-
You need the following privileges to work with data extracts:
- Manage dataset right for the source dataset
- Manage AVs/extracts right for source and target data connections.
Follow these steps to create a data extract:
-
Click CREATE DATA EXTRACT.
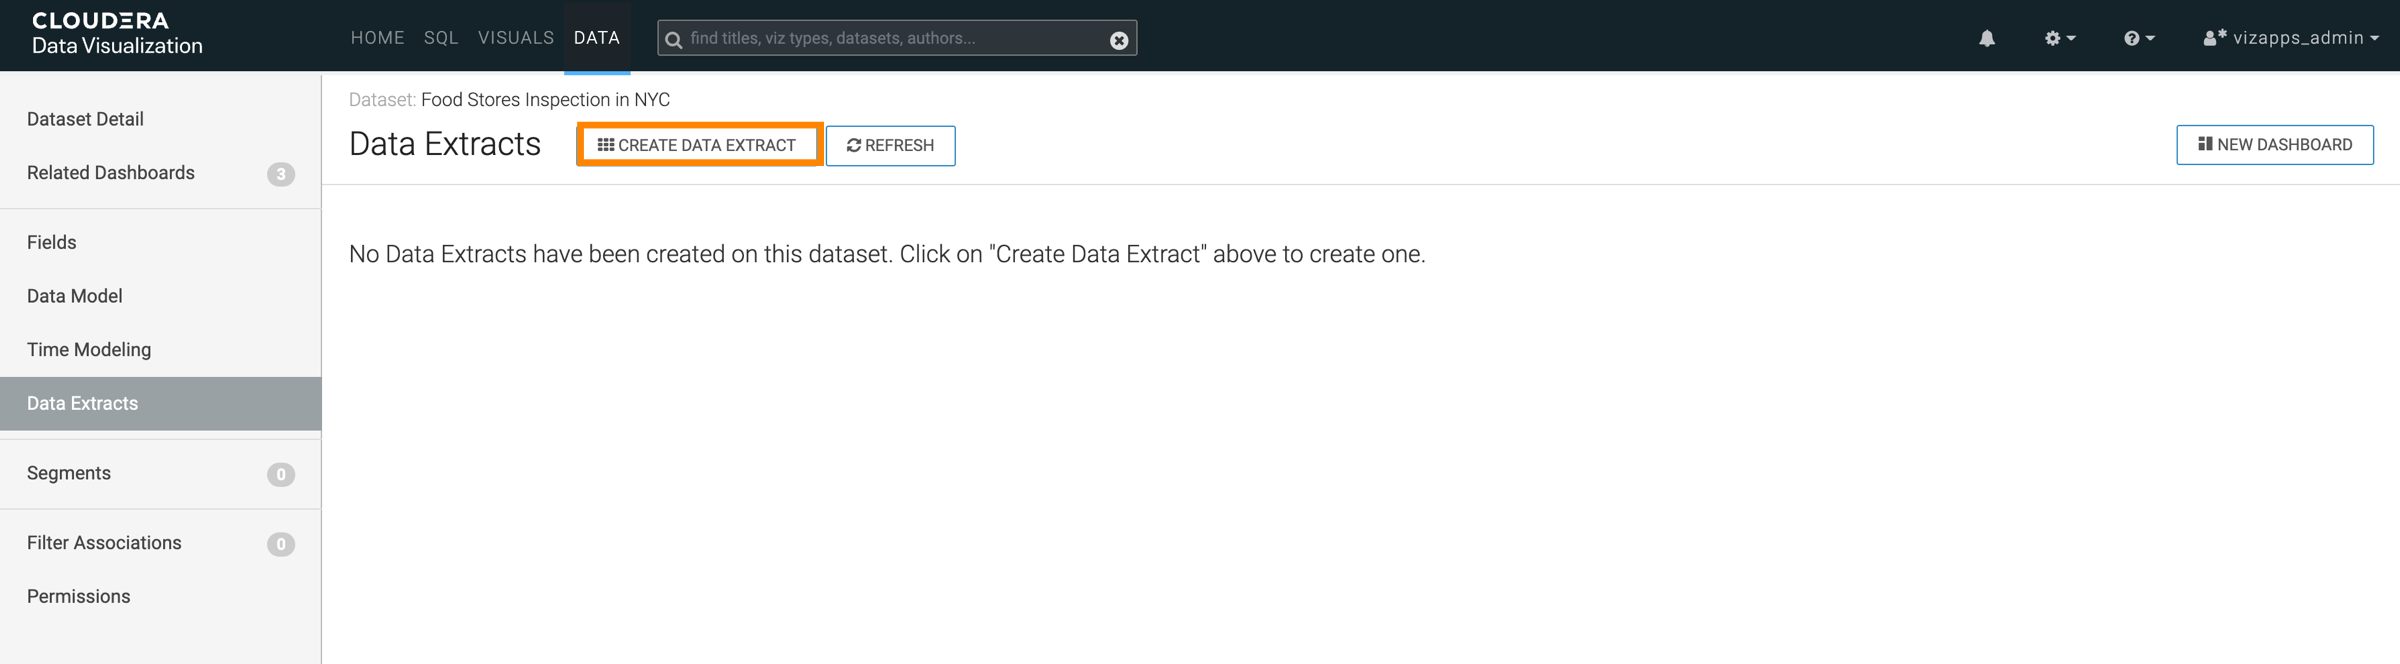
The CREATE DATA EXTRACT modal window opens.
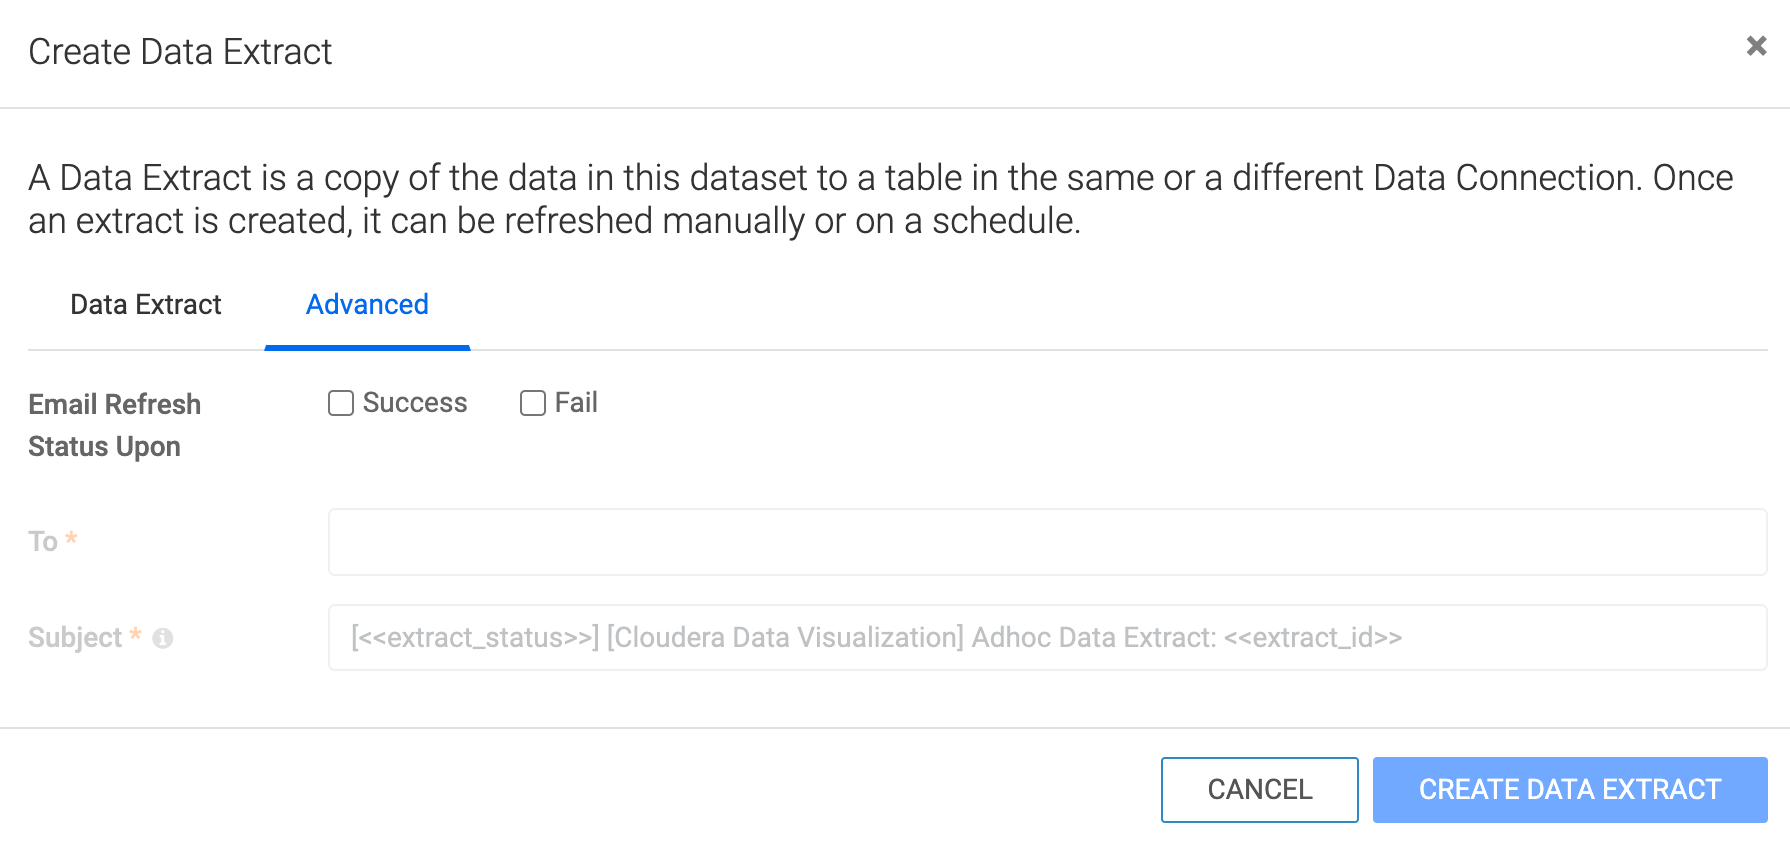
- Optional:
If you want to send an email confirmation about the extract's status, switch to the
Advanced tab of the Create Data Extract
modal window.
- Select what event(s) you want to be notified about - success, failure or both.
- Add one or more email addresses as recipients.
- You can edit the default subject line of the notification email.
-
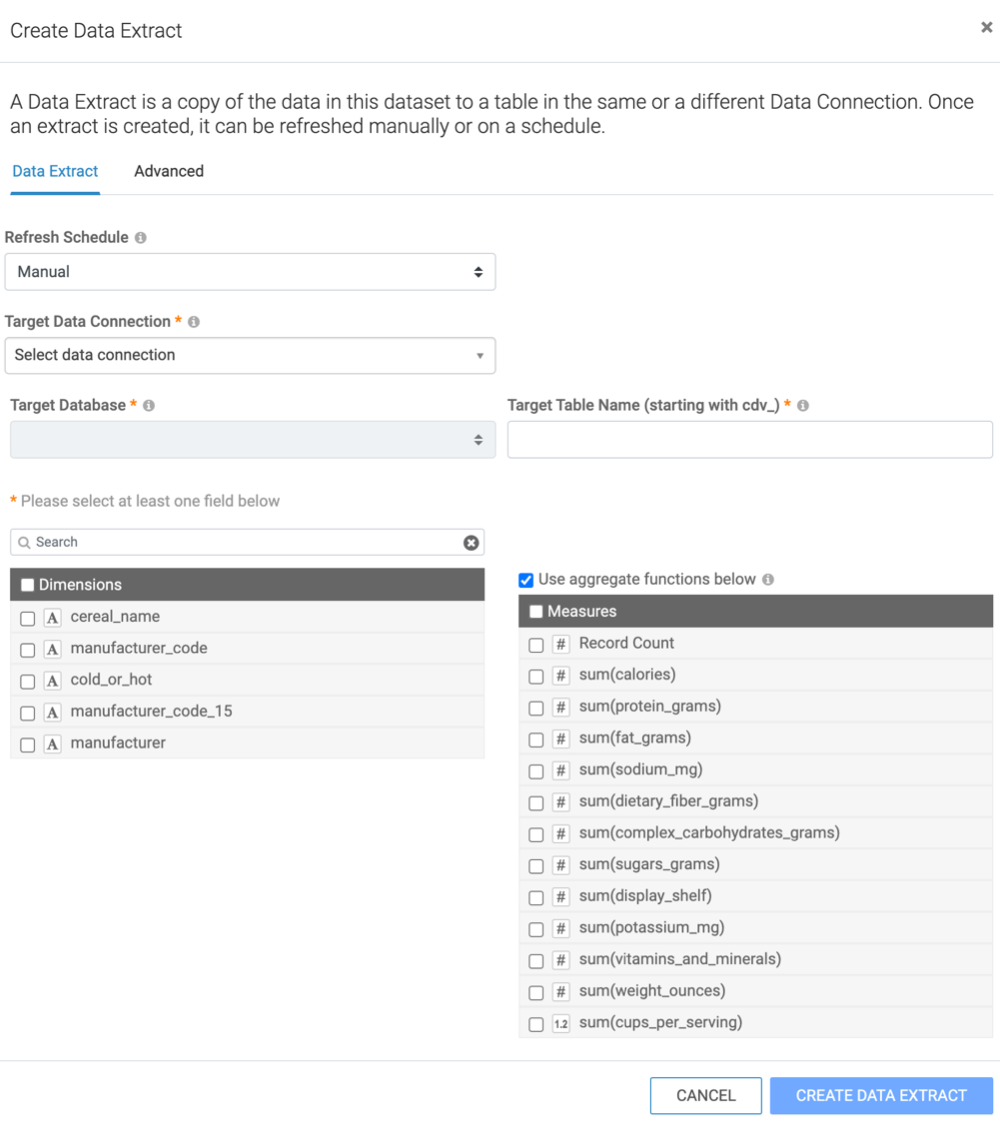
Click CREATE DATA EXTRACT after all required fields are
completed.
When the extract is created, you can refresh it manually or it will be refreshed on the schedule you defined in Step 5.

The extract is created, and its state shows as Never run.
You must run the extract to populate the target table and allow building a dataset or dashboard on the target table.
