Accessing a Data Lake from CML
CML can access data tables stored in an AWS or Microsoft Azure Data Lake. As a CML Admin, follow this procedure to set up the necessary permissions.
The instructions apply to Data Lakes on both AWS and Microsoft Azure. Follow the instructions that apply to your environment.
-
Environment Setup
In CDP, set up paths for logs and native data access to the S3 bucket or ADLS Gen2 container.
In the Environment Creation wizard, set the following:
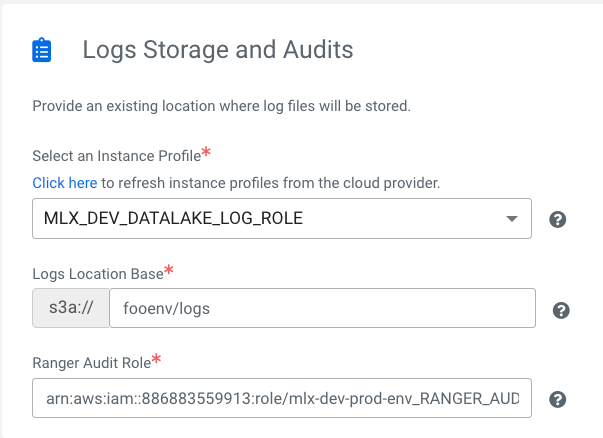
-
Data Access
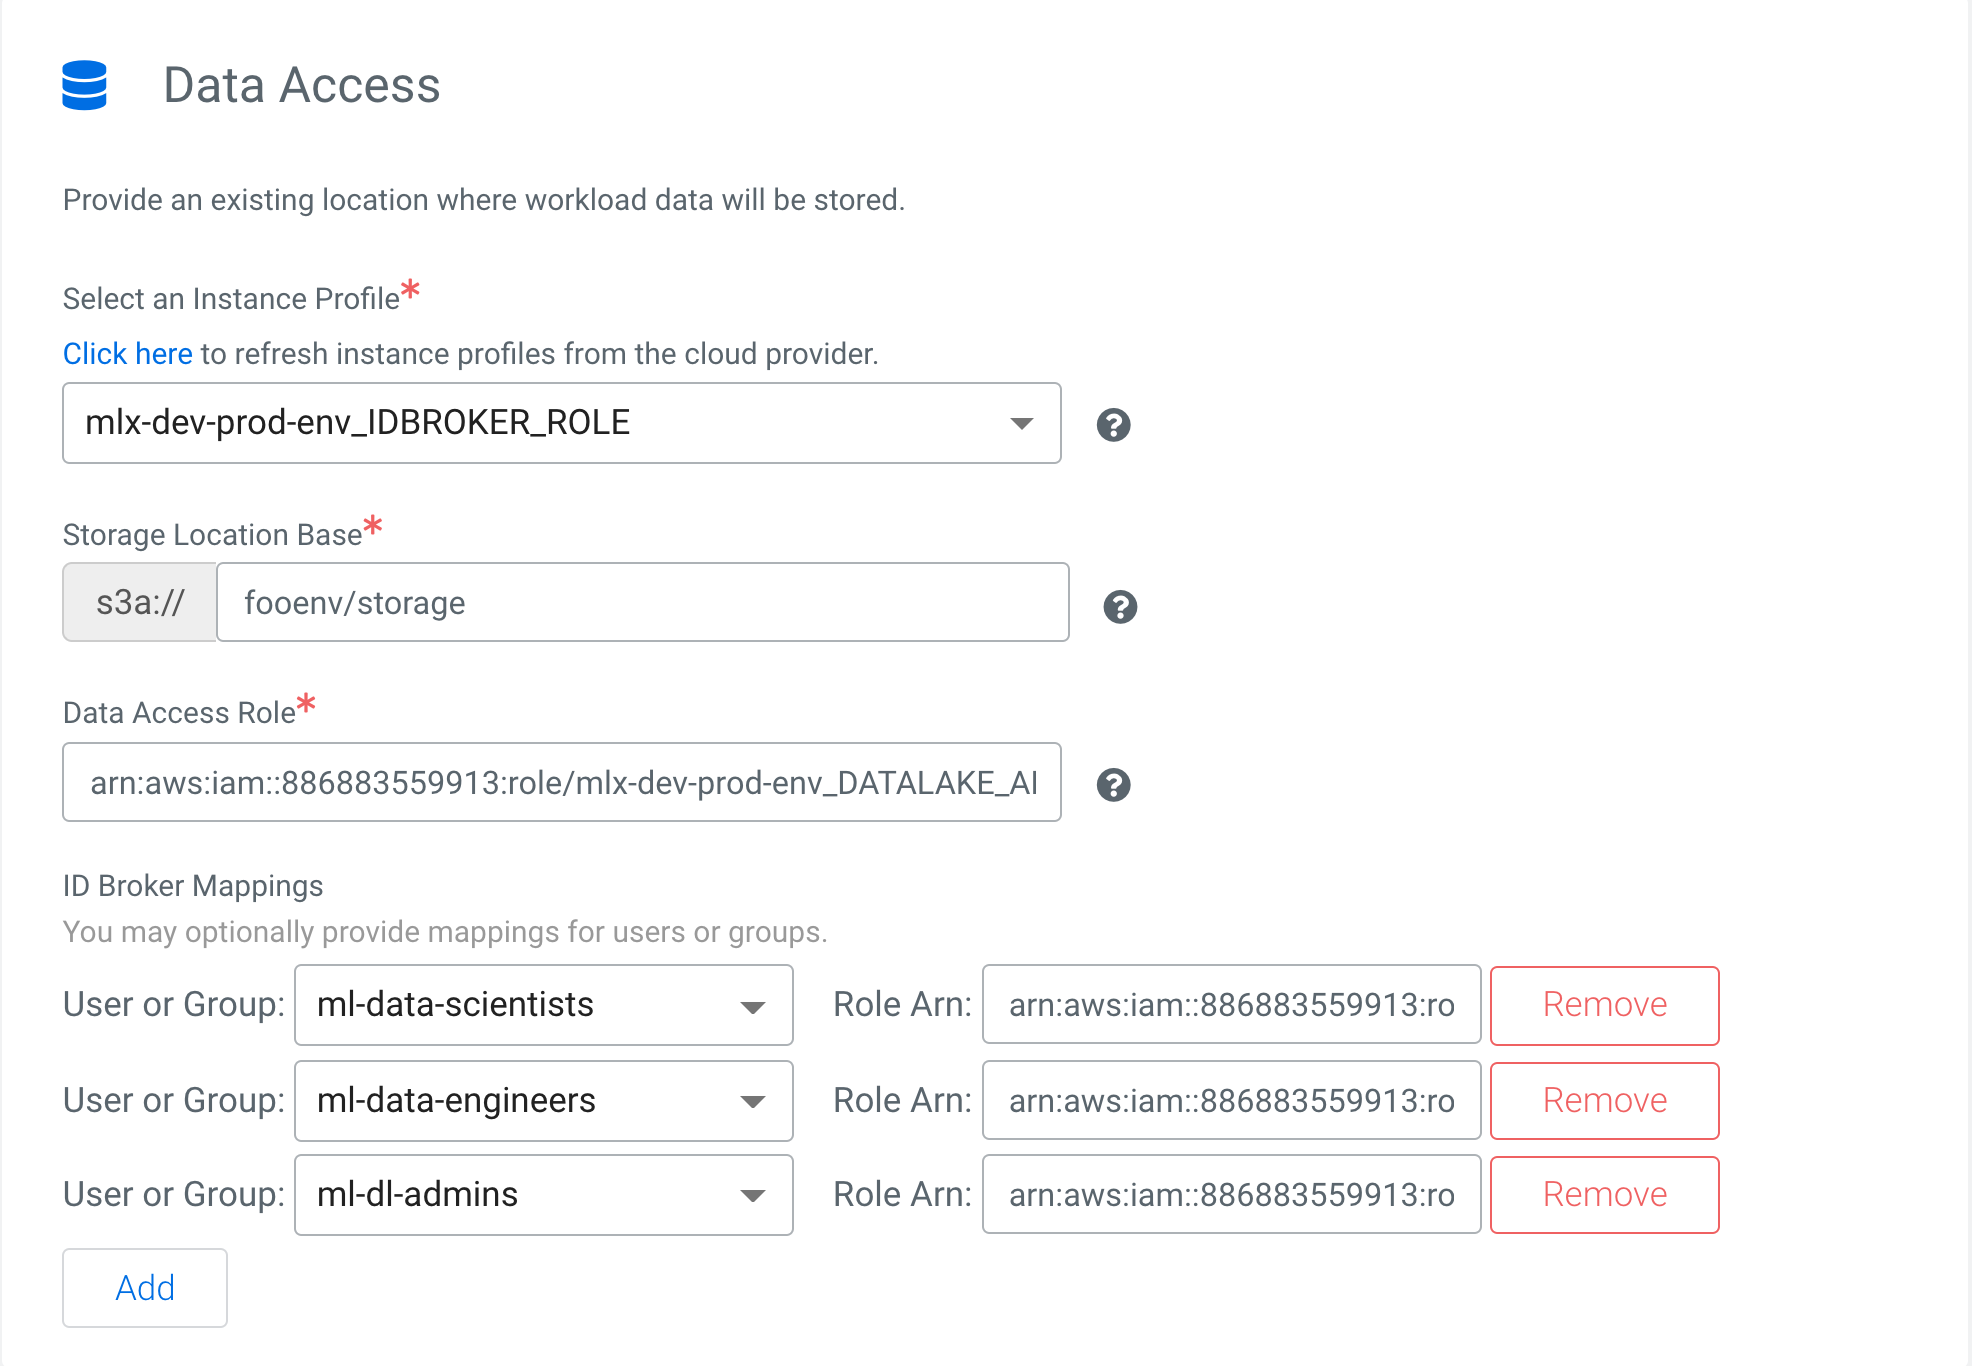
- Instance Profile - The IAM role or Azure identity that is attached to the IDBroker node of the Data Lake cluster. IDBroker uses this profile to assume roles on behalf of users and get temporary credentials to access S3 buckets or ADLS containers.
- Storage Location Base - The S3 or ADLS location where data pertaining to the environment is saved.
- Data Access Role - The IAM role or Azure identity that has access to read or write environment data. For example, Hive creates external tables by default in the CDP environments, where metadata is stored in HMS running in the Data Lake. The data itself is stored in S3 or ADLS. As Hive uses Hadoop authentication, it uses IDBroker to access S3 or ADLS, rather than using Instance profiles or Azure identities. Hive uses the data access role for storage access.
- ID Broker Mappings - These specify the mappings between the CDP user or groups to the AWS IAM roles or Azure roles that have appropriate S3 or ADLS access. This setting enables IDBroker to get appropriate S3 or ADLS credentials for the users based on the role mappings defined.
This completes installation of the environment.
-
Data Access
-
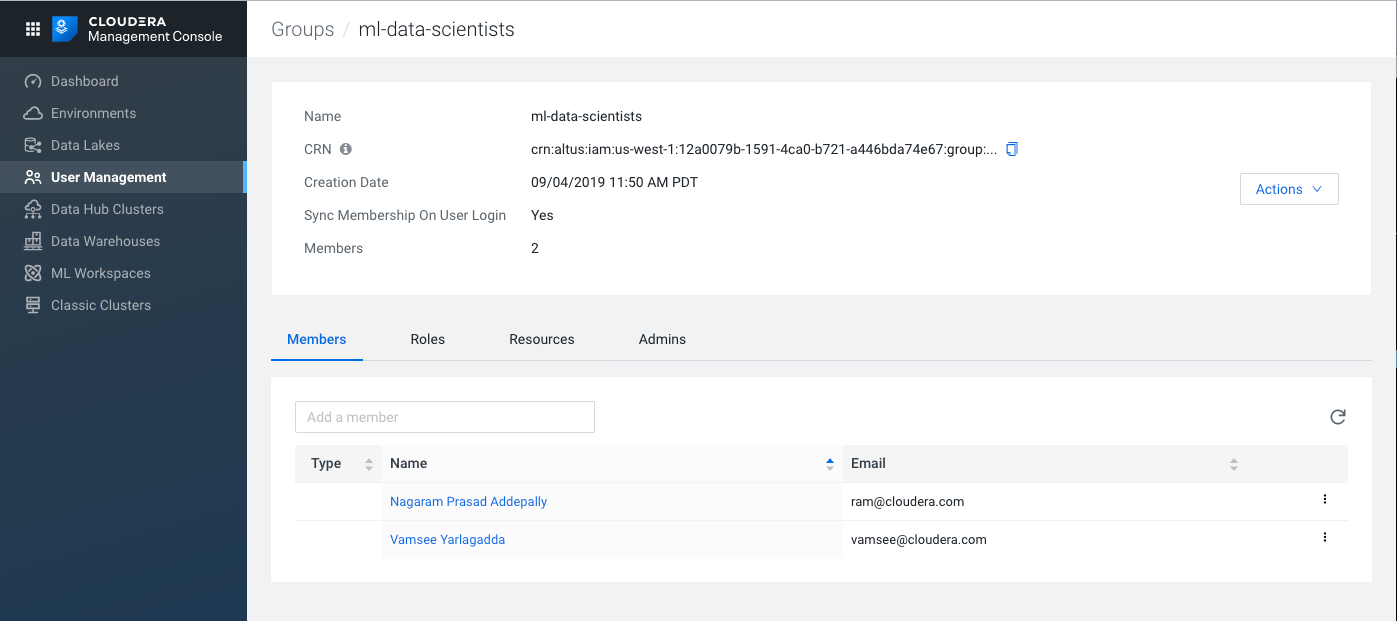
User Group Mappings
In CDP, you can assign users to groups to simplify permissions management. For example, you could create a group called ml-data-scientists, and assign two individual users to it, as shown here. For instructions, see link.
- Sync users
Whenever you make changes to user and group mappings, make sure to sync the mappings with the authentication layer. In User Management > Actions, click Sync Users, and select the environment.
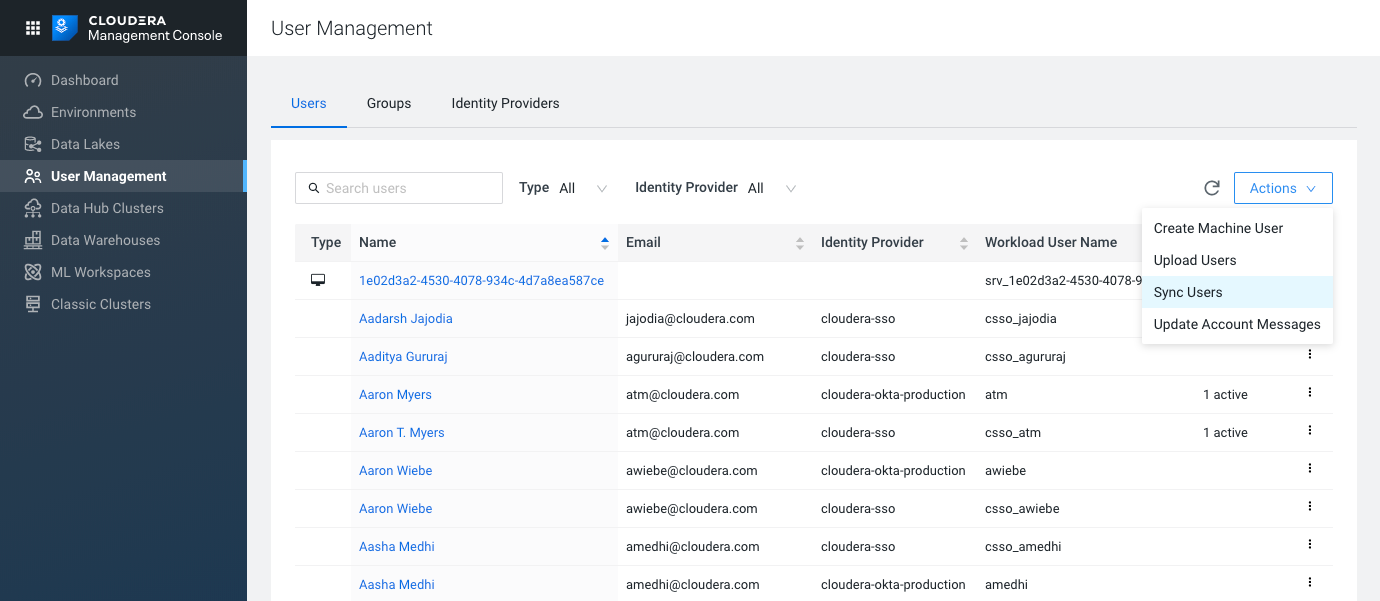
- Sync users
-
IDBroker
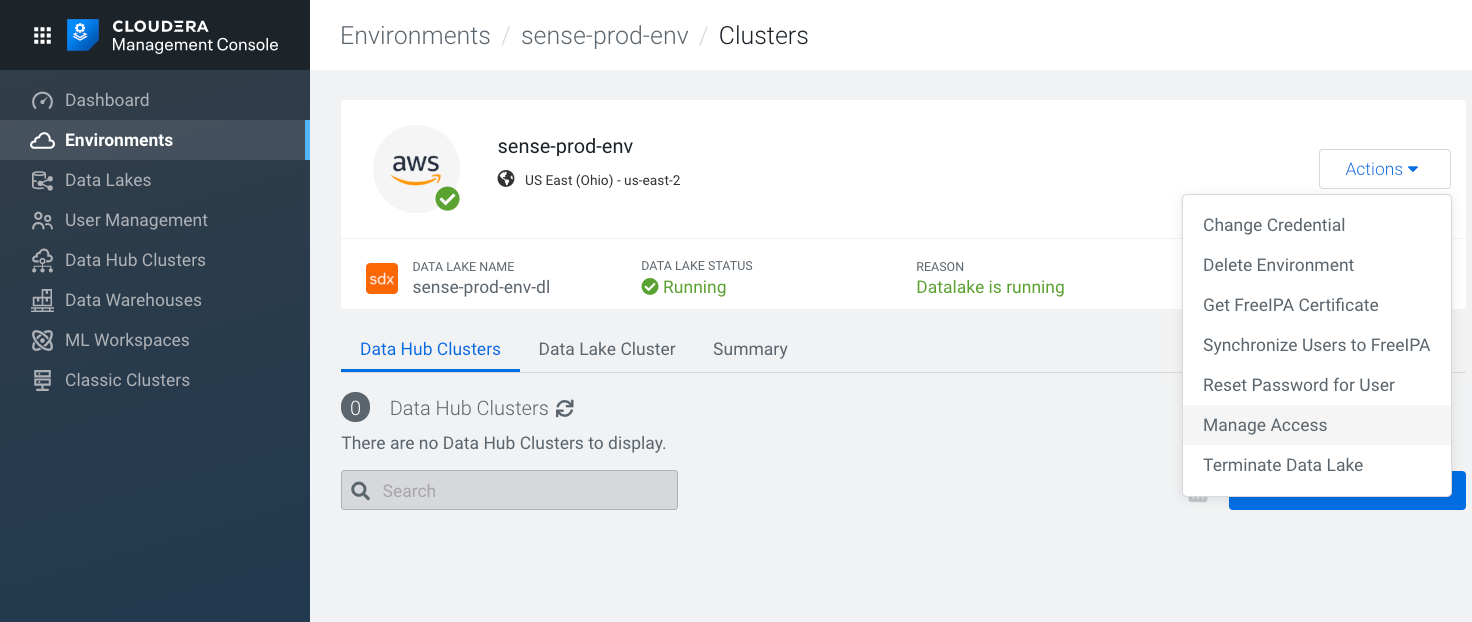
IDBroker allows an authenticated and authorized user to exchange a set of credentials or a token for cloud vendor access tokens. You can also view and update the IDBroker mappings at this location. IDBroker mappings can be accessed through Environments > Manage Access. Click on the IDBroker Mappings tab. Click Edit to edit or add mappings. When finished, sync the mappings to push the settings from CDP to the IDBroker instance running inside the Data Lake of the environment.
At this point, CDP resources can access the AWS S3 buckets or Azure ADLS storage.