Enabling default Compute Cluster for new environments
When creating your environment, you can enable the default Compute Cluster using the
Cloudera Management Console or CDP CLI to be able to run your data and shared
services on the containerized platform.
Required role:EnvironmentAdmin
Before you begin
Ensure that the
ENABLE_COMPUTE_CLUSTER entitlement is enabled for your account. Without
this entitlement, the Compute Clusters tab is not displayed and you
cannot create Compute Clusters. Contact your
account team to request it.
Ensure that your Azure account has all the resources required by Cloudera.
When creating your environment in Cloudera Management Console, ensure that you use the Enable Compute
Cluster setting to create the Compute Cluster enabled
environment.
After completing the step for Data Access and Data Lake Scaling,
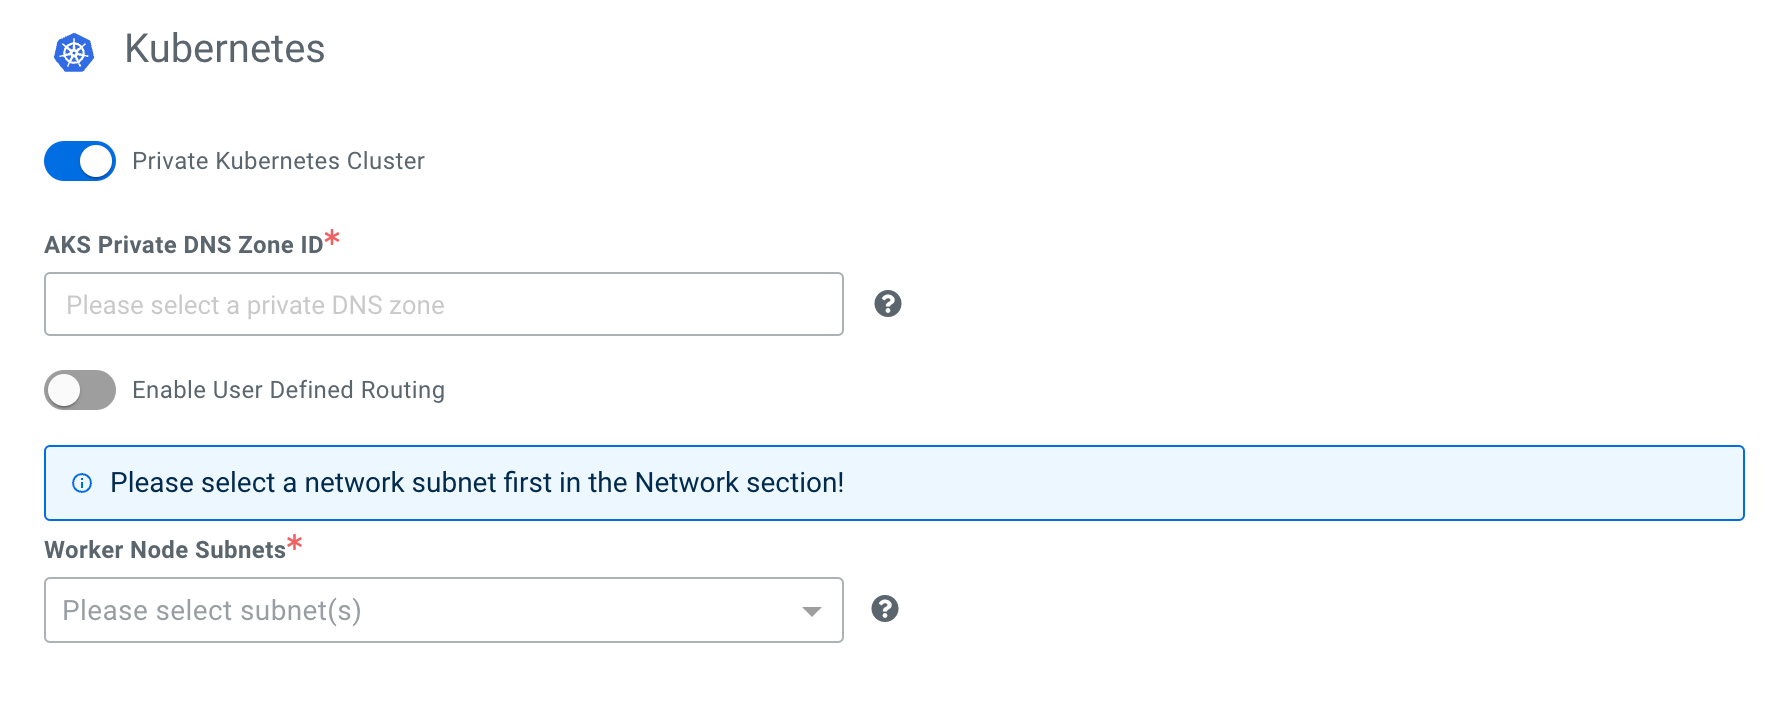
configure the networking settings for Kubernetes with enabling User
Defined Routing, and selecting Private Kubernetes
Cluster or providing Authorized IP Ranges on the
Region, Networking and Security page. When selecting
Private Kubernetes Cluster, you also need to select an
existing private DNS zone or select creating a new private DNS zone by Cloudera on your Azure account for the database.
Worker Node Subnets are automatically pre-filled with the
same set of subnets provided in Network section, but you have
the option to not use all of the available subnets.For more information about creating your environment, see the Registering environment (UI)
documentation.
Using CDP CLI
Run the following command to create the Compute Cluster enabled environment: