Configuring Azure Active Directory identity federation in Cloudera
You can onboard users by configuring Azure Active Directory (Azure AD) identity federation with Cloudera.
Before you begin
- Cloudera requires the Azure AD sAMAccountName attribute for the SAML group claim mapping. As per Configure group claims for applications by using Azure Active Directory, sAMAccountName is not available with SAML on groups created in Azure AD; It is available only on groups created with on-premises AD and synced to Azure AD. If you only use Azure AD without on premises AD you can use SCIM to sync group memberships to Cloudera. See Configure SCIM with Azure AD.
- In order to be compatible with Cloudera, your Azure AD should be configured to synchronize with on-premises Active Directory via Azure AD Connect sync tool. As per Azure documentation, you must use Azure AD Connect 1.2.70.0 or newer.
Required role: PowerUser
Steps
-
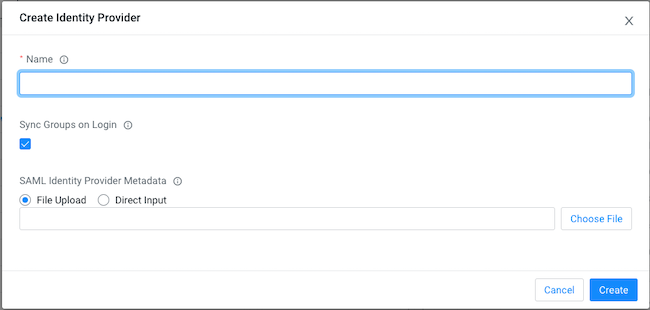
Log in to Cloudera web interface and navigate to Cloudera Management Console> User Management, select the Identity Providers tab and click on Create Identity Provider to create an identity provider.
-
Name your identity provider in Cloudera, for example MyCompany_AAD.
-
Click Create.
-
Click on MyCompany_AAD on the Cloudera console and copy the Cloudera SAML Service Provider Metadata to an XML file (for example, saml-metadata.xml). You will need it later.
-
Open another web browser window, navigate to
https://portal.azure.com/, and log in to your Azure Portal. -
On your Azure Portal, navigate to the Azure Active Directory.
-
Select the Enterprise applications service.
-
Click on the +New application button.
-
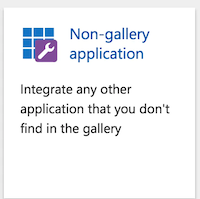
Select the Non-gallery application.
-
Give the application a name, for example. CDP_id_federation.
-
Click on the +Add button.
-
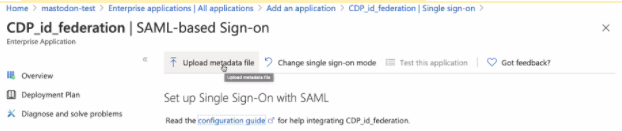
Once the application is added, go to 2. Set up single sign on .
-
Upload the metadata XML file that you saved in the earlier step.
-
Download the
Federation Metadata xmlfor your Azure AD application and save it on your computer.
-
Switch back to Cloudera web interface and upload the metadata saved from AD and update the identity provider.
- Find the identity provider that you just created in Cloudera.
- Click the Actions button and select Update Identity Provider.
- On the Identity Provider window, upload the metadata XML file that you saved
previously or copy and paste the content of that XML file:
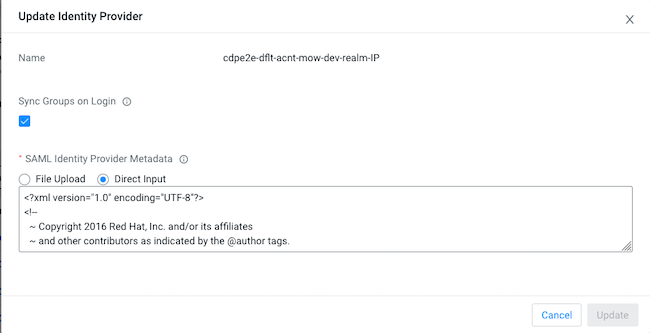
- Verify the updates and click Update.
-
Switch back to Azure AD Azure Portal browser window.
-
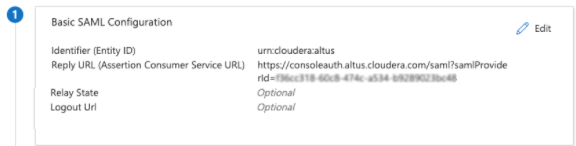
Edit 1.Basic SAML Configuration:
- Make sure that the value for Identifier (Entity ID) is populated, for example “urn:cloudera:cdp:<Identity-Provider-Id>” or “urn:cloudera:altus” for legacy identity provider. Check the Service Provider Metadata to determine which identifier to use.
- From Cloudera SAML Service Provider Metadata you saved earlier, copy the AssertionConsumerService > Location value and paste it into the line Reply URL (Assertion Consumer Service URL).
- Edit 2.User Attributes & Claims:
- If the customer is using on-prem Active Directory and Active Directory Connect to sync with Azure AD, you will be able to import Azure AD groups into Cloudera. Click +Add a group claim.
- On the Group Claims blade, do the following:
- Select Security groups or Groups assigned to the application.
- Select Source Attribute sAMAccountName.
- Check the Customize the name of the group claim. Optionally configure Group filtering for fine control of the list of groups that are included as part of the group claim. When a filter is configured, only groups that match the filter will be included in the group's claim that is sent to Cloudera. For more information, see Azure AD group filtering.
- Enter “groups” in Name (Required).
- Namespace enter
https://cdp.cloudera.com/SAML/Attributes.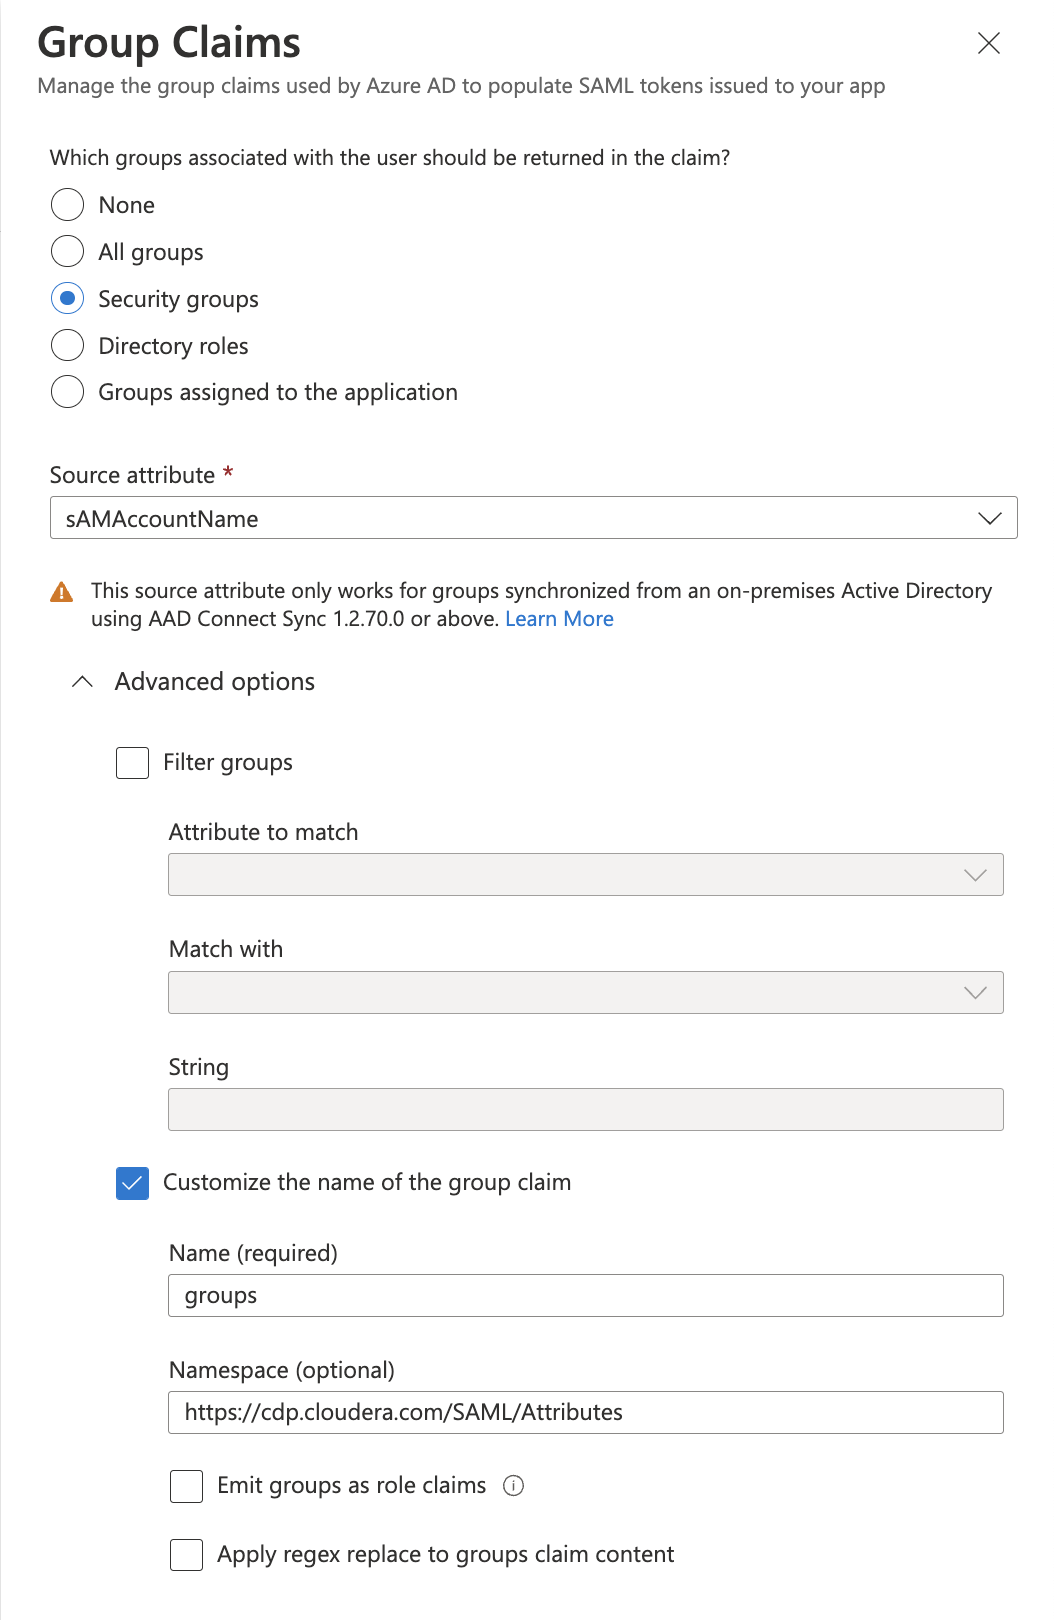
- Click Save.
- For the rest of the claims, follow the instructions at Configuring your enterprise IdP to work with Cloudera.
If your NameID is an opaque ID (such as a UUID), you can Generate workload usernames based on email.
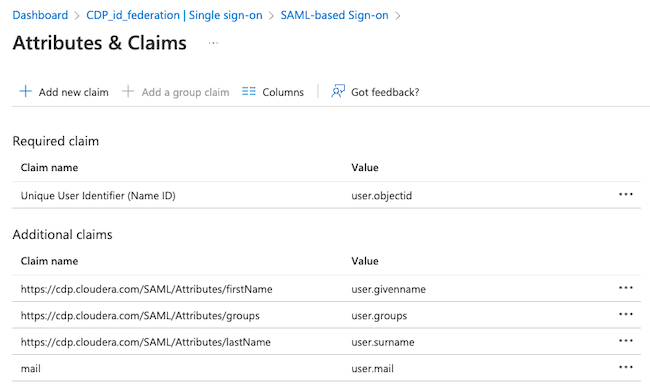
Name Namespace Source Source Attribute Unique User Identifier (Name ID) Attribute user.objectid firstName https://cdp.cloudera.com/SAML/Attributes Attribute user.givenname lastName https://cdp.cloudera.com/SAML/Attributes Attribute user.surname mail Attribute user.mail - Click on the SAML-based Sign-On on the top.
-
Test this application.
- Once these steps are completed, a Cloudera user will be
able to log in with their integrated Azure AD identity through their Office 365 applications
page (Office.com). A new tile will appear for the Cloudera
application created above:
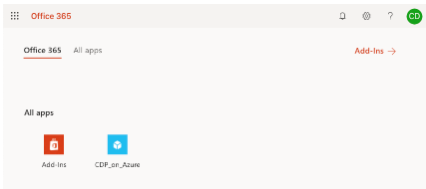
Once a user signs in, the User and Groups will show up on the Cloudera Management Console’s User Management screen. Navigate to your office 365 applications page, click on the new tile that was created for Cloudera, and verify that you are able to log in.
- Once a user signs in, the User and Groups will show up on the Cloudera Management Console’s User Management screen.
- Assign users to groups within your Azure AD that you will map to roles in Cloudera.
- Assign Cloudera roles to either the new users or the groups as appropriate.