
Add Fork Control Nodes
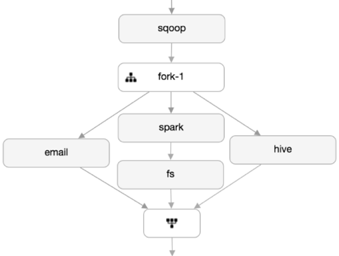
You can use Fork control nodes to direct the flow of actions in the workflow. A fork allows you to create multiple concurrent execution paths that branch from a single action. The paths rejoin at a common point called the join node. A join node waits until every concurrent execution path of a previous fork node arrives to it.
The fork and join nodes must be used in pairs. The join node assumes concurrent execution paths are children of the same fork node.
Steps
Add a Fork node by clicking on the connector, clicking the + icon, and selecting Fork.
A fork node and join node are added to the workflow graph, with two forks (connectors).
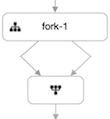
The join node cannot be modified.
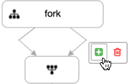
Optional: Add another fork by clicking on the fork node, then clicking the
 (Add Fork) icon.
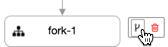
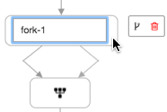
Optional: Double-click on the node and type an identifying name for the node.
Add nodes to the forks:
Click on one of the forks between the fork node and join node.
Click the + icon and select a node.
Repeat steps 2a and 2b for the other forks.
Each fork must have at least one node associated with it. You can have multiple nodes for each fork.