
Installing C++ agent on Windows using MSI
Learn how to install and configure the MiNiFi C++ agent on your Windows system by using the provided MSI.
-
Launch the Apache NiFi MiNiFi Setup wizard, and click
Next.

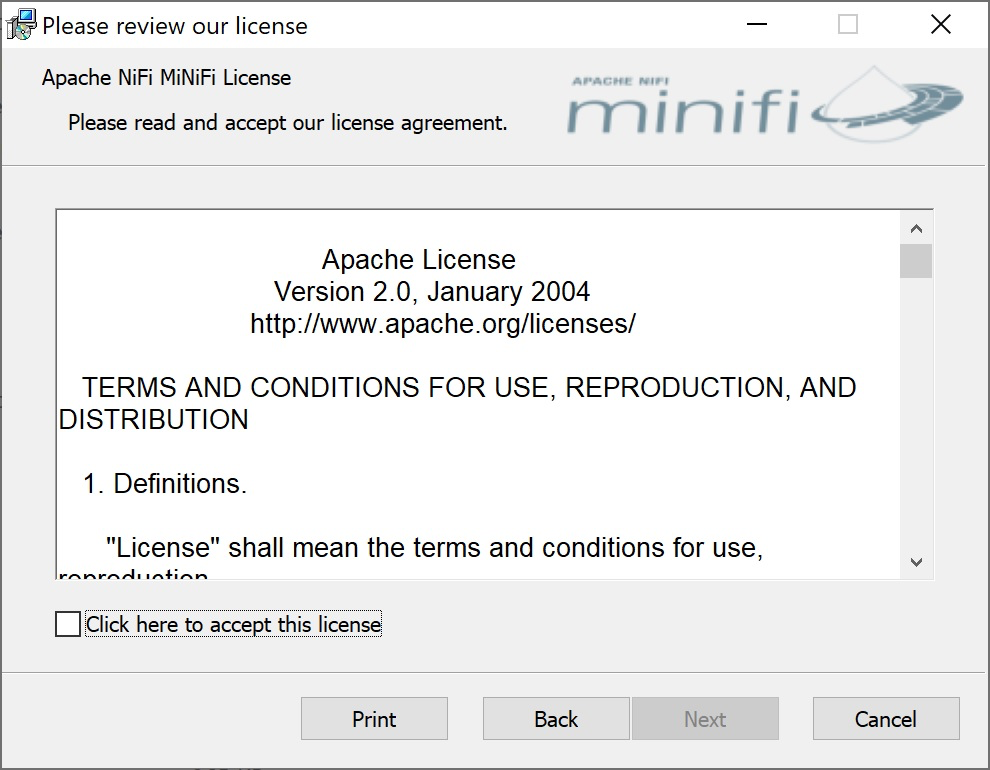
The Apache NiFi MiNiFi License page is displayed.
-
Check the Click here to accept this license option and
click Next.
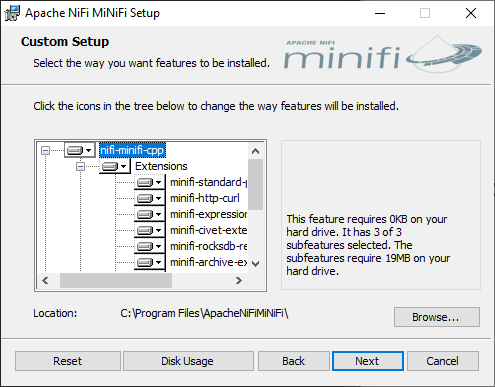
The Custom Setup page is displayed.
-
Select the extensions you want to install.
By default, all extensions are enabled.
-
Provide a user for the Windows service that will be installed and a
corresponding password.

-
Click Next.
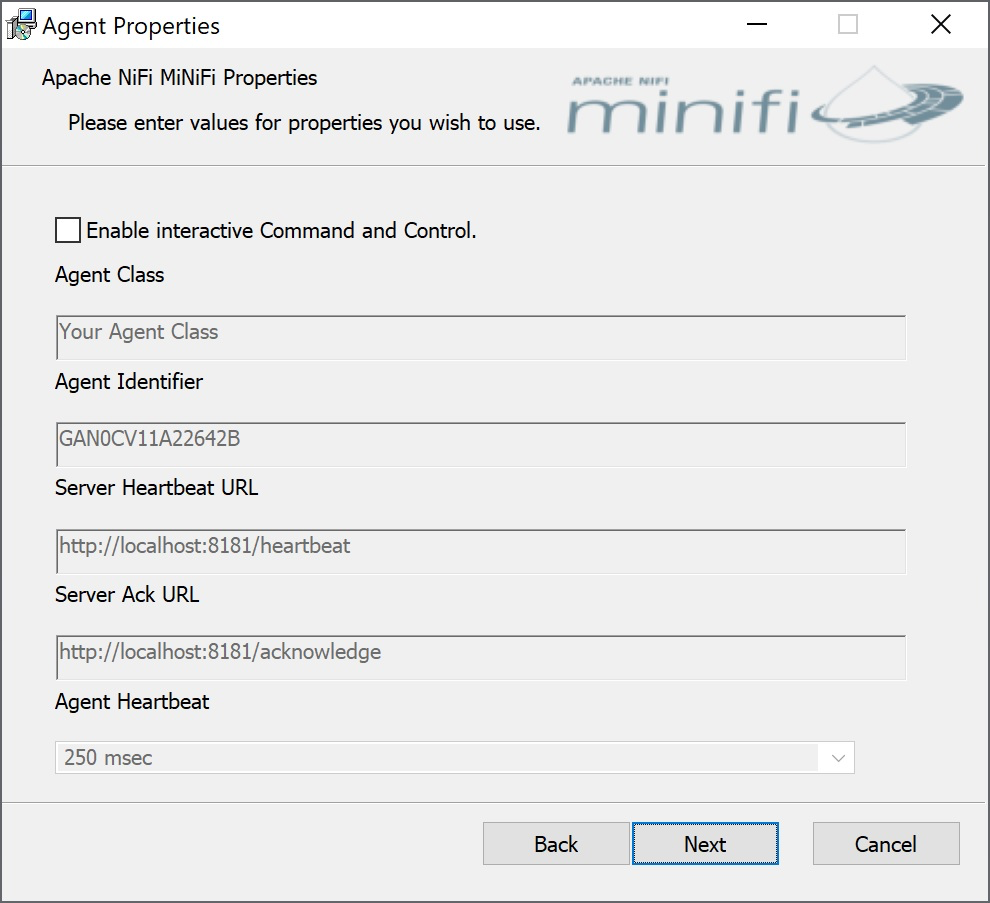
The Agent Properties page is displayed.
-
Click Install to initiate the installation
process.

