Before you can use the Cloudera Data Engineering service, you must add the
service to an environment that you want to use Cloudera Data Engineering
on.
Make sure that the Cloudera Base on premises configuration
is valid. If any configuration issues are present, resolve them first and refresh the
configuration at the Cluster level using the Deploy Client
Configuration action in Cloudera Manager.
In Cloudera Manager, make sure that Ozone is not in
stale state. If it is in stale state, restart Ozone
and make sure that there are no errors.
If Deny Audits is configured in the Ranger Policies, correct this
within the Ranger Service Plugin for Ozone.
Make sure that you have a working environment for which you want to enable the Cloudera Data Engineering service. For more information about environments, see
Environments.
In the Cloudera console,
click the Data Engineering tile. The Cloudera Data EngineeringHome page displays.
Click Administration on the left navigation menu, click at the top to enable Cloudera Data Engineering service for an environment.
If the environment does not have any Cloudera Data Engineering service, the
page displays a Enable a Service button that launches the same
wizard.
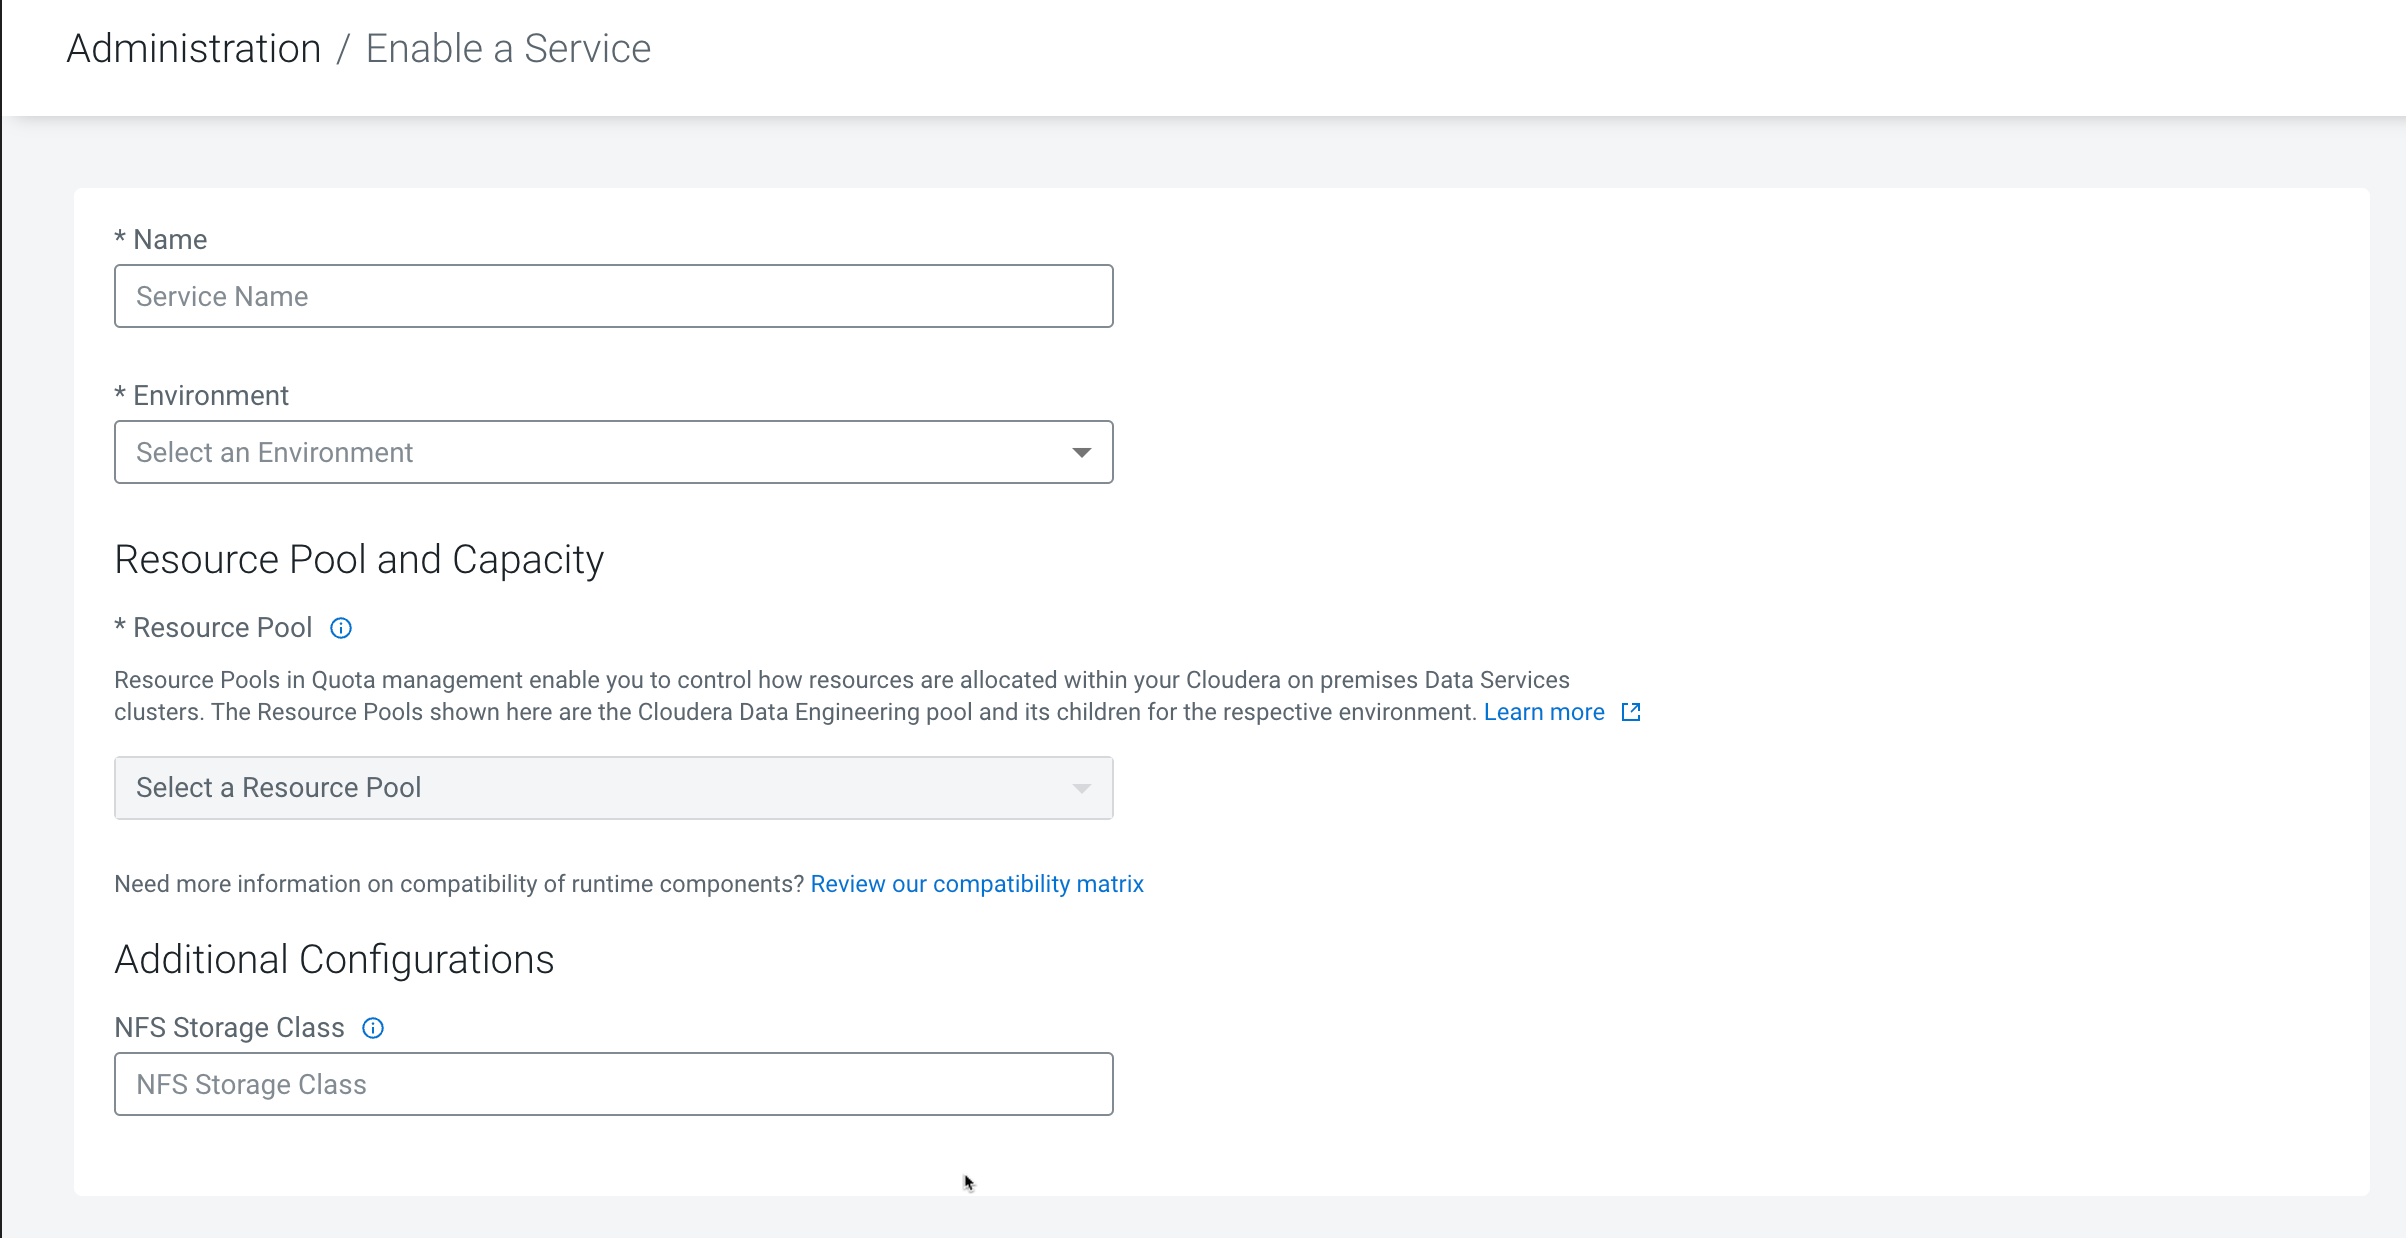
Figure 1. Enable a Service form
Enter a Name for the Cloudera Data Engineering service
you are creating.
In the Environment drop-down list, select or type the name of
the environment that you want to enable Cloudera Data Engineering for. The
displayed list dynamically updates to show environment names matching your input. When you
see the correct environment, click on it to select it.
In the Resource Pool drop-down list, select the name of the
resource pool that you want to enable Cloudera Data Engineering service for.
In Capacity , enter the maximum number of CPU cores and the
maximum memory in gigabytes that can be used by this Cloudera Data Engineering
service.
Optional: GPU (Technical Preview), in Capacity , enter the
maximum number of GPU cores in gigabytes that can be used by this Cloudera Data Engineering service. GPU resources are limited in the cluster and
all data services like Cloudera AI and Cloudera Data Engineering could share or
dedicatedly set resource quotas for their experience. For information about configuring
resource pool and capacity, see Managing cluster resources using Quota Management
(Technical Preview).
In Cloudera Data Engineering 1.5.5 SP2 and higher releases, in the
Telemetry section, select the Enable Observability
Analytics checkbox to share diagnostic information about jobs and queries
with Cloudera.
Optional: Under Additional Configurations, in NFS Storage
Class, leave this field blank for Cloudera Data Engineering to use
the default storage. By default, Cloudera Data Engineering uses
CephFS provisioner in the OpenShift Container Platform and
Longhorn provisioner in the Cloudera Embedded Container Service.
If there are multiple storage classes in the cluster with the same provisioner and the
NFS Storage Class field is left empty, the first storage class
in alphabetical order will be selected by default, regardless of the storage class
configured for the environment.
If you want to use a custom NFS storage class, specify the name here. The storage
provisioner must support ReadWriteMany access mode.
Example,
You can specify the name of the Portworx storage class specified during the Cloudera Data Services on premises installation to use the Portworx
storage class. The storage provisioner must support ReadWriteMany access mode. You can
obtain the name of the Portworx storage class from your cluster by running the
kubectl get sc command. The Cloudera Data Engineering
service and virtual clusters will now use the Portworx storage class instead of the
default storage class of the platform.
Select the Use CDE dedicated nodes for scheduling CDE infrastructure and
workloads checkbox to enable scheduling Cloudera Data Engineering
infrastructure and workloads such as Spark jobs, Airflow DAGs, and so on, on the Cloudera Embedded Container Service nodes with specific Cloudera Data Engineering
taints and labels. This ensures that the workloads run on the dedicated nodes.
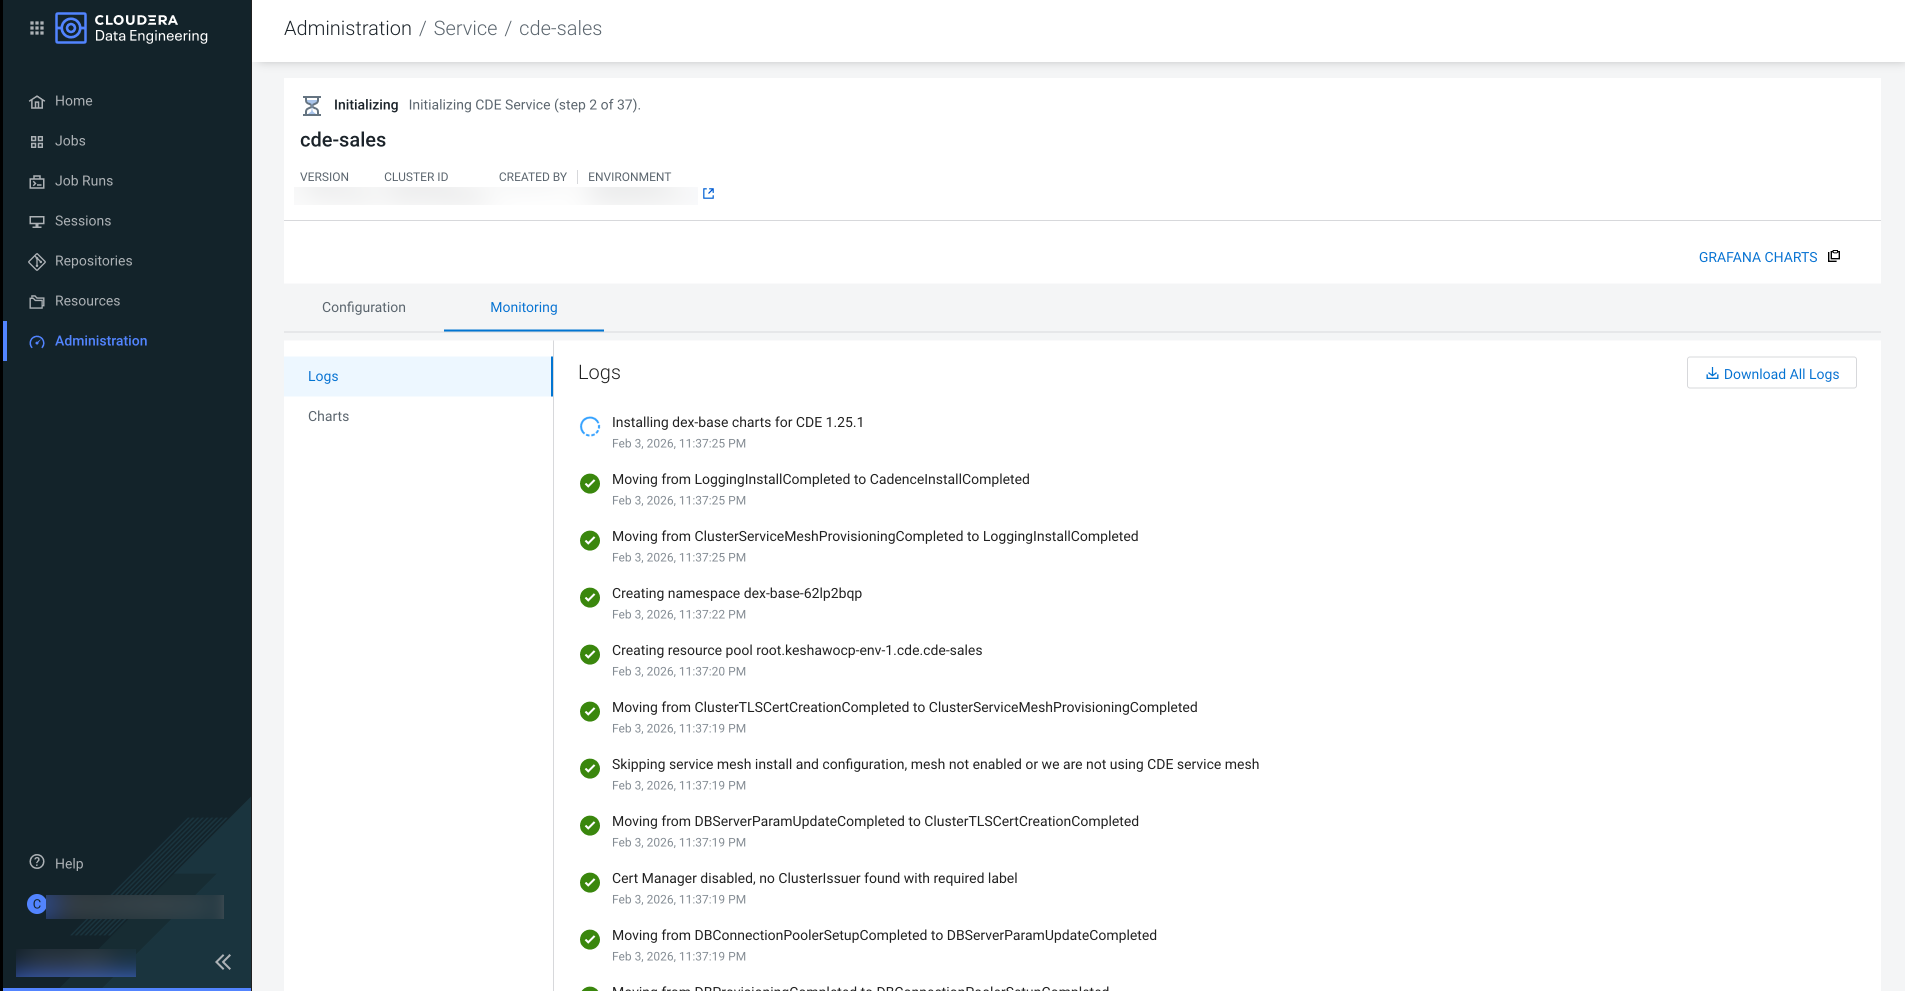
Click Enable to initiate the Cloudera Data Engineering
Service creation. This process takes approximately 20 minutes. Monitor the progress by
checking the logs and refreshing them every 5 minutes. You can view logs for the service
by clicking on the service vertical ellipsis (three dots) menu, and then clicking
View Logs.
Figure 2. The Cloudera Data Engineering Service is initiated
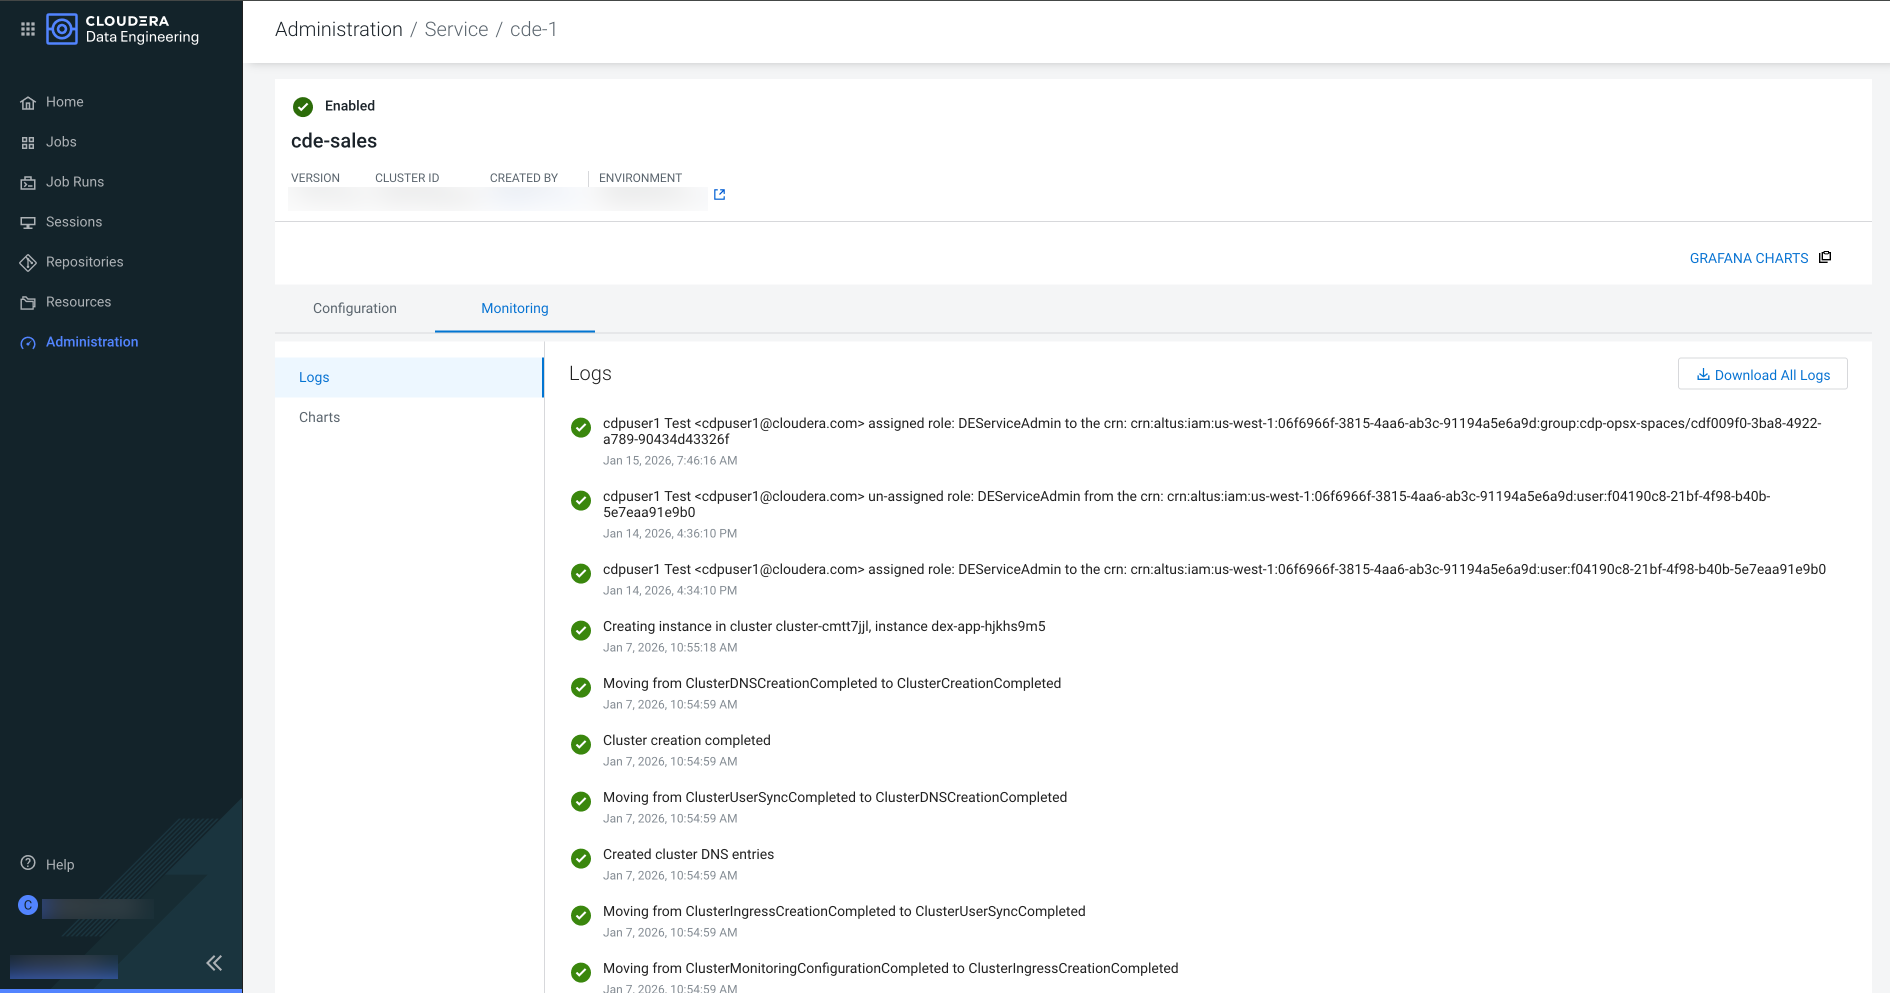
The Cloudera Data Engineering Service is enabled.
Figure 3. The Cloudera Data Engineering Service is enabled
To allow users or groups to access the Cloudera Data Engineering Service, the
required roles must be assigned. For more information, see User Access Management.
To enable your jobs to authenticate with the Cloudera Base on premises cluster, you must upload the keytab
for the user running the job. To upload and configure the keytab, see Hadoop Authentication.
You can create a Virtual Cluster for the Cloudera Data Engineering Service
that you have enabled. For instructions, see Creating virtual clusters.
 at the top to enable Cloudera Data Engineering service for an environment.
If the environment does not have any Cloudera Data Engineering service, the page displays a Enable a Service button that launches the same wizard.
at the top to enable Cloudera Data Engineering service for an environment.
If the environment does not have any Cloudera Data Engineering service, the page displays a Enable a Service button that launches the same wizard.