Creating a data connection in Cloudera Data Visualization
Cloudera Data Visualization allows you to connect to various external data sources to enhance your data analysis and visualization capabilities.
Cloudera Data Visualization currently supports the following connection types:
- Hive
- Impala
- MariaDB
- MySQL
- PostgreSQL
- Phoenix [Technical Preview]
- Solr [Technical Preview]
- Spark SQL
- SQLite (not supported in Cloudera Data Warehouse)
- Snowflake [Technical Preview]
- Trino
These supported connection types provide flexibility and versatility for integrating multiple sources into your data analysis workflows.
In Cloudera Data Warehouse, the connection to the database catalog is automatically set up when you enable Cloudera Data Visualization in a Virtual Data Warehouse. You can also create your own connections to other data warehouses, but it is not supported.
Database catalogs and virtual data warehouses automatically inherit the same security restrictions that are applicable to your Cloudera environment. There is no need to specify the security setup again for each database catalog or virtual warehouse. If you cannot see the data in the connected database catalog after you log in, check and adjust data access permissions or your environment and data warehouse user permissions.
In Cloudera AI, you can set up several connection types. For example, you can connect Cloudera Data Visualization to an Impala or Hive data warehouse.
-
You must have the Manage data connections privilege or be an administrator to create new connections.
-
You can create a connection by:
-
Manually entering connection details.
If you create a connection, you automatically have the privileges to create and manage datasets on this connection, and also build dashboards and visuals in these datasets. For more information on user privileges, see RBAC permissions.
-
Importing connection details from the JSON configuration of another connection. For instructions on how to obtain the JSON configuration, see Using connection details shared in JSON format.
-
-
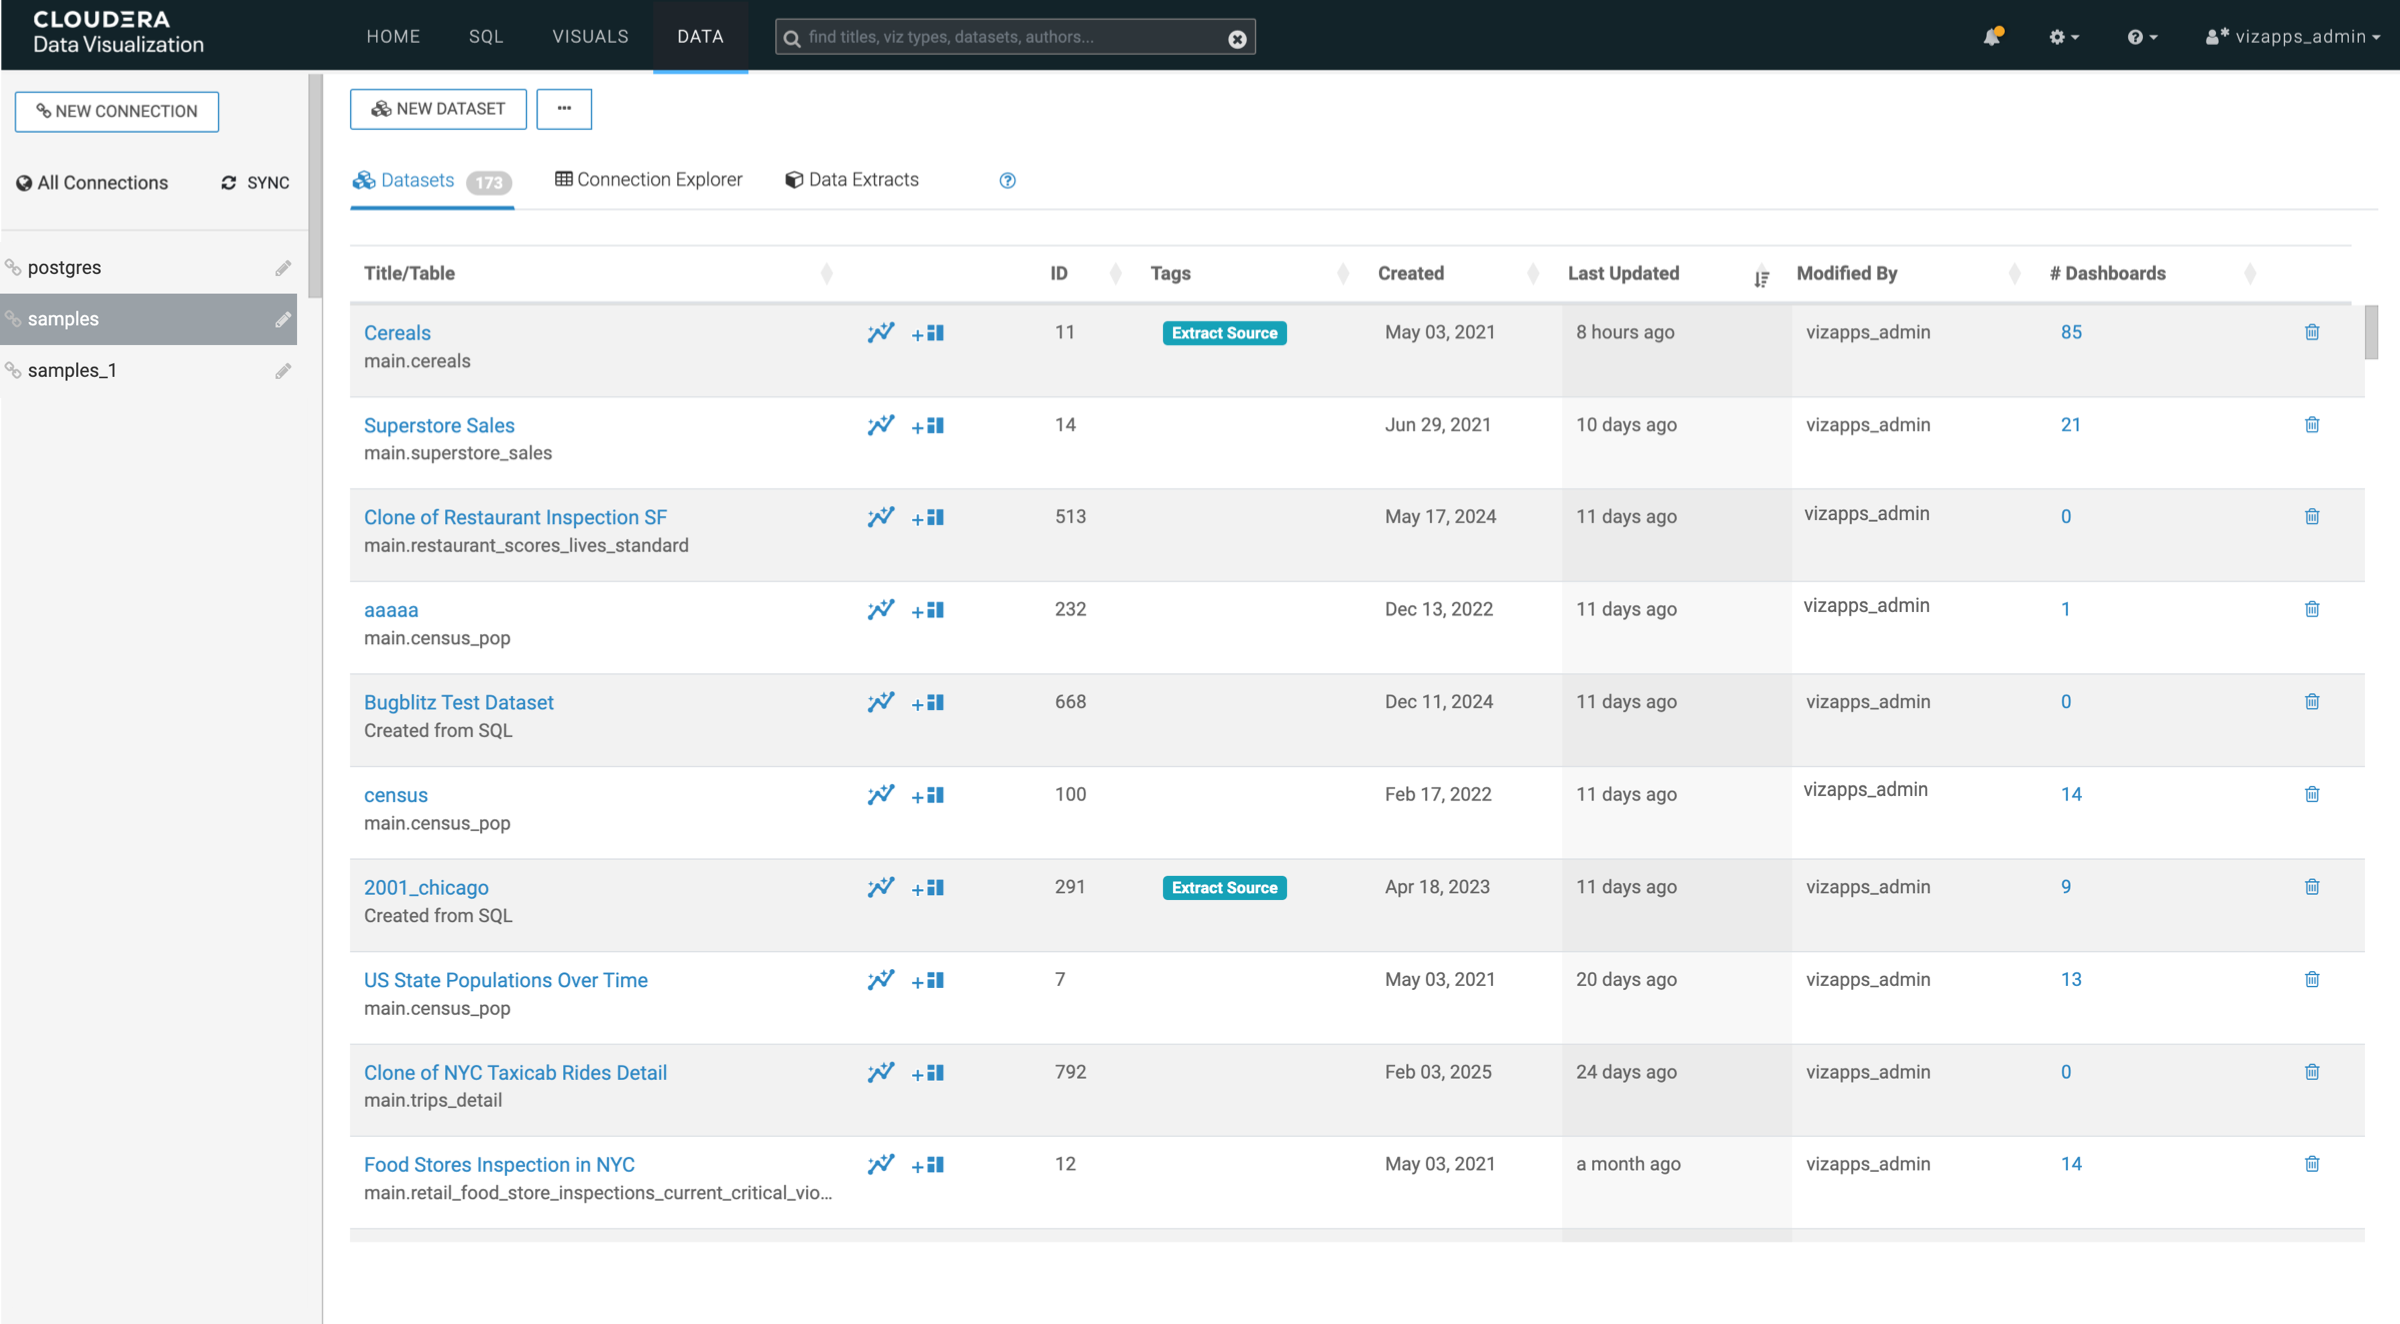
On the main navigation bar, click DATA.
The DATA interface opens, displaying the Datasets tab.
-
On the side menu bar, click NEW CONNECTION.
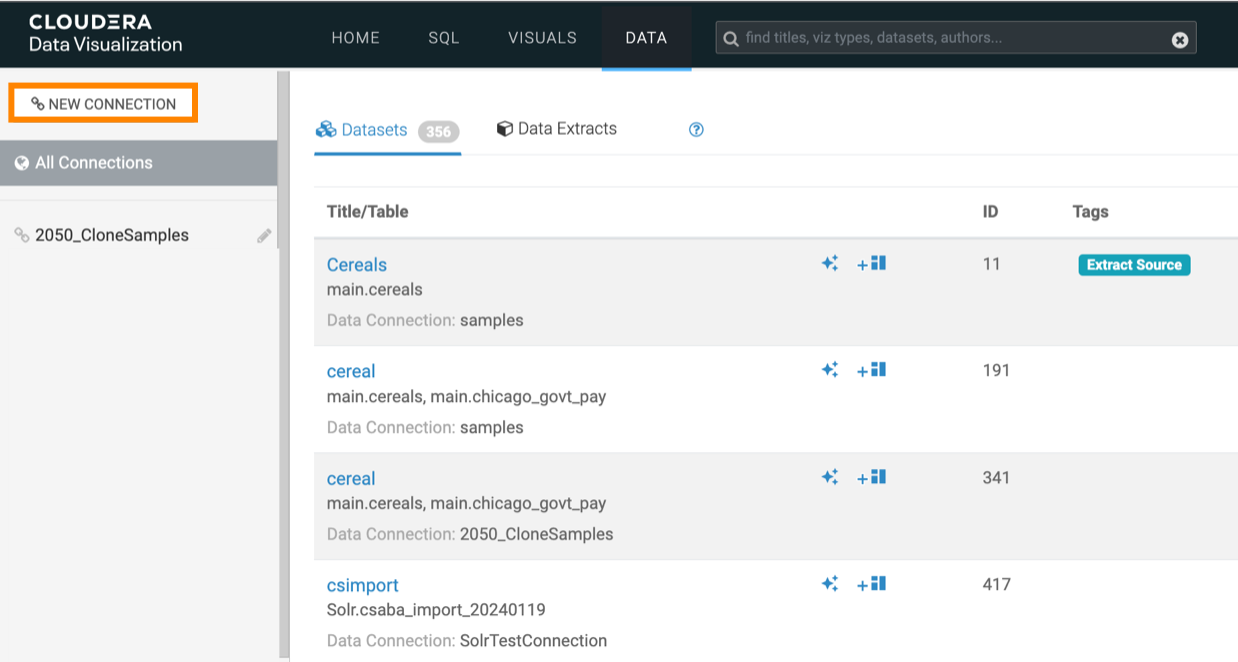
The Create New Data Connection modal is displayed.
-
Choose how you want to create the data connection.
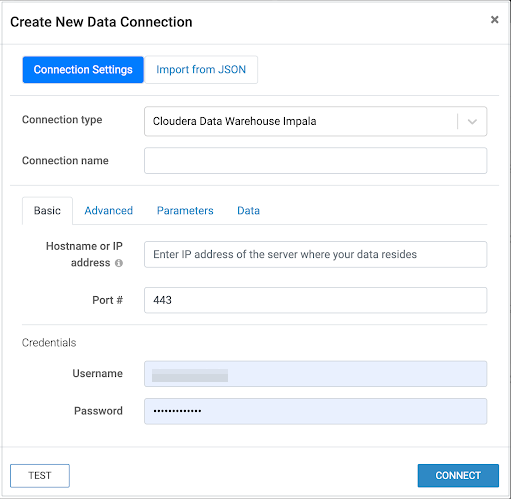
Option 1: Manually create a connection
-
On the Connection Settings tab, select the preferred connection type from the drop-down list
-
Enter a name for the connection.
-
Fill in the required connection details on all tabs.
-
Provide your username and password.
-
Click TEST to verify the connection.
If any details are missing or invalid, an error message appears. Review and update the fields, and test the connection again.
-
If the test is successful, click CONNECT to establish the connection.
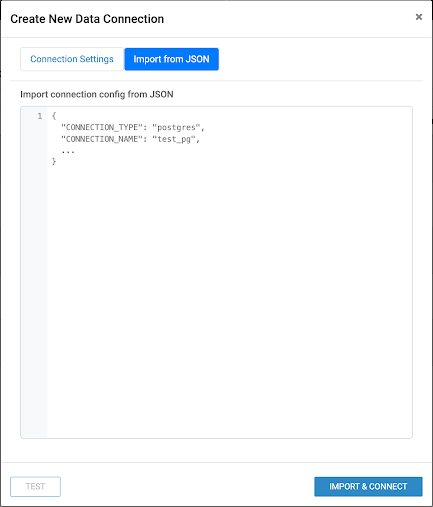
Option 2: Import a connection from JSON-
Switch to the Import from JSON tab.
-
Paste the connection configuration in JSON format into the text field.
-
Click IMPORT & CONNECT to auto-populate the connection details from the JSON file.
If any configuration details are invalid, an error message appears. You can manually correct the configuration.
-