This section describes how to download HDF software artifacts through the Cloudera
Downloads portal. To download HDF software artifacts, both trial and regular versions,
authentication is now required. In order to access your software, you must obtain your login
credentials for the Cloudera Downloads portal, select the type of installation experience
you want, and specify an operating system.
 | Note |
|---|
HDF 3.5.2 is the last version of HDF that Cloudera will provide. Going forward
Cloudera encourages customers to migrate to CFM 2.x on CDP. Cloudera requires
customers to be on HDF 3.5.1 or HDF 3.5.2 before migrating to CFM 2.x on CDP.
For more information on migration to CFM, see HDF to CFM migration document.
|
Access to the HDF software artifacts for production purposes requires
authentication. Prior to starting installation, you must download the HDF software
artifacts from the Cloudera Downloads portal.
You must first have an active subscription agreement that provides you
access to download and use HDF. You get the credentials from Cloudera sales
representatives or from the Flow Management account welcome email. The entitlement
to HDF is connected to your MyCloudera account which you can use to access the HDF
downloads page.
| Note |
|---|
The download credentials contained in your welcome email are not the same as the
credentials you use to access the support portal.
|
-
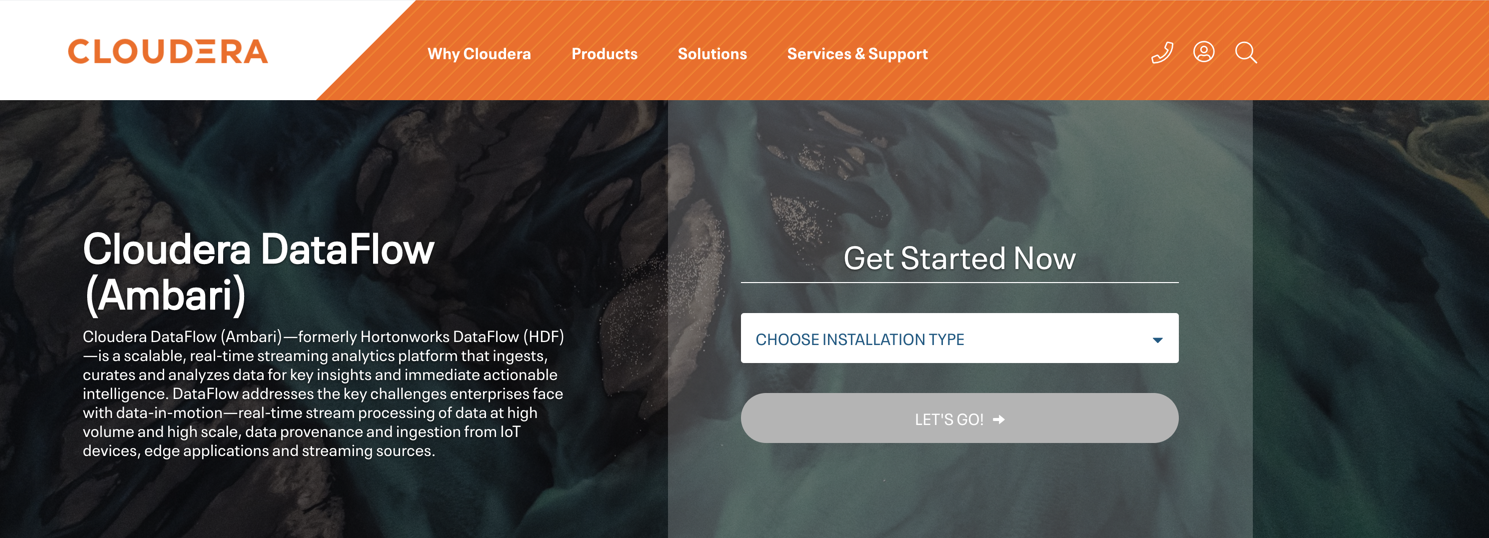
Go to Cloudera DataFlow Downloads page.
-
Choose Automated from the Choose Installation
Type drop-down menu.
You can also choose any of the following options based on your
requirement:
- Automated
- NiFi Only
- NiFi Toolkit
- NiFi Docker image (Docker hub)
- NiFi Registry
- MiNiFi C++
- MiNiFi Java agent
- MiNiFi Toolkit
-
Click the LET’S GO! -> button.
-
Read and accept the terms of services, and click
Submit.
The HDF Automated page appears.
If you selected any option other than Automated, the related
download page appears.
-
If you selected
Automated, click the HDF
3.5.2 Automated option.
It redirects you to the documentation with the repo links that needs
to be used in Ambari.
-
If you selected
NiFi Only from the Choose
Installation Type drop-down, the HDF NiFi
only page appears. The page displays TAR and ZIP file
links. Click the required link to download the file.
-
If you selected
NiFi Toolkit from the
Choose Installation Type drop-down, the
HDF NiFi Toolkit page appears. The page displays
TAR and ZIP file links. Click the required link to download the
file.
-
If you selected
NiFi Docker image (Docker hub) from
the Choose Installation Type drop-down, the
HDF NiFi Docker image (Docker hub) page appears.
Click the HDF NiFi Docker image link.
-
If you selected
NiFi Registry from the
Choose Installation Type drop-down, the
HDF NiFi Registry page appears. The page displays
TAR and ZIP file links. Click the required link to download the
file.
-
If you selected
MiNiFi C++ from the Choose
Installation Type drop-down, the HDF MiNiFi C++
<hdf-version> page appears. The page displays TAR file
links for different operating systems. Click the required link to
download the file.
-
If you selected
MiNiFi Java Agent from the
Choose Installation Type drop-down, the
HDF MiNiFi Java Agent <hdf-version> page
appears. The page displays TAR, ZIP, and MSI file links. Click the
required link to download the file.
-
If you selected
MiNiFi Toolkit from the
Choose Installation Type drop-down, the
HDF MiNiFi Toolkit page appears. The page displays
TAR and ZIP file links. Click the required link to download the
file.
You have obtained the required software artifacts for
installation.