Getting Started with Cloudera Data Science Workbench
This topic provides a suggested method for quickly getting started with data science projects on Cloudera Data Science Workbench.
Watch the following video for a quick demo of the steps described in this topic:
Sign up
To sign up, open the Cloudera Data Science Workbench web application in a browser. The application is typically hosted on the master host at http://cdsw.<your_domain>.com. The first time you log in, you will be prompted to create a username and password. Note that the first account created will receive site administrator privileges.
If your site administrator has configured your deployment to require invitations, you will need an invitation link to sign up.
Create a Project from a Built-in Template
Cloudera Data Science Workbench is organized around projects. Projects hold all the code, configuration, and libraries needed to reproducibly run analyses.
To help you get started, Cloudera Data Science Workbench includes sample template projects in R, Python, PySpark, and Scala. Using a template project gives you the impetus to start using the Cloudera Data Science Workbench right away.
Create a Template Project
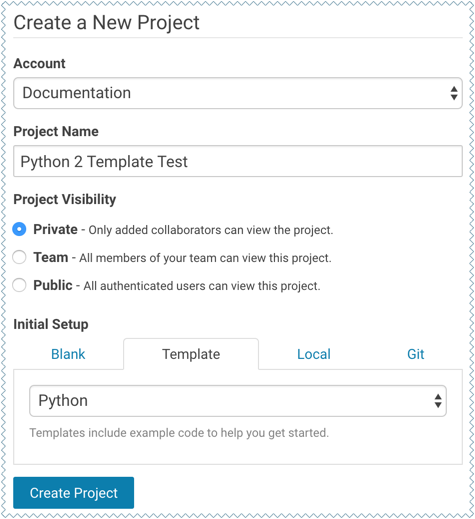
- Sign in to Cloudera Data Science Workbench.
- Click New Project.
- Enter the account and project name.
- Under the Template tab, you can choose one of the programming languages to create a project from one of the built-in templates. Alternatively, if your site administrator has added any custom template projects, those will also be available in this dropdown list.
- Click Create Project.
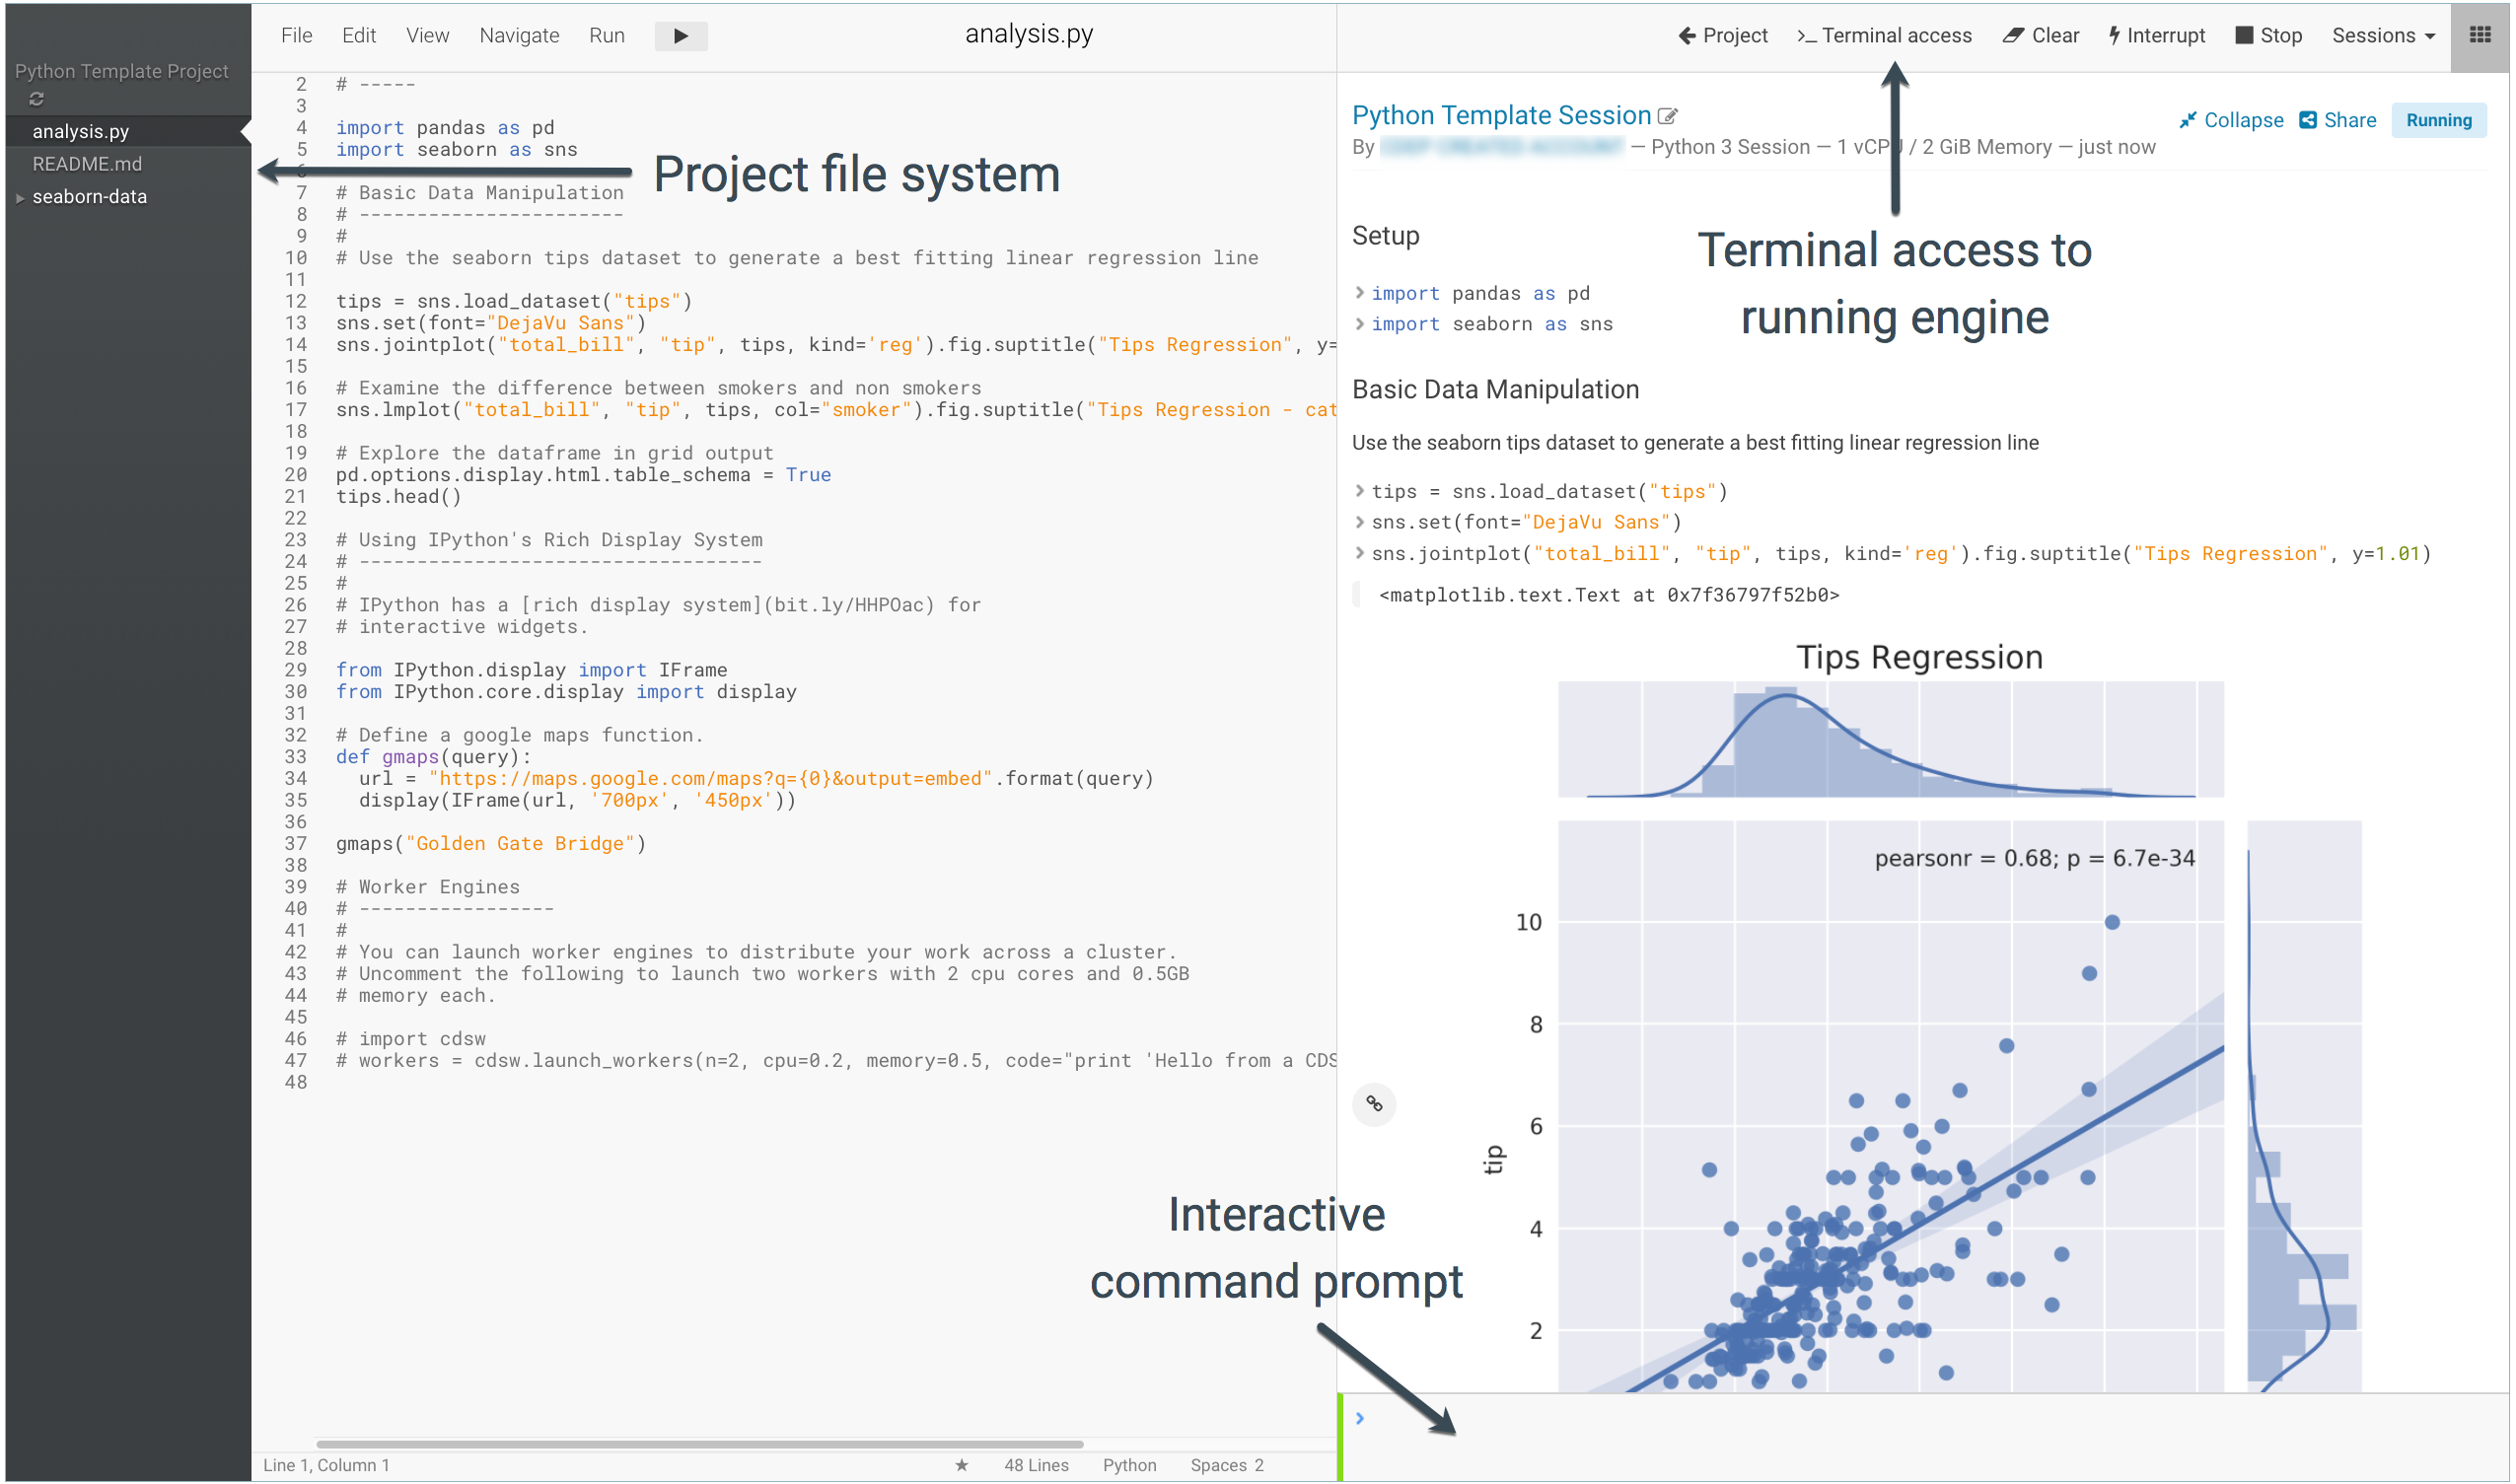
After creating your project, you see your project files and the list of jobs defined in your project. These project files are stored on an internal NFS server, and are available to all your project sessions and jobs, regardless of the gateway hosts they run on. Any changes you make to the code or libraries you install into your project will be immediately available when running an engine.
Launch a Session to Run the Project
Cloudera Data Science Workbench provides an interactive environment tailored for data science called the workbench. It supports R, Python, and Scala engines, one of which we will use to run the template project.
Workbench
Perform the following steps to run the project:
Open the Workbench to Launch a Session
- Navigate to the new project's Overview page.
-
Click Open Workbench.
-
Launch a New Session
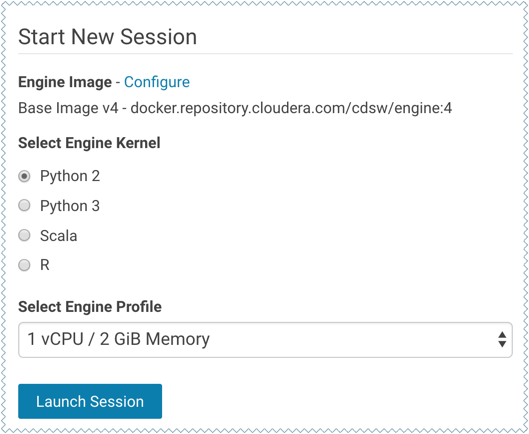
- Use Select Engine Kernel to choose the programming language that your project uses.
- Use Select Engine Profile to select the number of CPU cores and memory to be used.
- Click Launch Session.
The command prompt at the bottom right of your browser window will turn green when the engine is ready. Sessions typically take between 10 and 20 seconds to start.
Execute Project Code
You can enter and execute code using either the editor or the command prompt. The editor is best used for code you want to keep, while the command prompt is best for quick interactive exploration.
Editor - To run code in the editor:
- Select a script from the project files on the left sidebar.
- To run the whole script click
 on the top navigation bar, or, highlight the code you
want to run and press Ctrl+Enter (Windows/Linux) or cmd+Enter (macOS).
on the top navigation bar, or, highlight the code you
want to run and press Ctrl+Enter (Windows/Linux) or cmd+Enter (macOS).
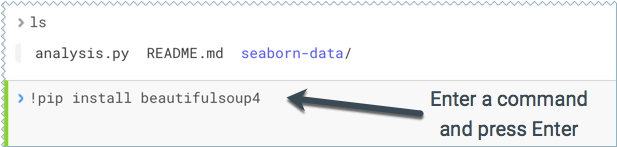
Command Prompt - The command prompt functions largely like any other. Enter a command and press Enter to execute it. If
you want to enter more than one line of code, use Shift+Enter to move to the next line. The output of your code, including plots, appears in the console.
Code Autocomplete - The Python and R kernels include support for automatic code completion, both in the editor and the command prompt. Use single tab to display suggestions and double tab for autocomplete.
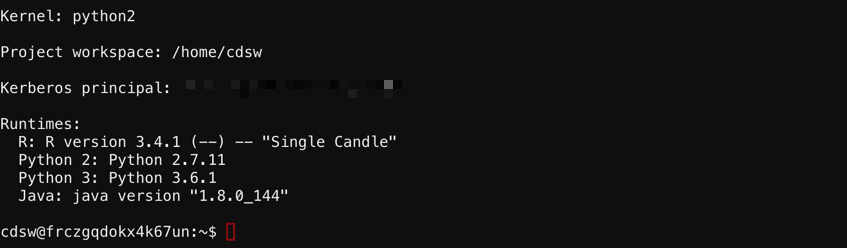
Test Terminal Access
Cloudera Data Science Workbench provides terminal access to the running engines from the web console. You can use the terminal to move files around, run Git commands, and understand what resources are already available to you in the project environment.
To access the Terminal from a running session, click Terminal Access above the console pane. The terminal's default working directory is /home/cdsw, which is a temporary directory where all your project files are stored for this session.
Note that the terminal does not provide root or sudo access to the container.
