Promoting ECS Agents to ECS Servers
You must promote ECS Agents to ECS Servers.
After installing the Load Balancer, you must reconfigure the existing ECS Agents to ECS Servers. This process is called Promoting the agents to Servers. You must promote only one agent at a time. This procedure is explained using an example where you promote the ECS agent on agent1.example.com and then promote the ECS agent on agent2.example.com.
-
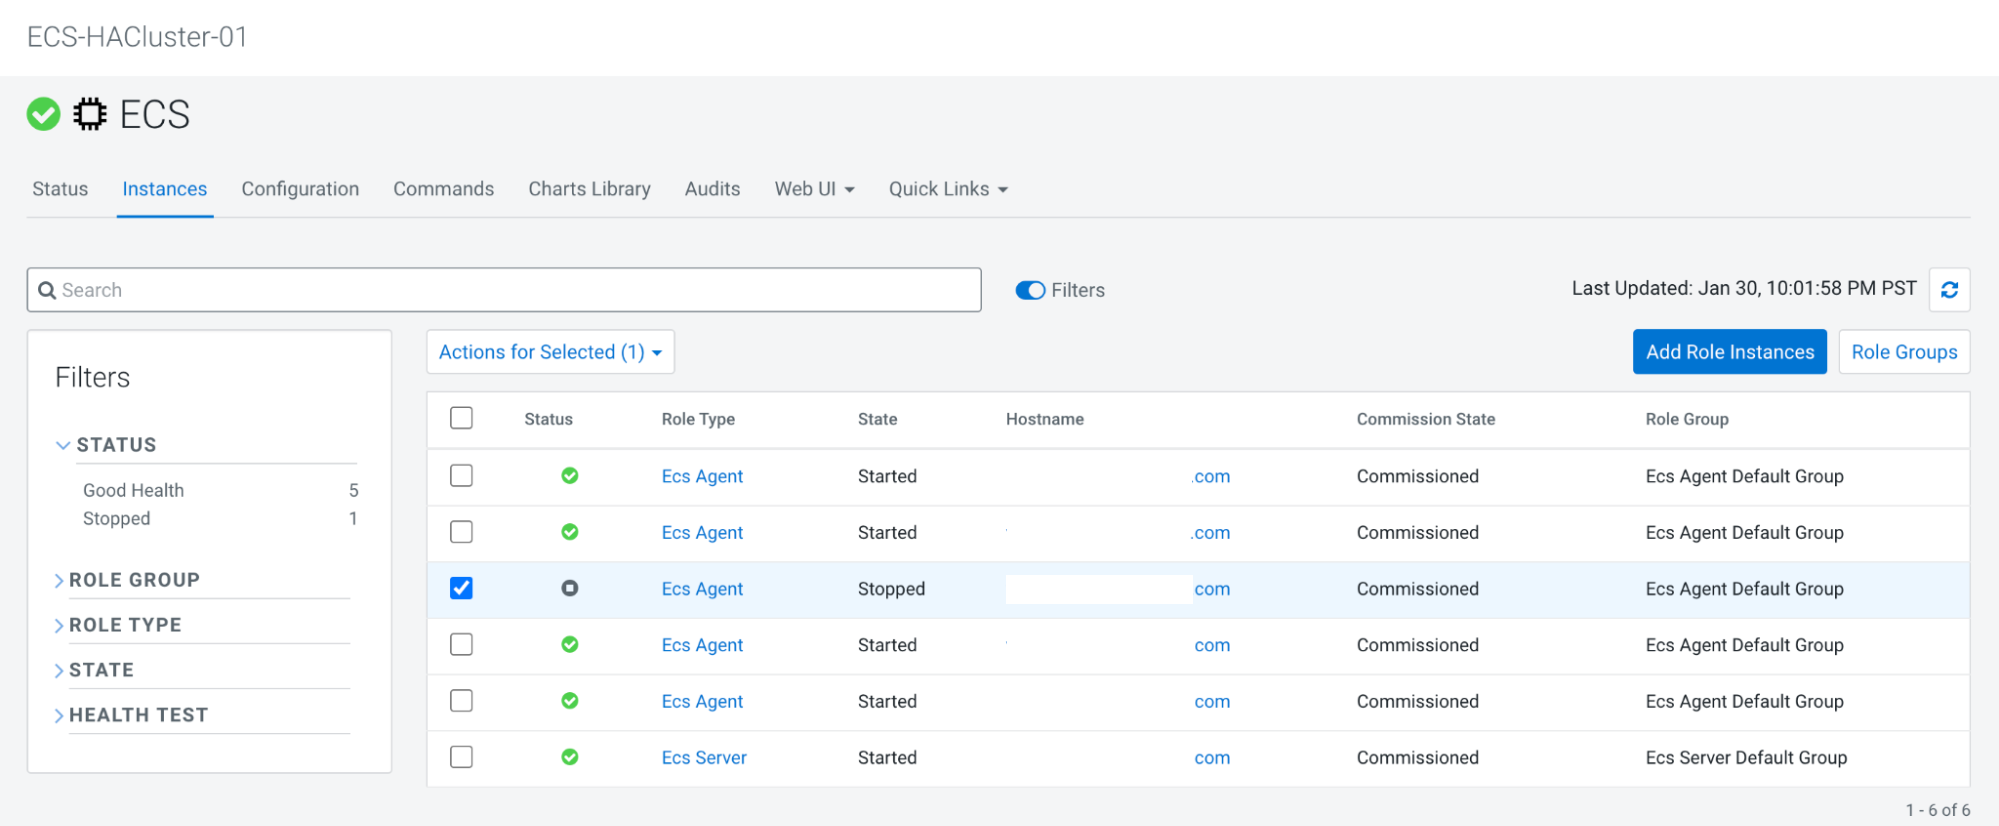
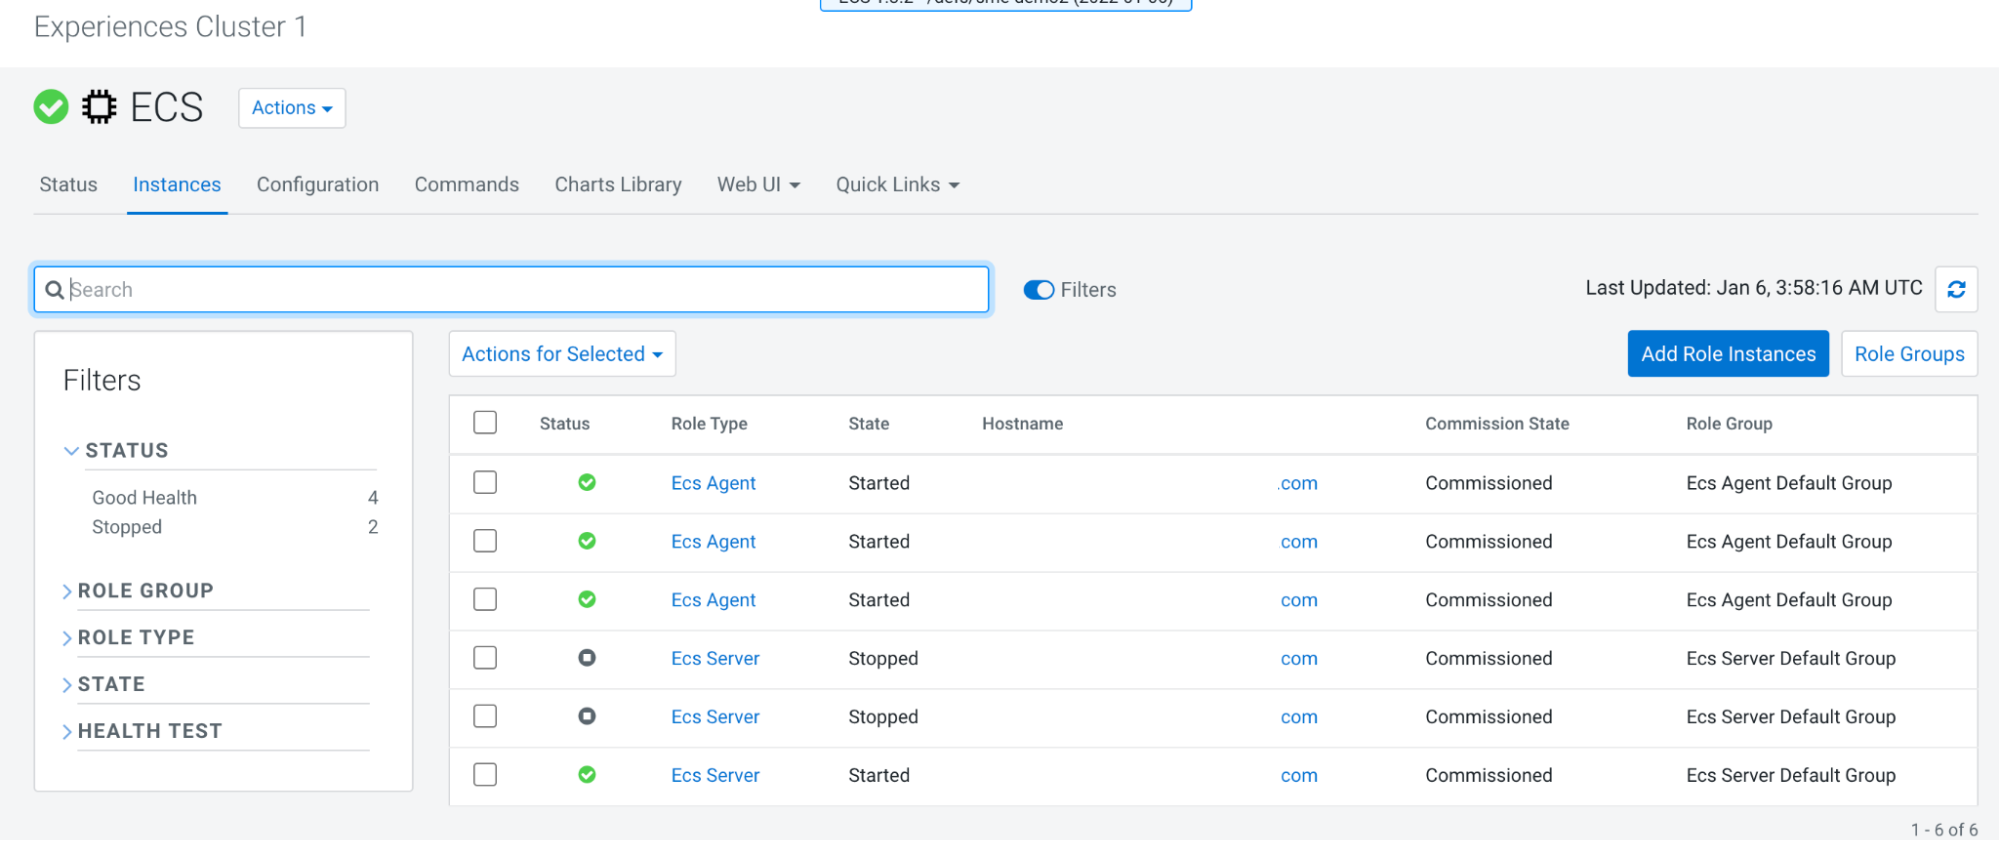
In Cloudera Manager, navigate to ECS Cluster >> ECS. Stop the ECSAgent running
on agent1 and then delete the agent.
-
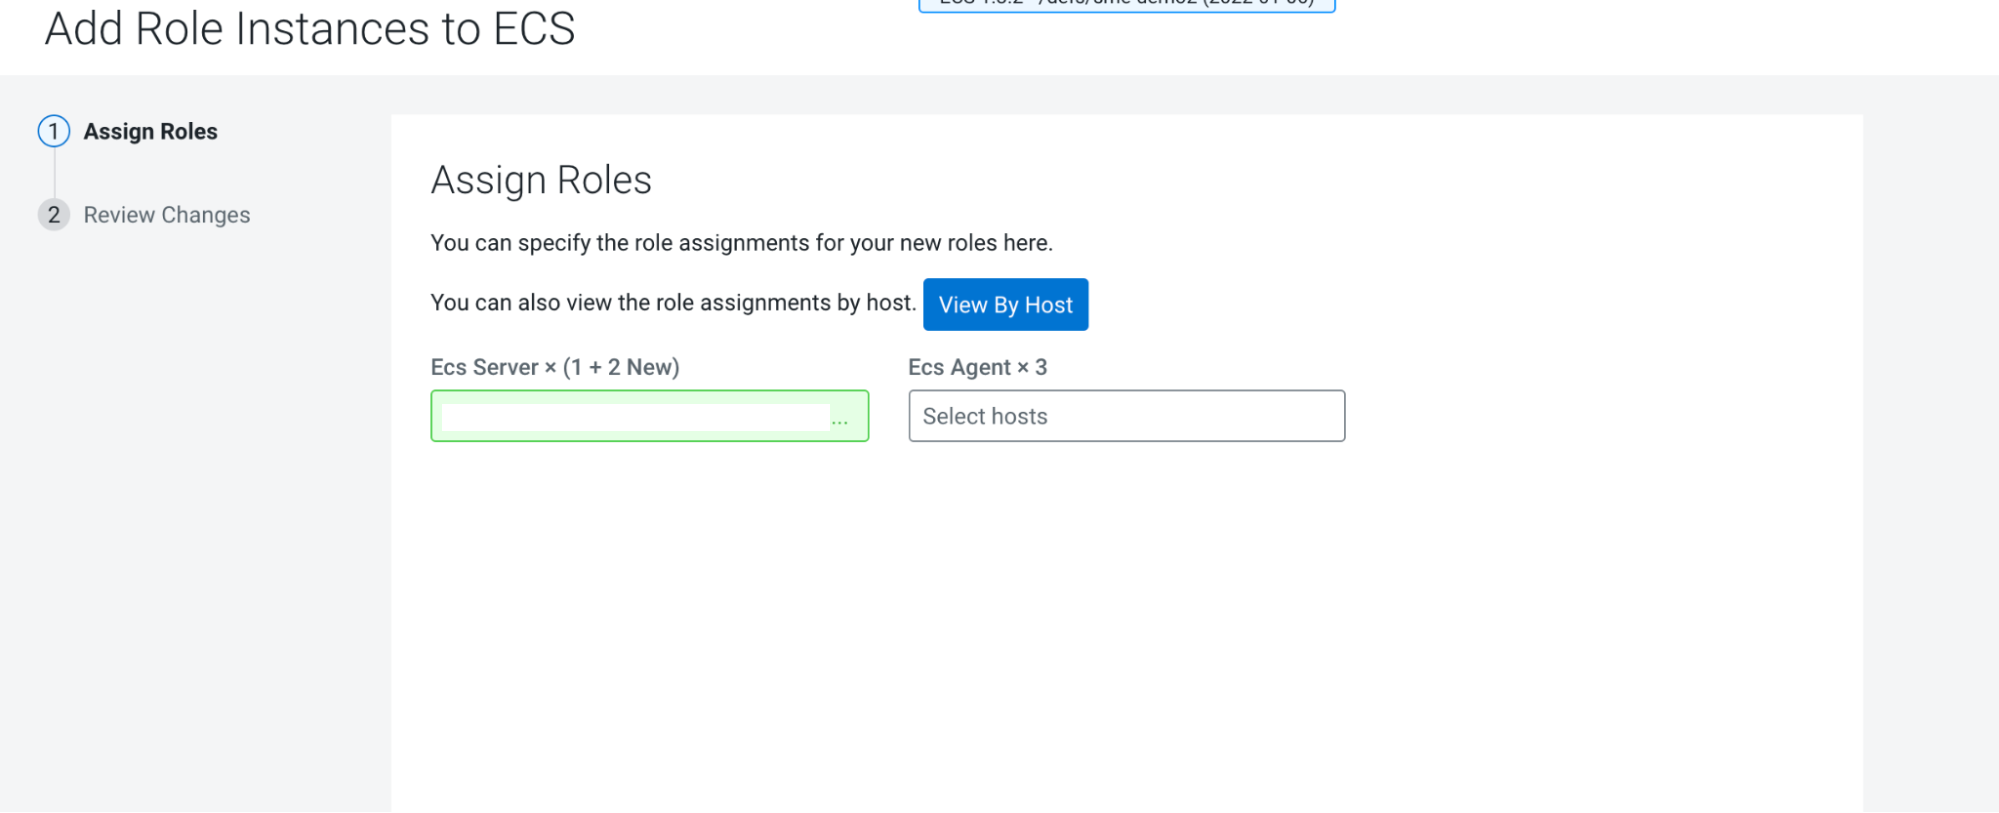
In Cloudera Manager, navigate to ECS Cluster >>
ECS. Click Add Role
Instances.
-
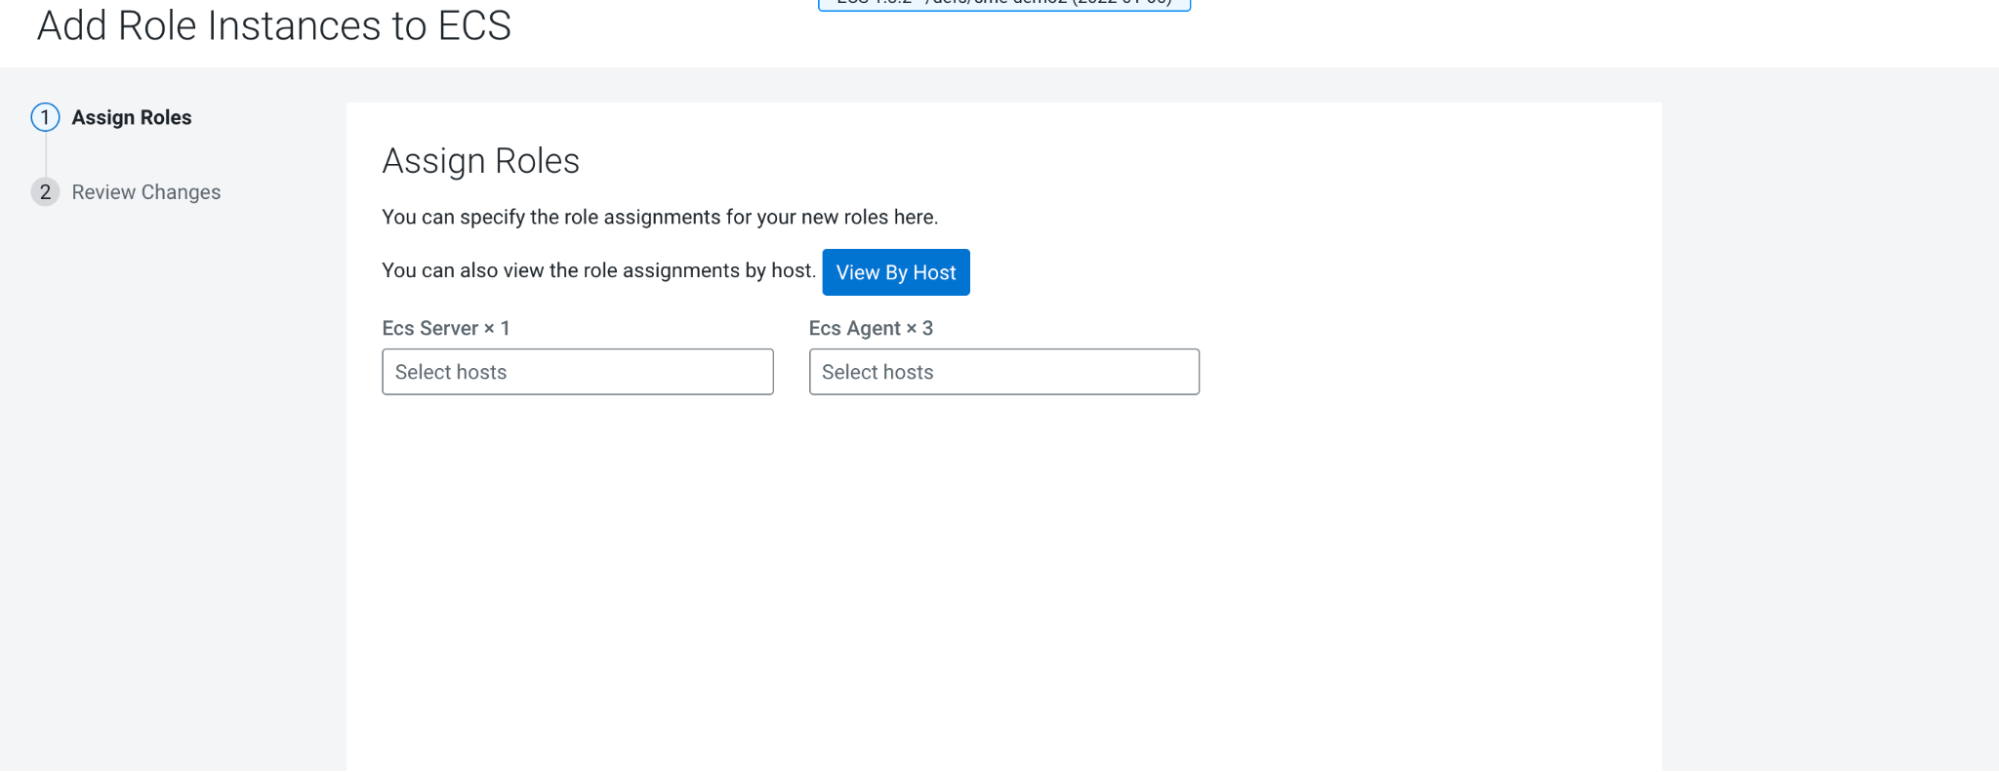
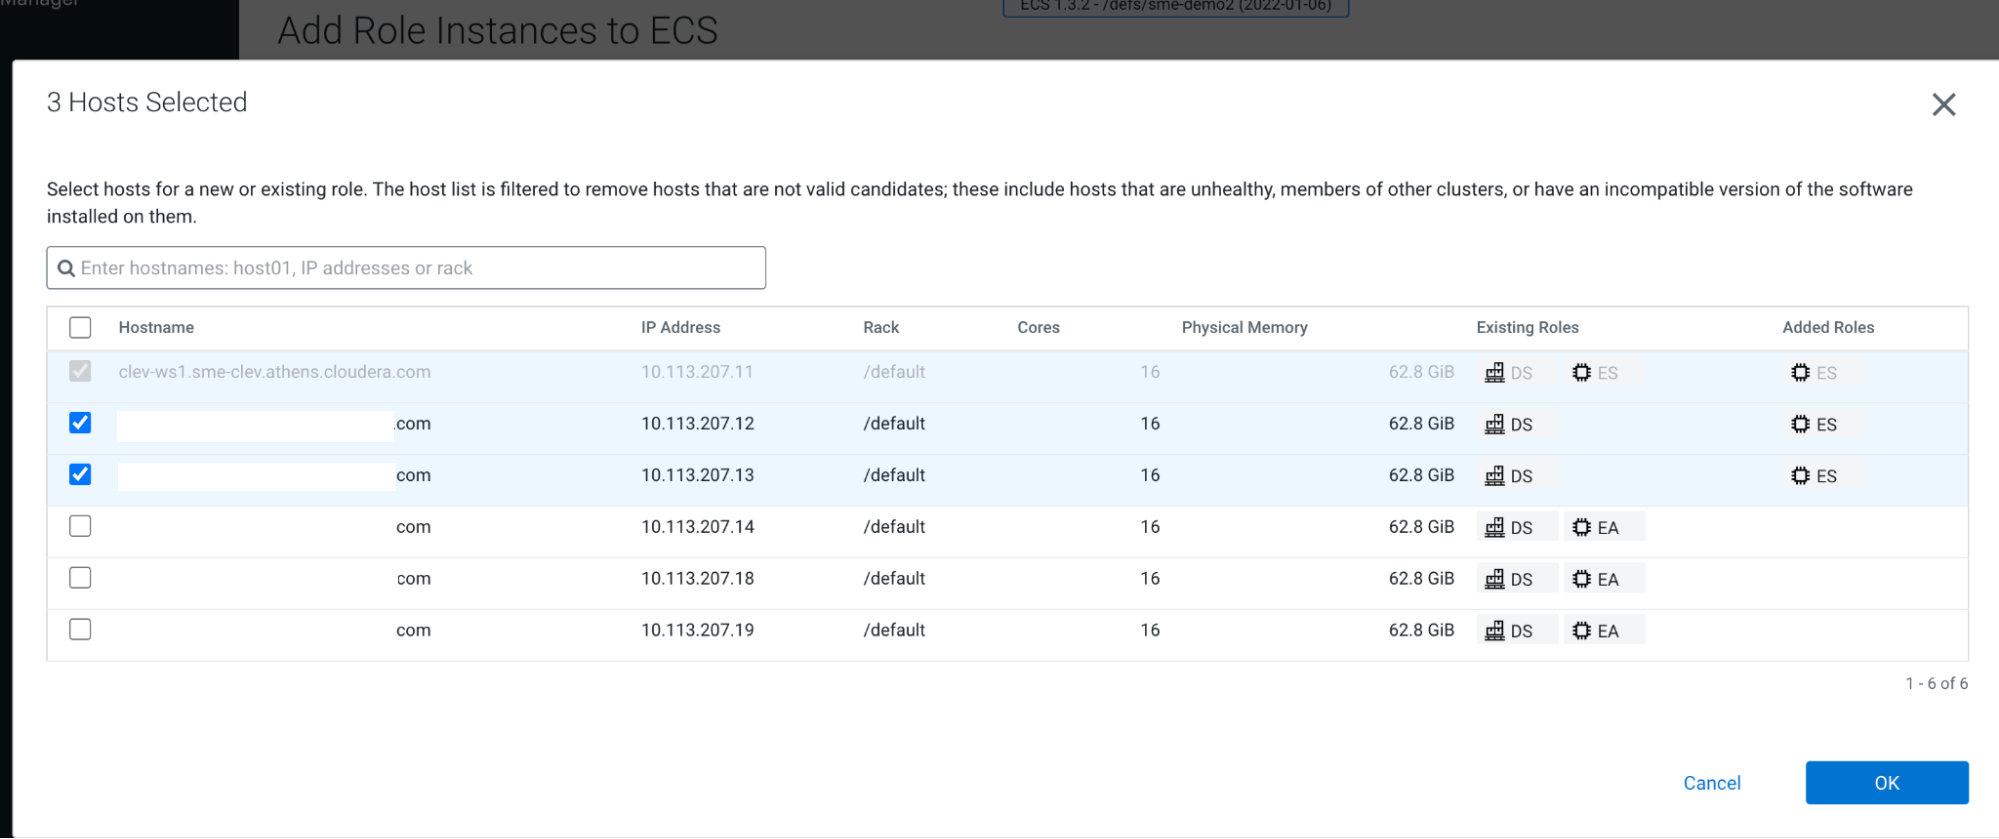
Add the available host agent1 as an ECS Server in the
Add Role Instances to ECS pop-up. Click
Ok.
-
Click Continue.
-
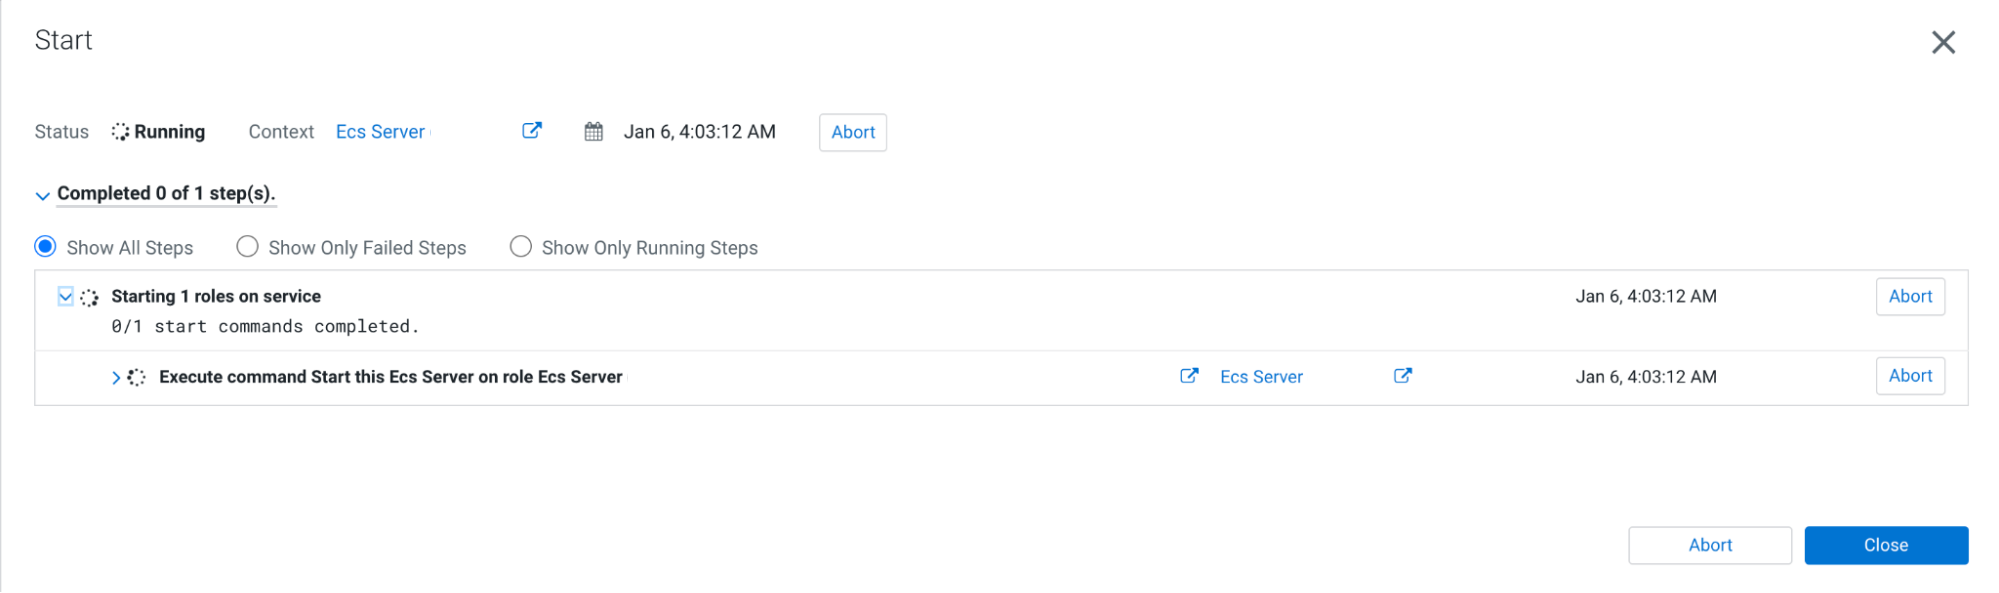
Start the new ECS Server from ECS Instances view. For example, start ECSServer
on agent1.
-
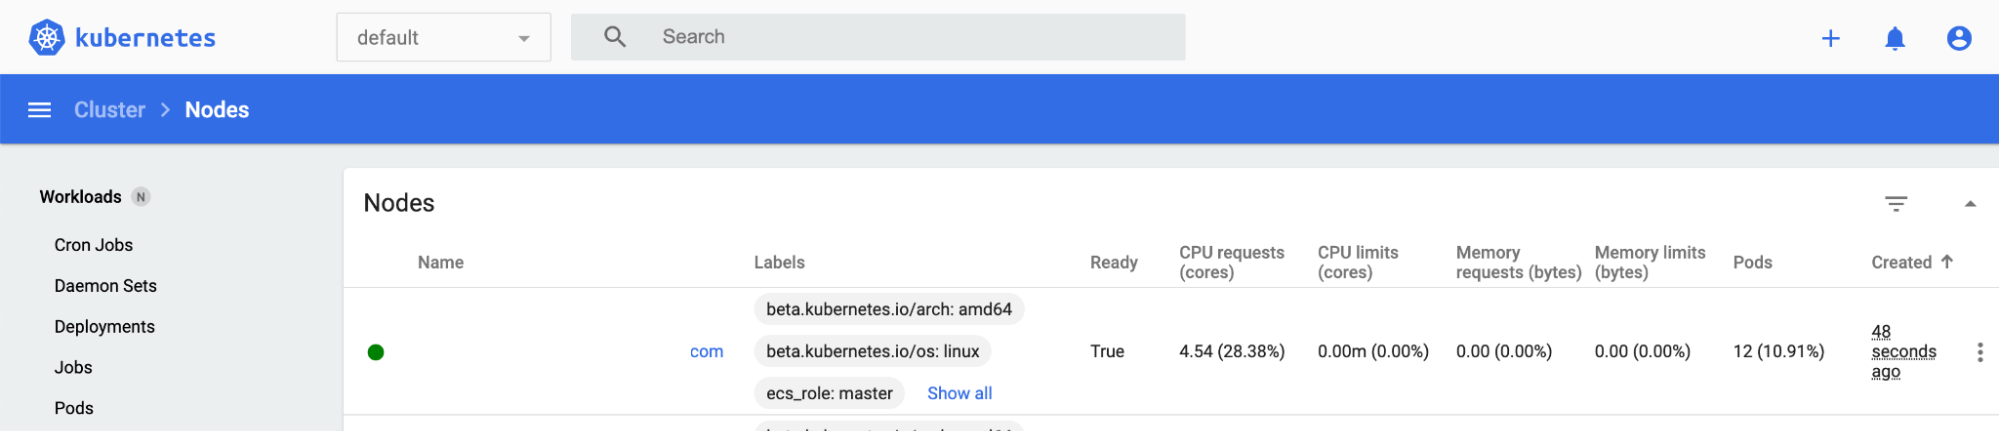
Confirm the node’s status from webUI or the command line by running the command
sudo /var/lib/rancher/rke2/bin/kubectl
--kubeconfig=/etc/rancher/rke2/rke2.yaml get nodes.