
Installing CDP Private Cloud Data Services using ECS
Follow the steps in this topic to install CDP Private Cloud Data Services with the Embedded Container Service (ECS).
-
In Cloudera Manager, click Data Services in the left
menu.
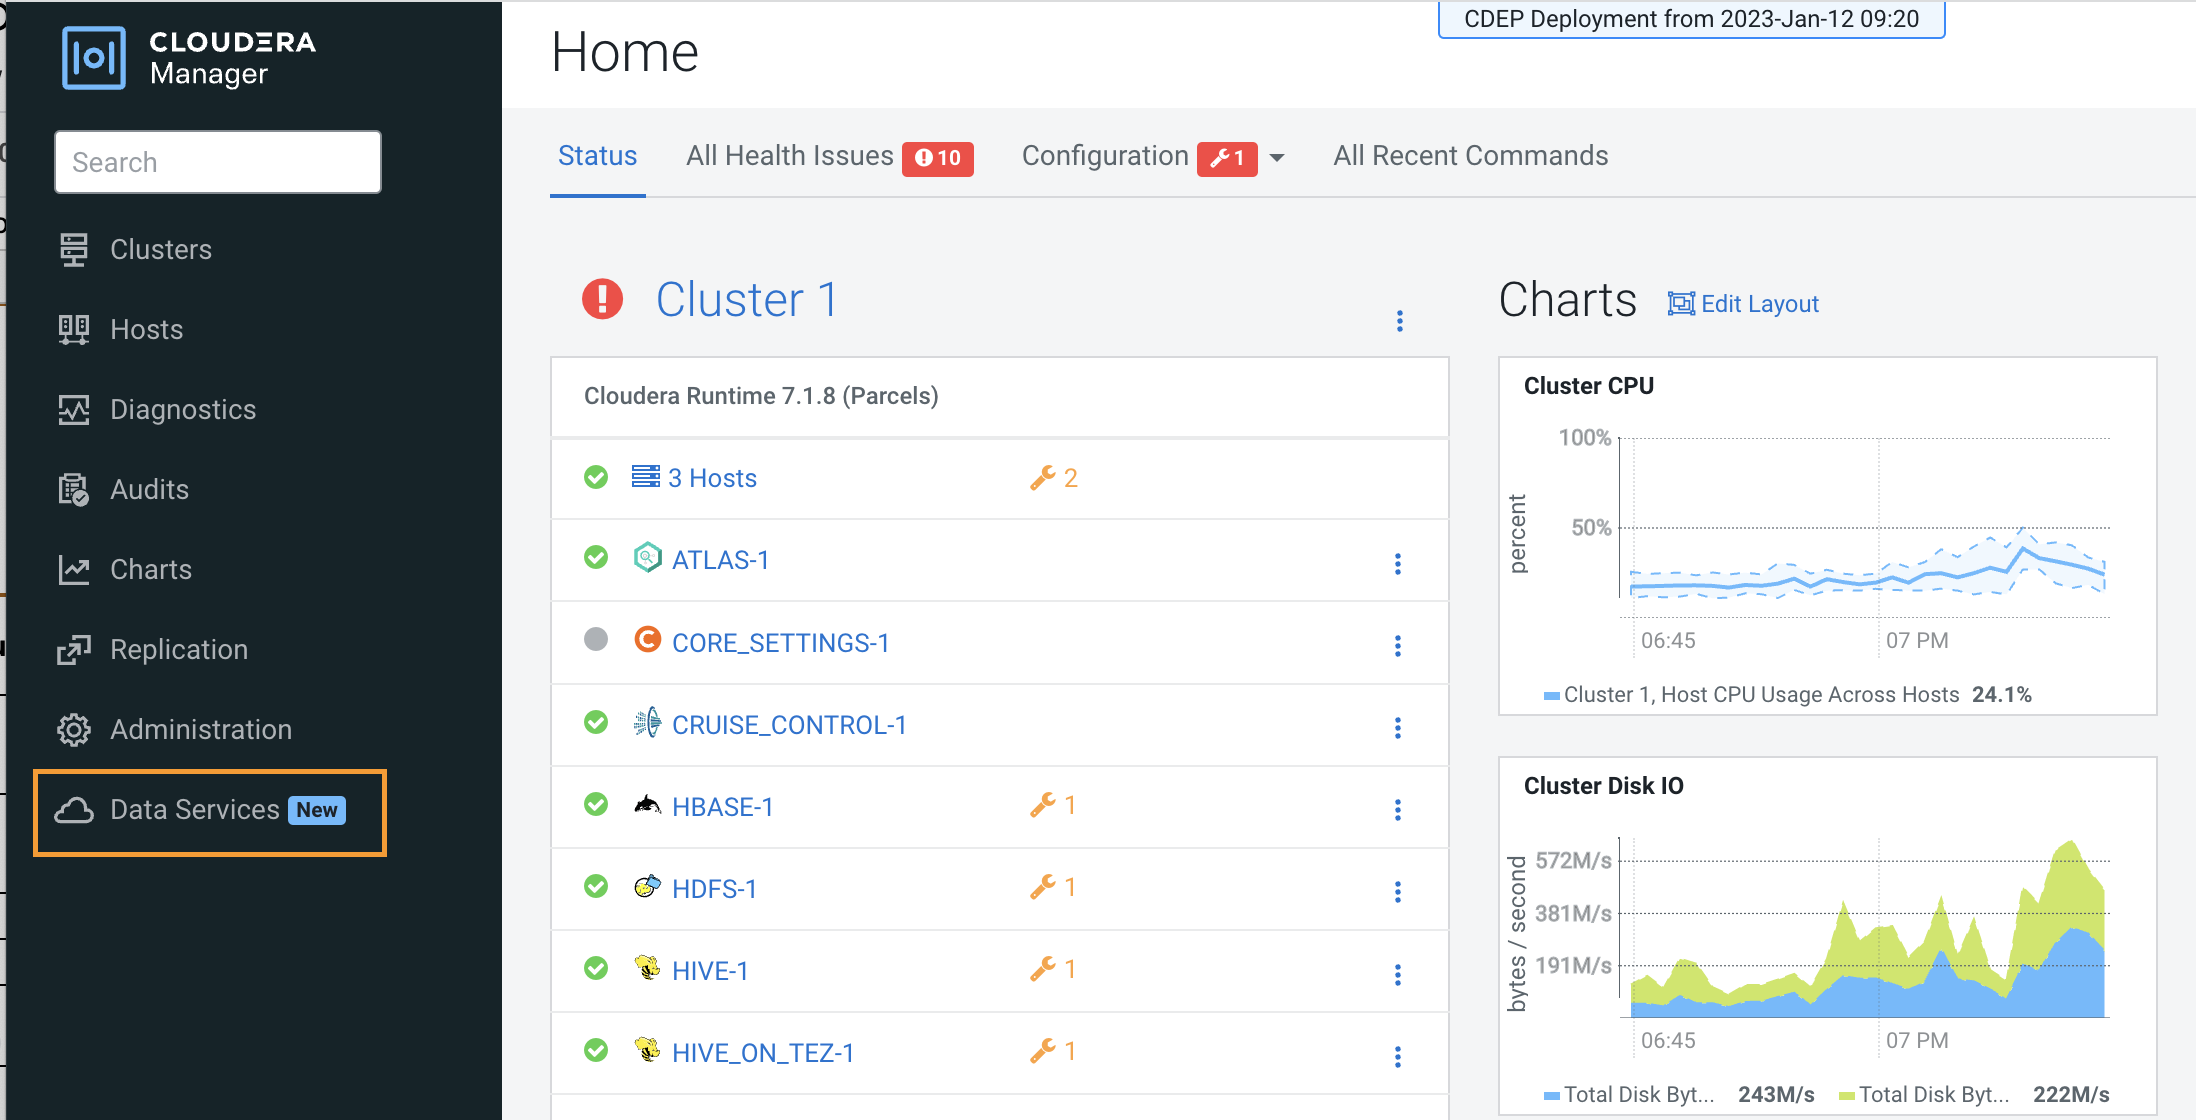 The Add Private Cloud Containerized Cluster page appears. Click Continue.
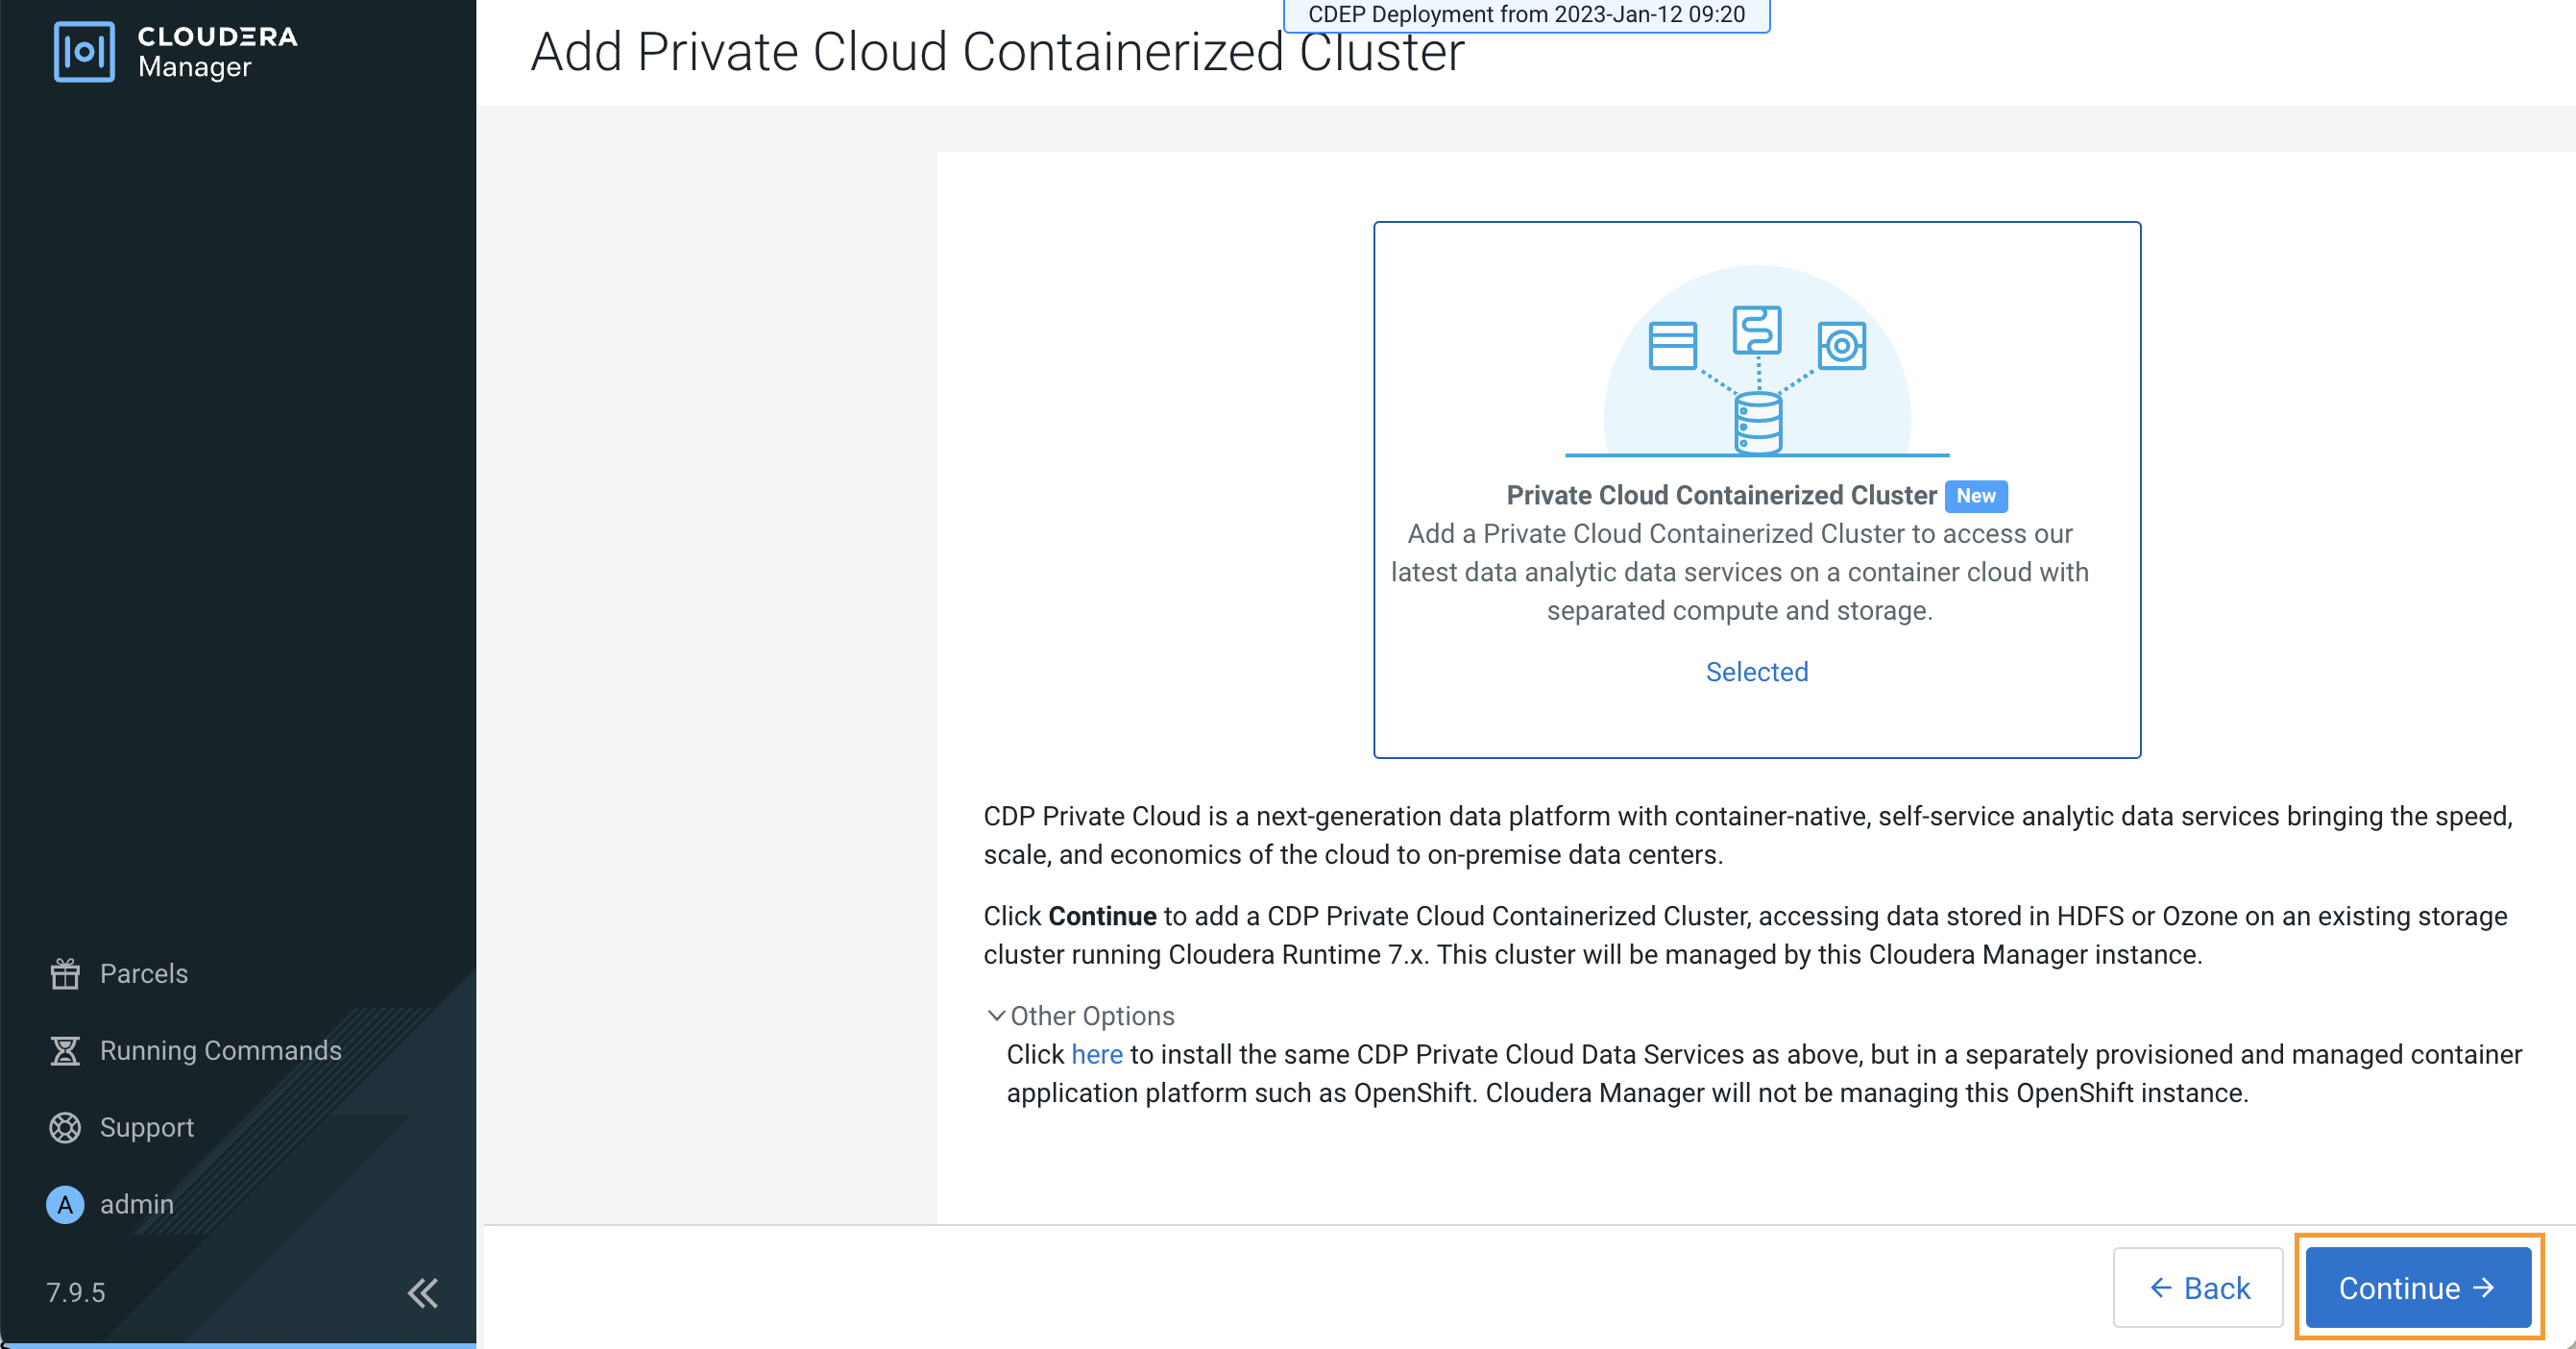
-
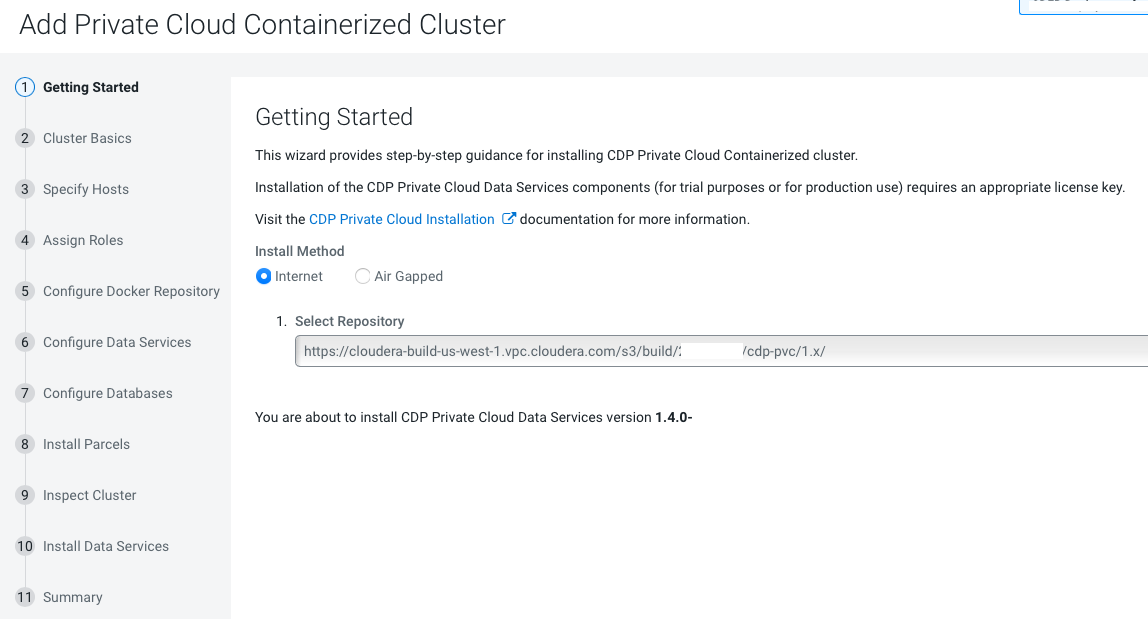
On the Getting Started page of the installation wizard, select
Internet or Air Gapped as the
Install Method.
Internet install method (To use a custom repository link provided to you by Cloudera, click Custom Repository) :
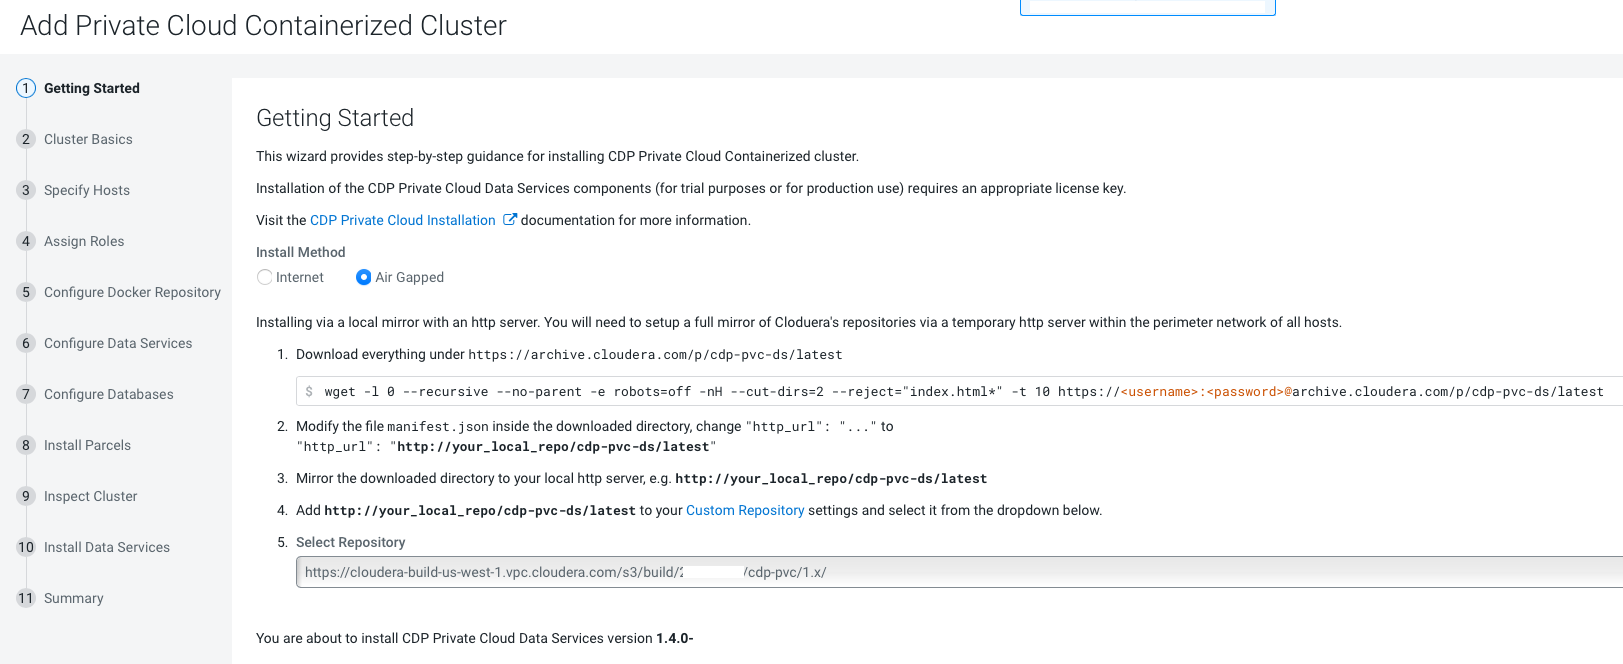
If you select the Air Gapped install option, extra steps are displayed. Follow these steps to download and mirror the Cloudera archive URL using a local HTTP server.
-
Download everything under https://archive.cloudera.com/p/cdp-pvc-ds/latest
wget -l 0 --recursive --no-parent -e robots=off -nH --cut-dirs=2 --reject="index.html*" -t 10 https://<username>:<password>@archive.cloudera.com/p/cdp-pvc-ds/latest
-
Edit the
manifest.jsonfile in the downloaded directory. Change"http_url": "..."to"http_url": "http://your_local_repo/cdp-pvc-ds/latest" -
Mirror the downloaded directory to your local http server, e.g.
http://your_local_repo/cdp-pvc-ds/latest -
Click Custom Repository and add
http://your_local_repo/cdp-pvc-ds/latestas a custom repository. - Click the Select Repository drop-down and select
http://your_local_repo/cdp-pvc-ds/latest
Click Continue.
-
-
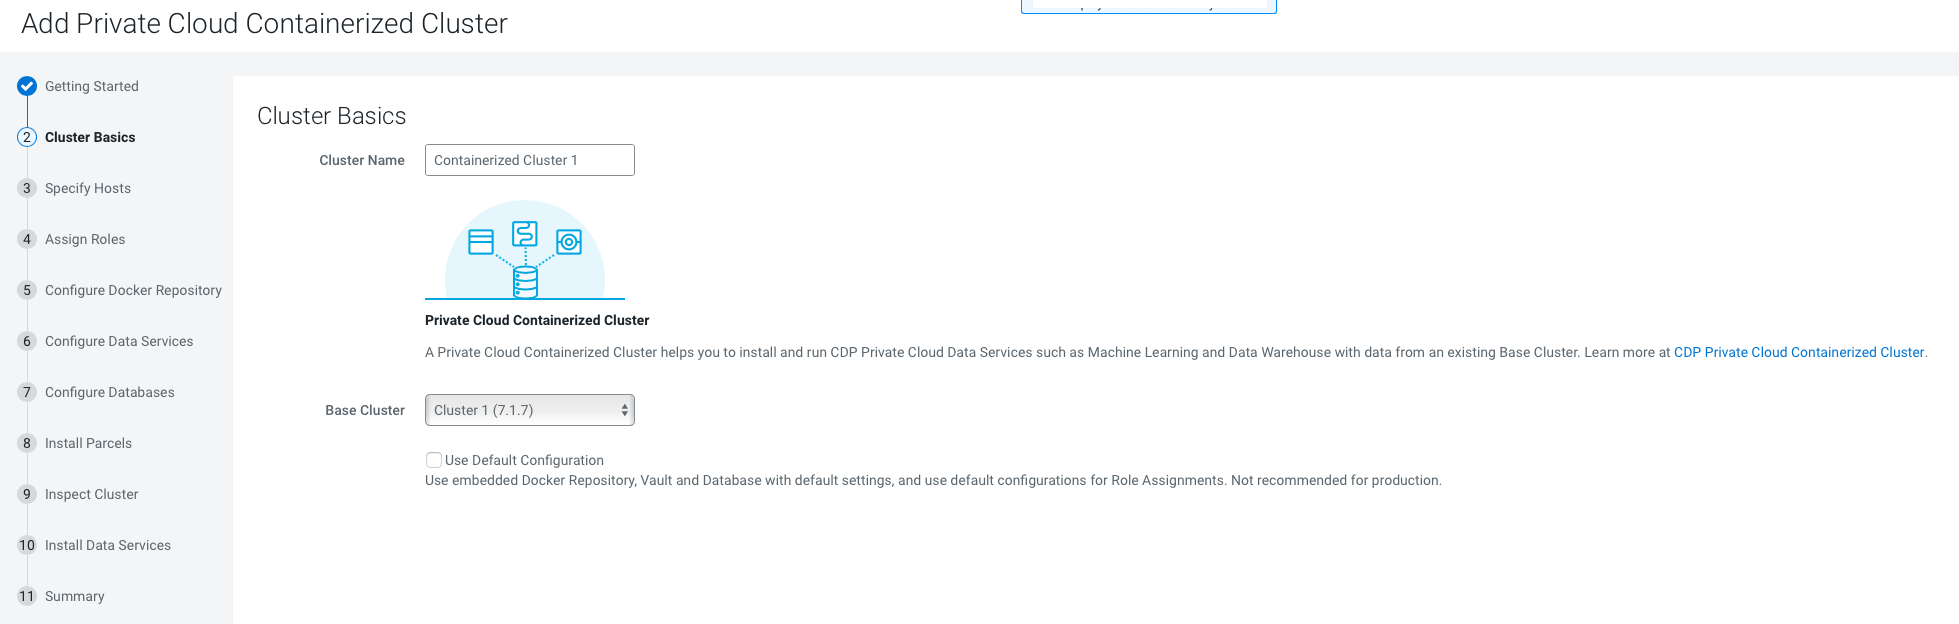
On the Cluster Basics page, type a name for the Private Cloud cluster that you
want to create in the Cluster Name field. From the
Base Cluster drop-down list, select the
cluster that has the storage and SDX services that
you want this new Private Cloud Data Services instance to connect with. Click
Continue.
-
On the Specify Hosts page, hosts that have already been added to Cloudera
Manager are listed on the Currently Managed Hosts tab. You can select one or
more of these hosts to add to the ECS cluster.
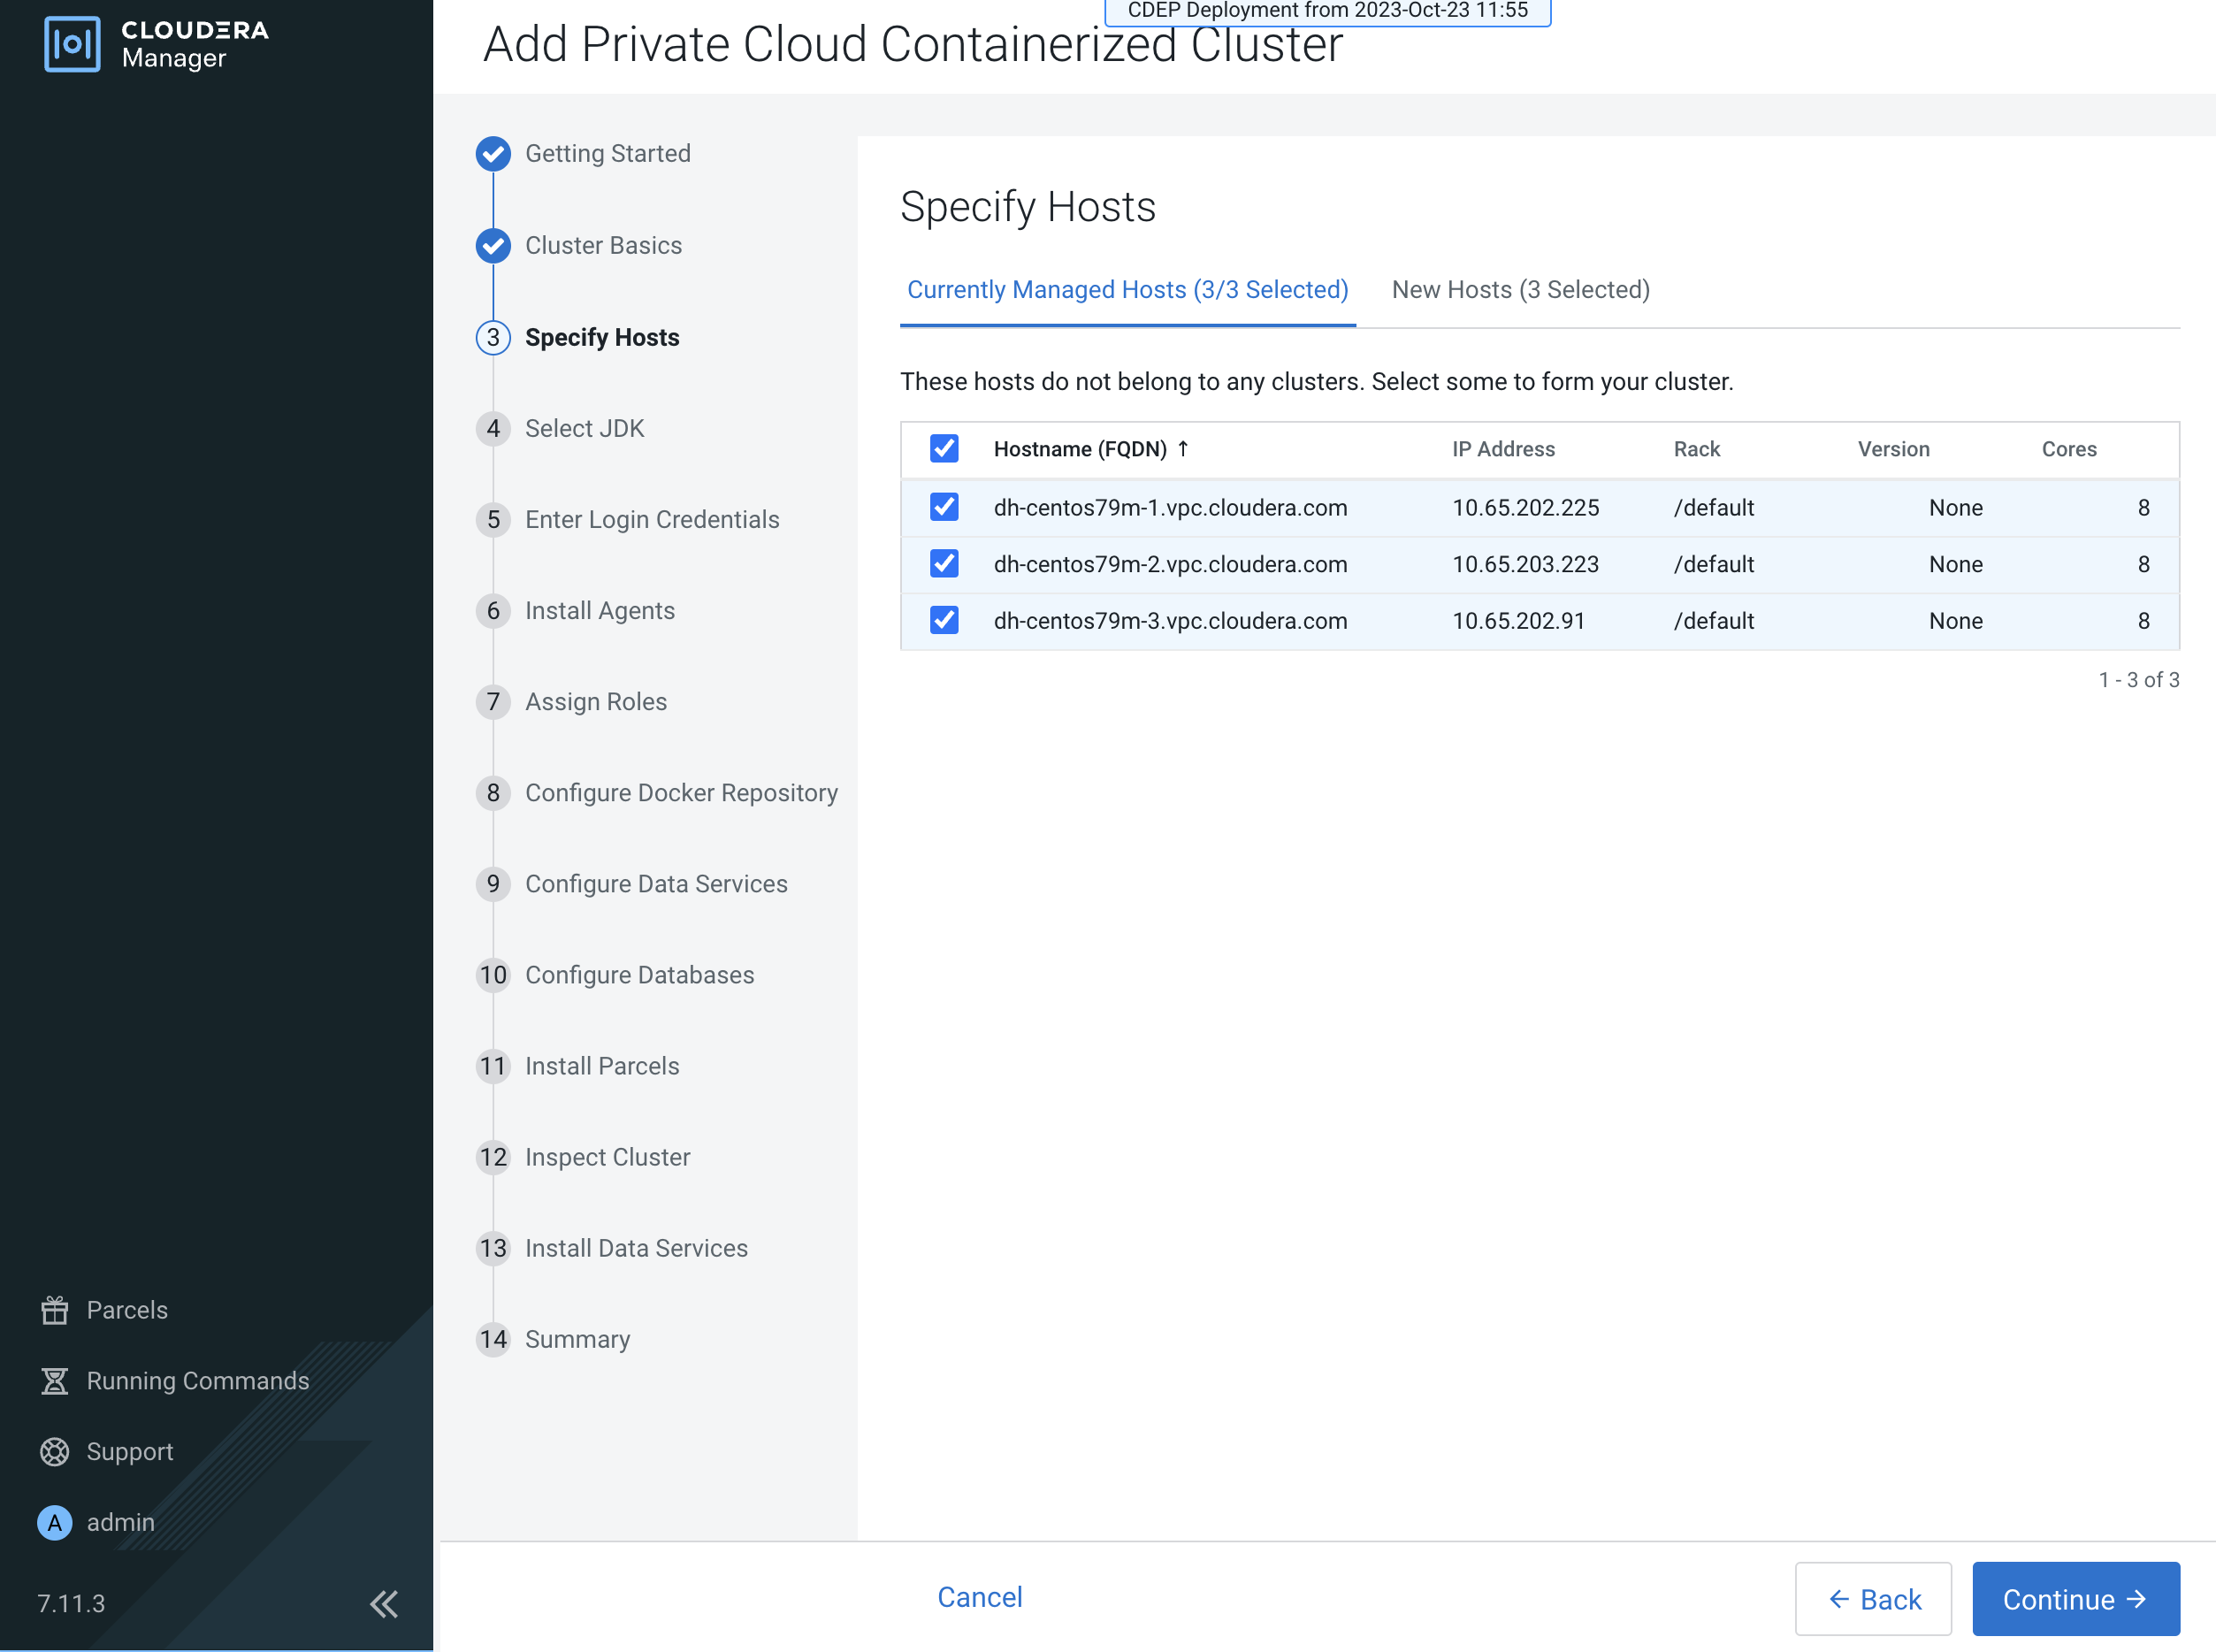
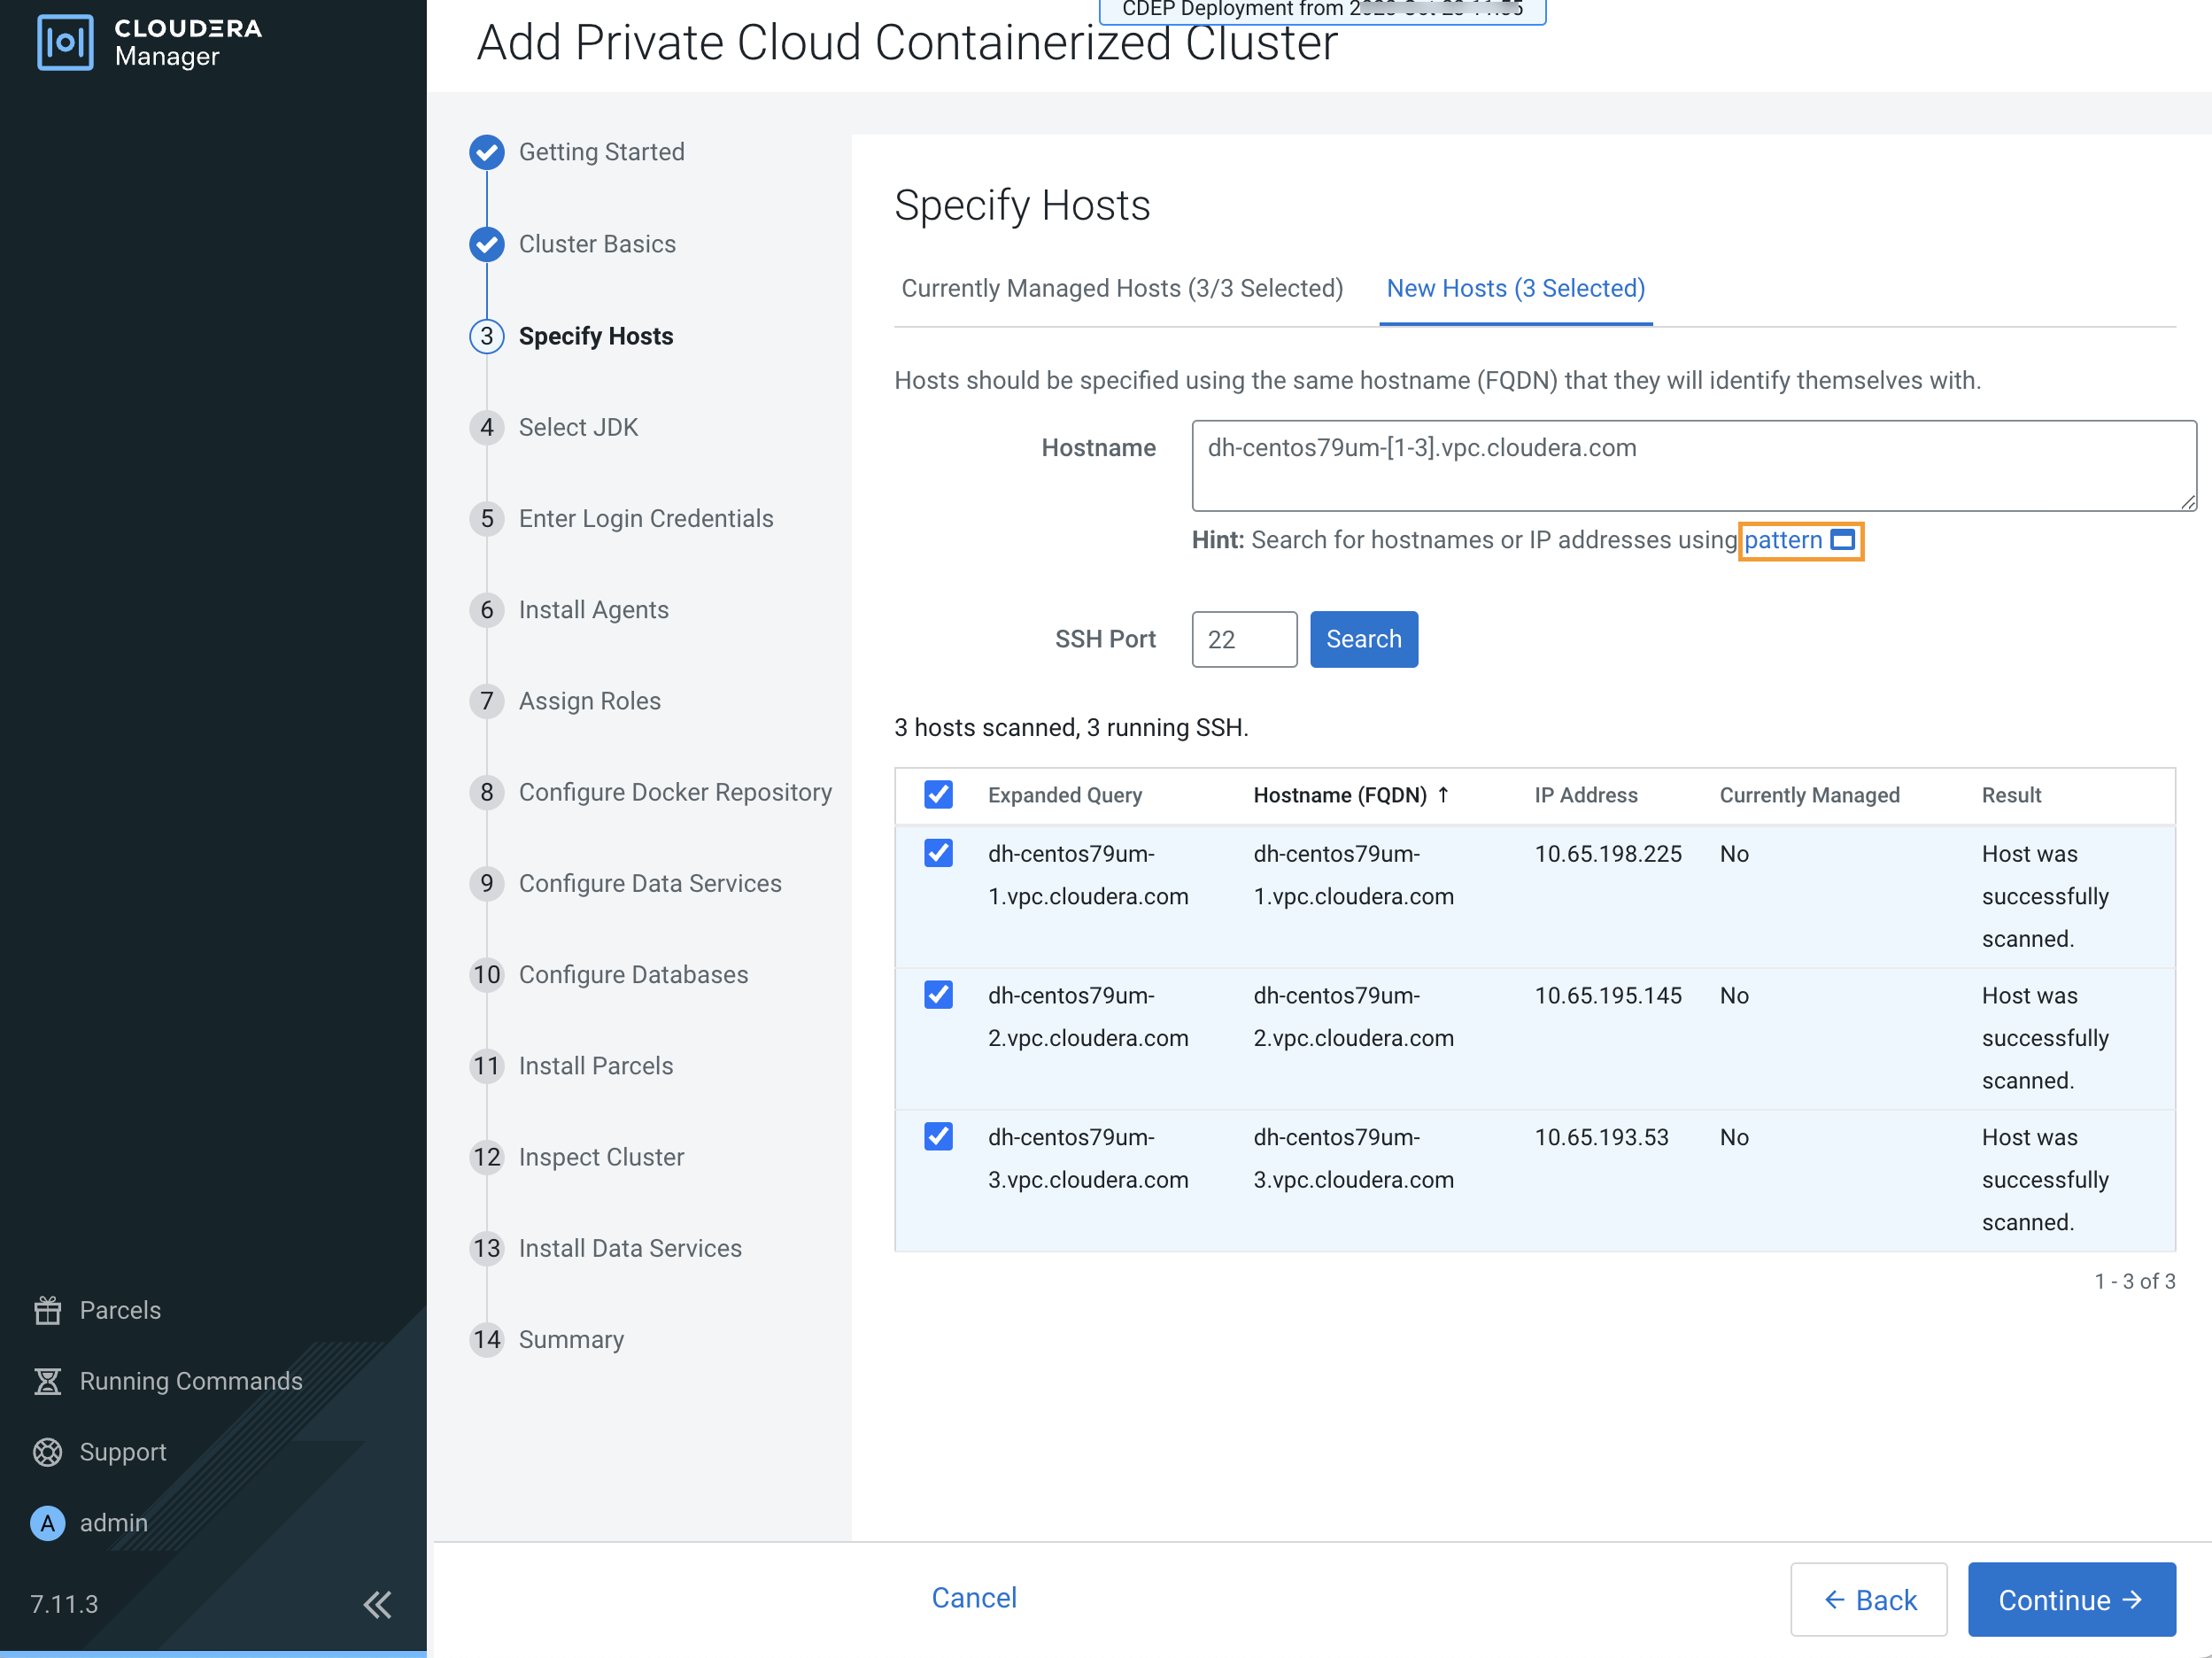
You can also click the New Hosts tab to specify one or more hosts that have not been added to Cloudera Manager. Enter a Fully Qualified Domain Name in the Hostname box, then click Search.
After you have finished specifying the ECS hosts, click Continue.
-
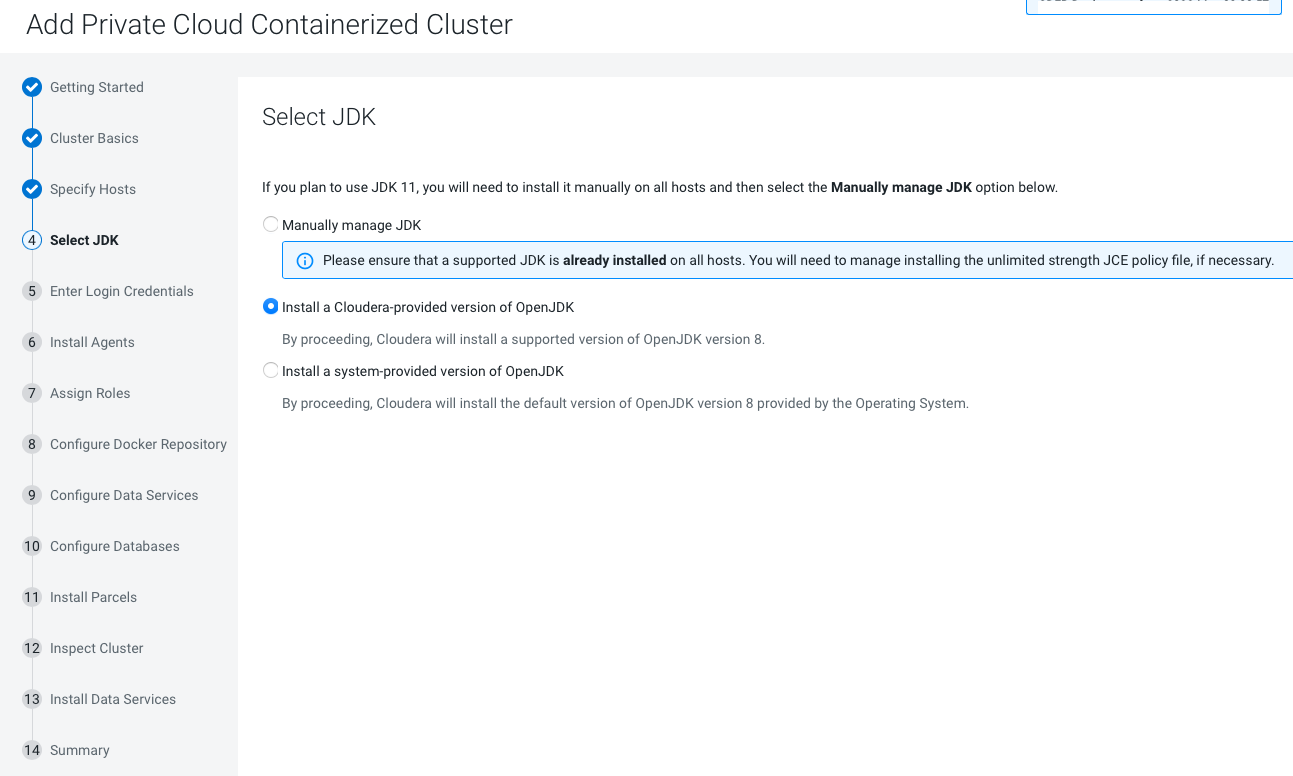
On the Select JDK page, select any one from the below options:
-
Install a system-provided version of
OpenJDK
-
Install a system-provided version of
OpenJDK
-
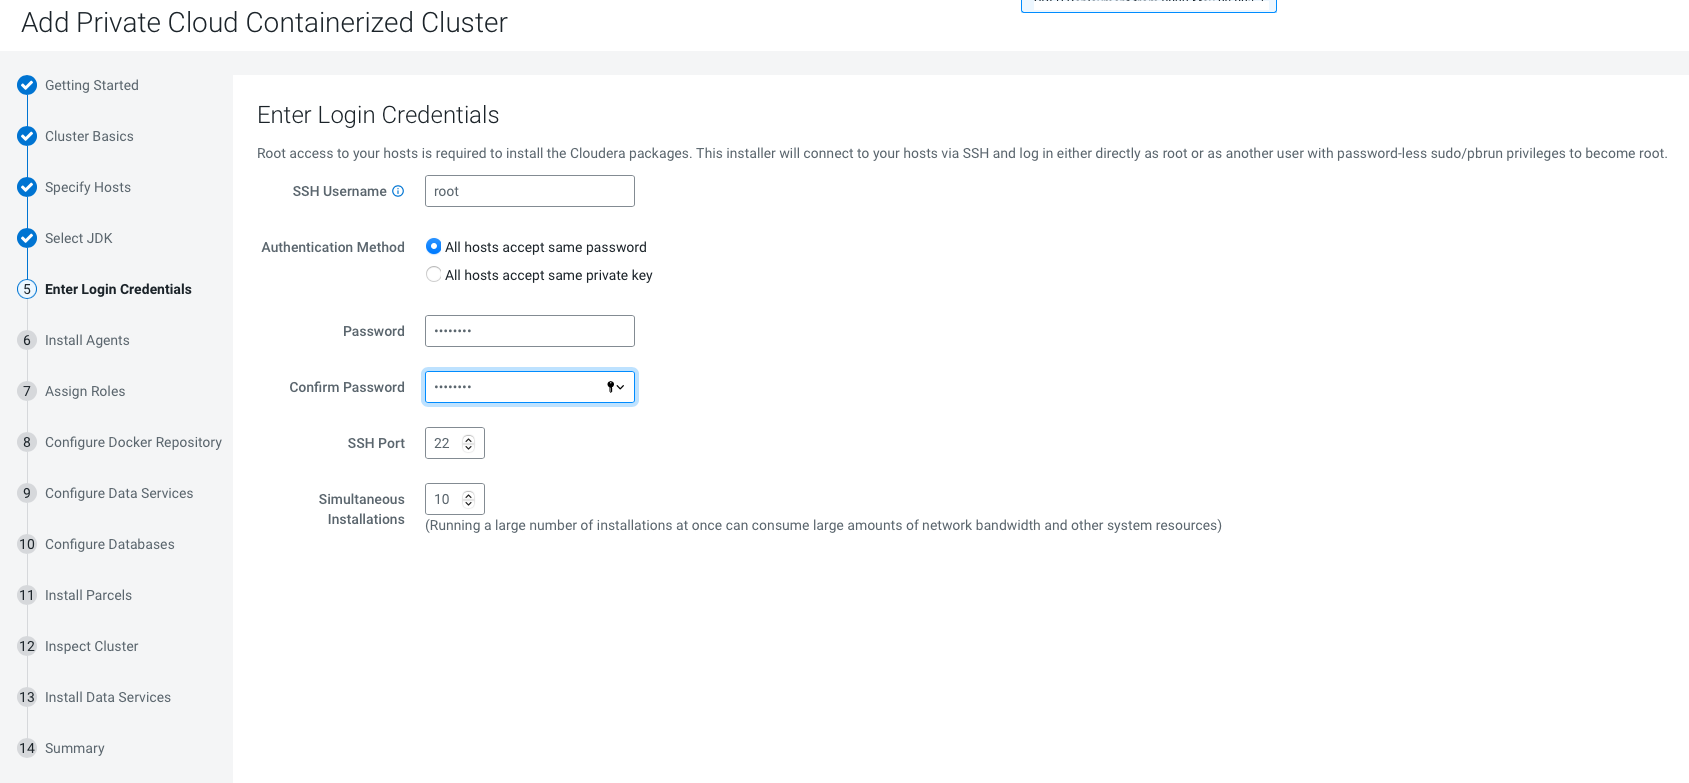
On the Enter Login Credentials page, All hosts accept the same
password is selected by default. Enter the user name in the
SSH Username box, and type in and confirm the
password. You can also select the All hosts accept the same private
key option and provide the Private Key and passphrase.
-
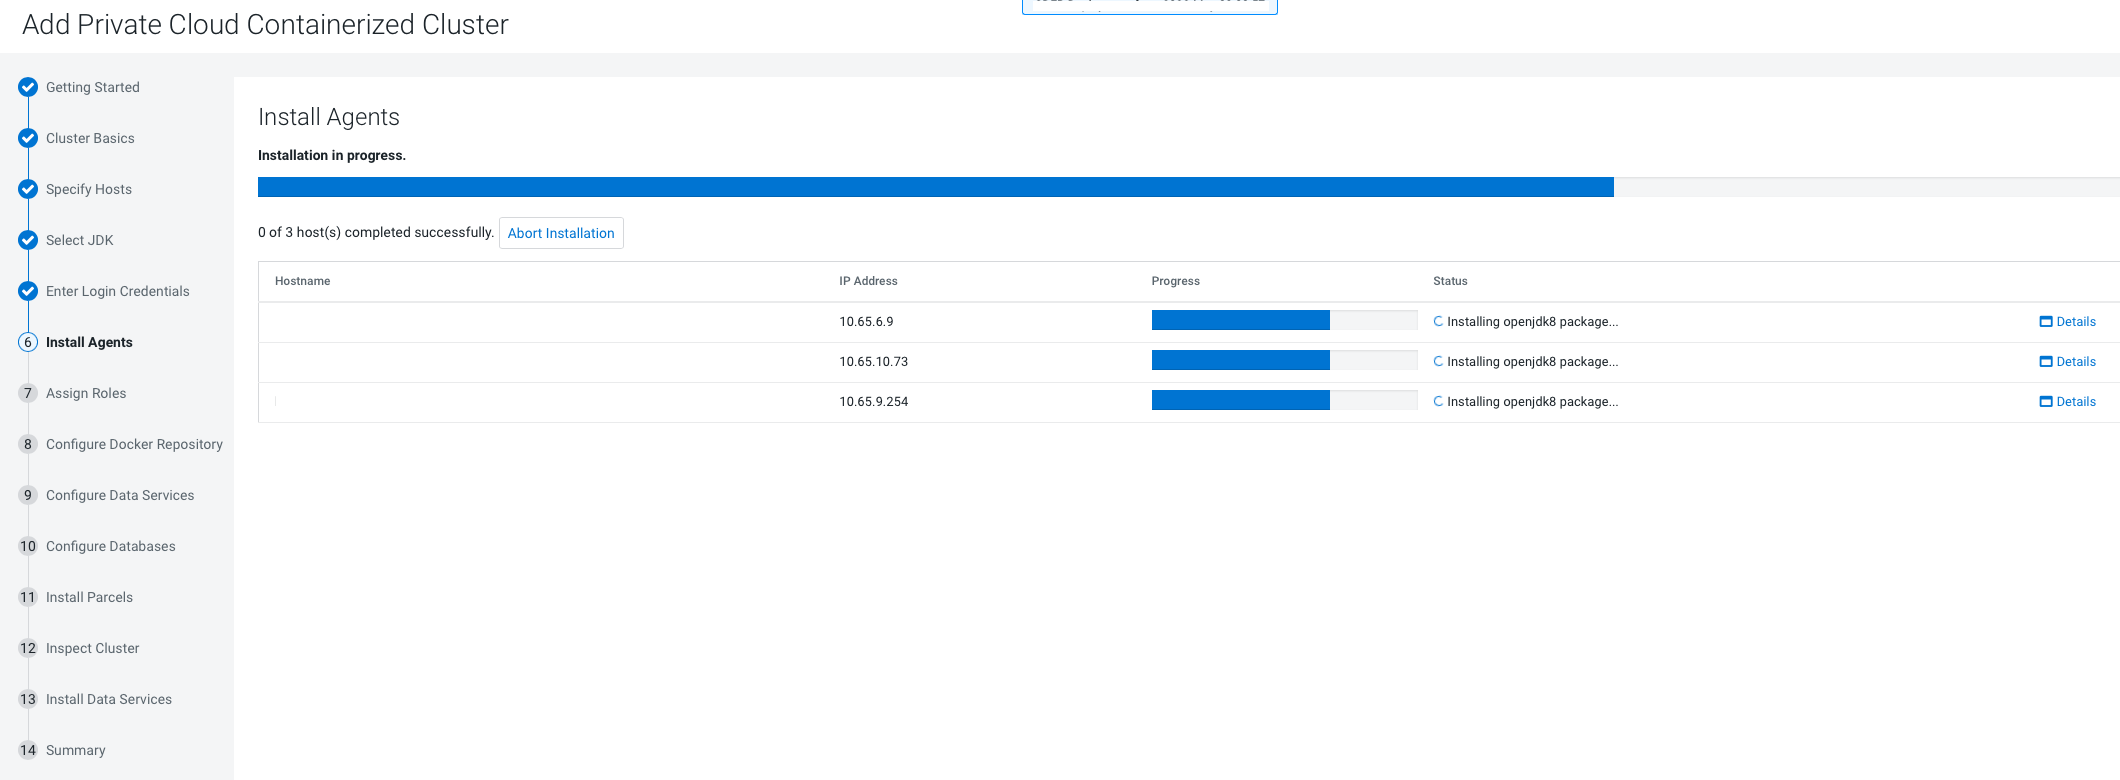
The Install Agents page appears.
-
On the Assign Roles page, you can customize the roles assignment for your new
Private Cloud Containerized cluster.
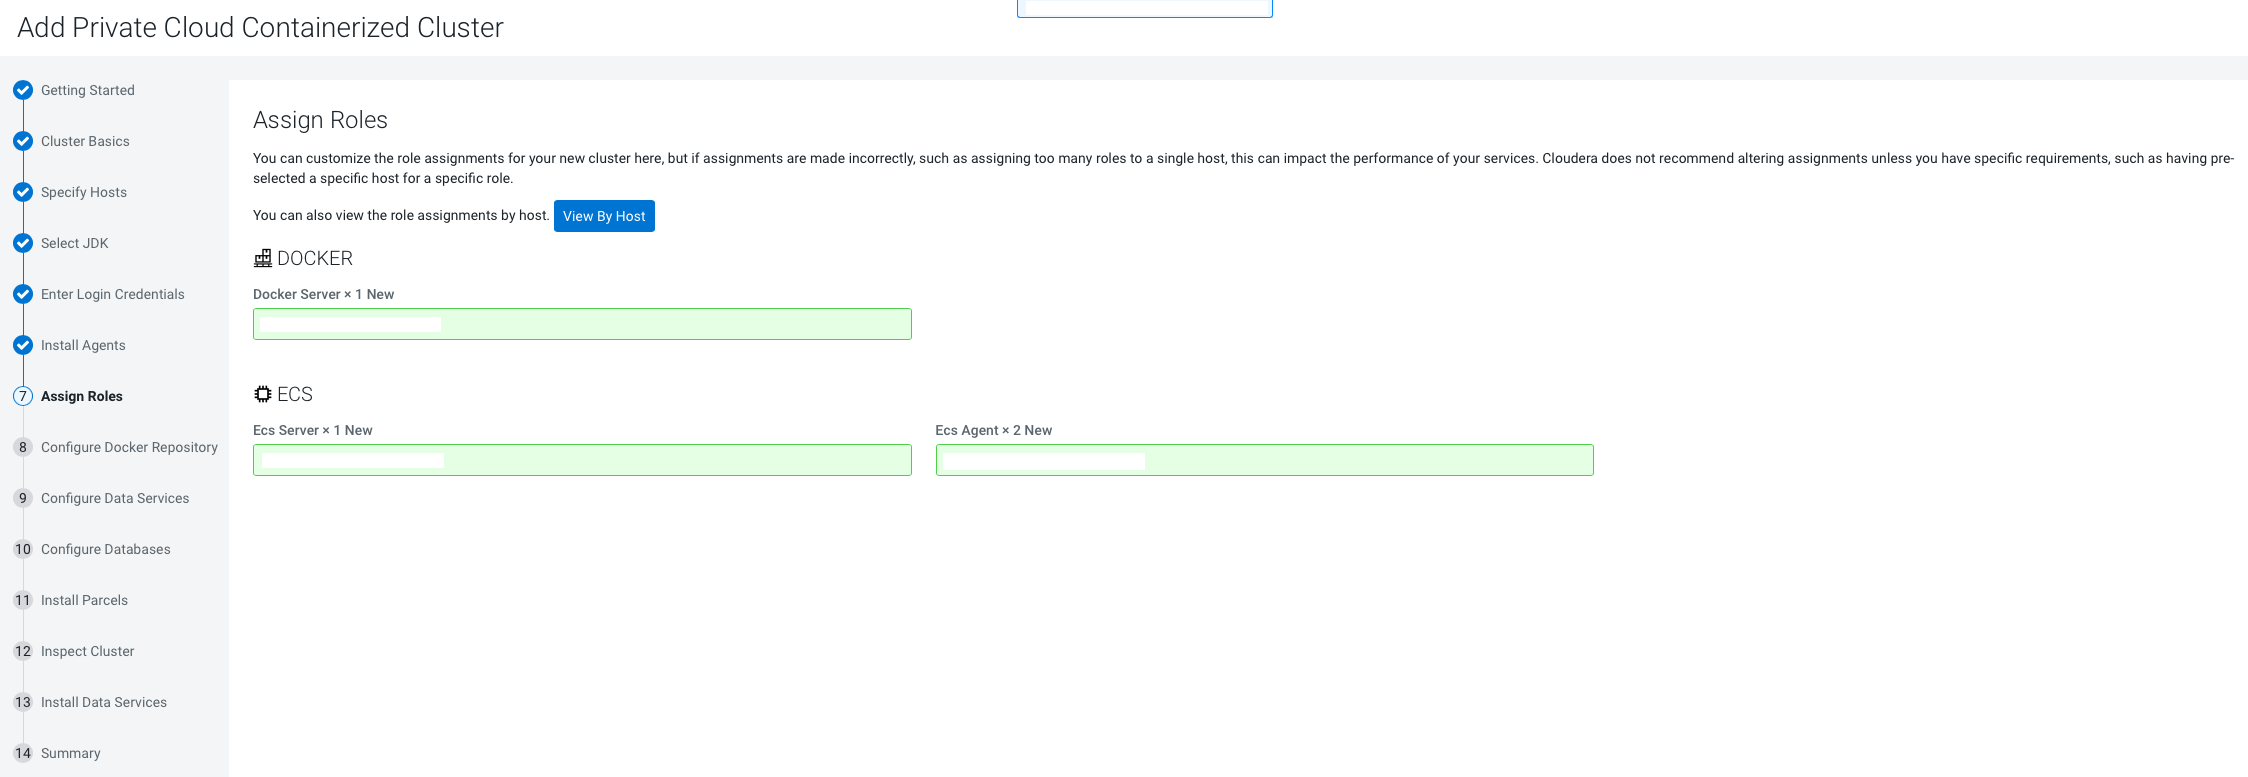 Single node ECS installation is supported, but is only intended to enable CDSW to CML migration. If you are installing ECS on a single node, only the Docker and ECS Server roles are assigned. The ECS Agent role is not required for single node installation.
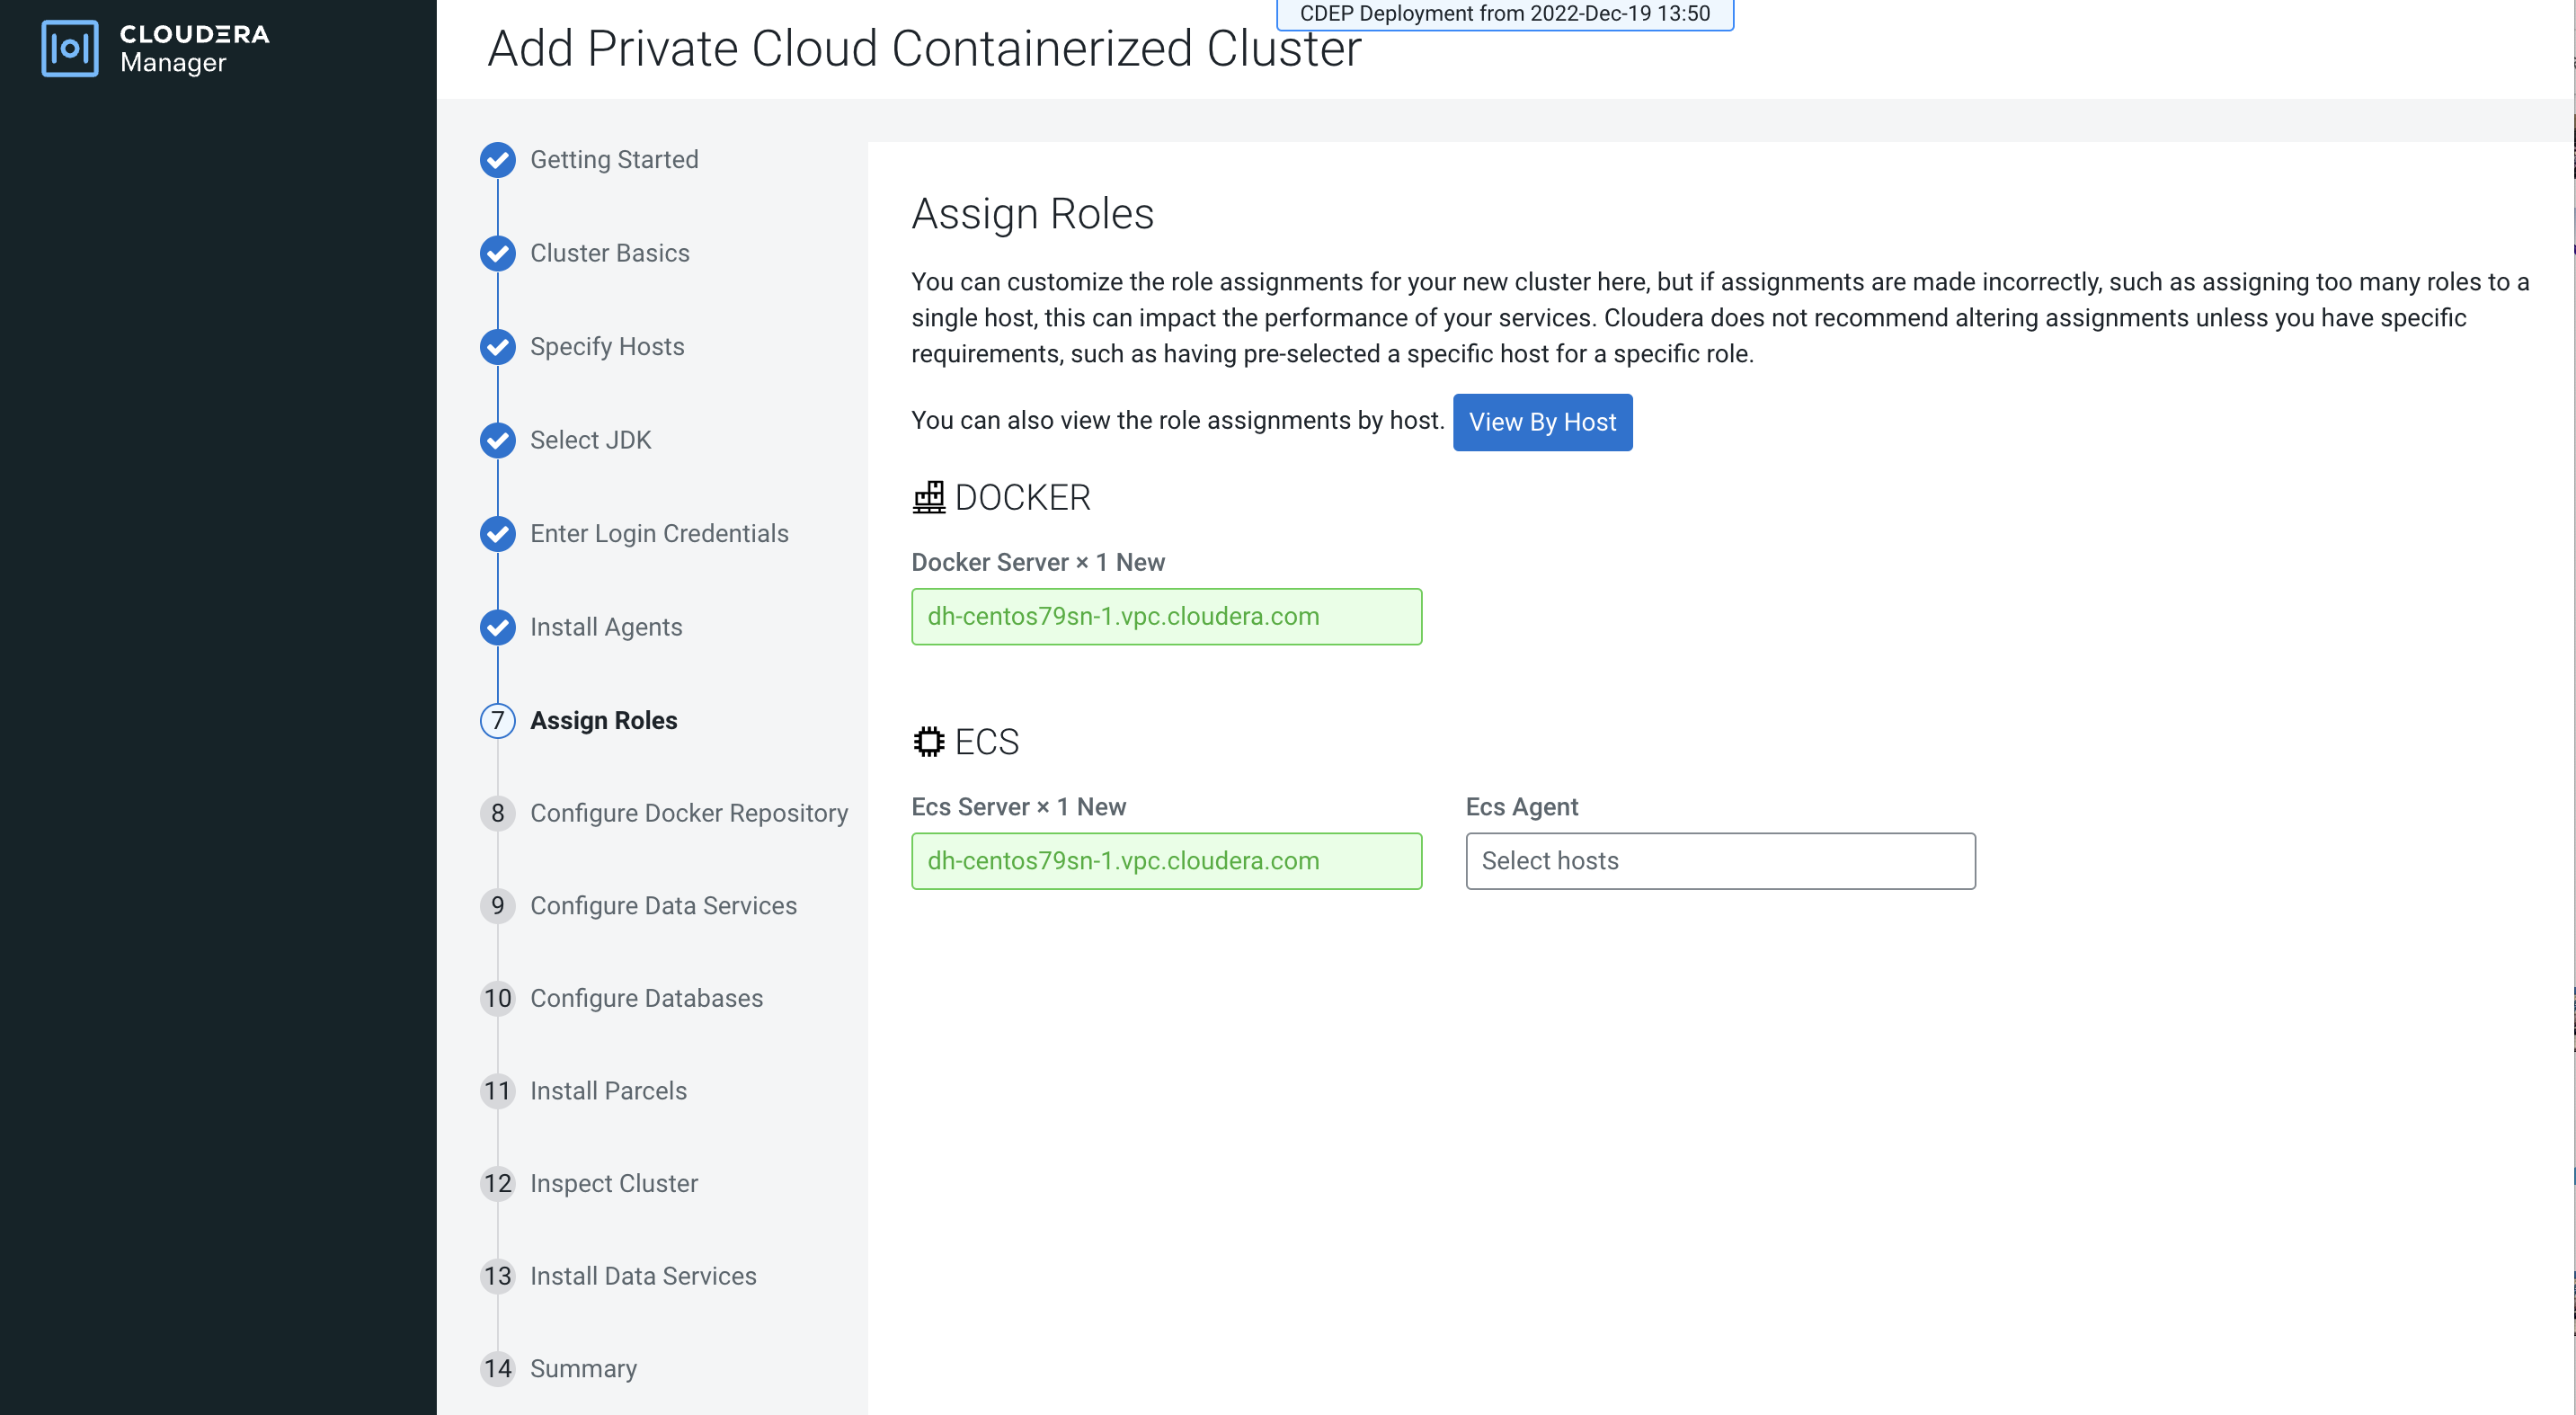
Click Continue.
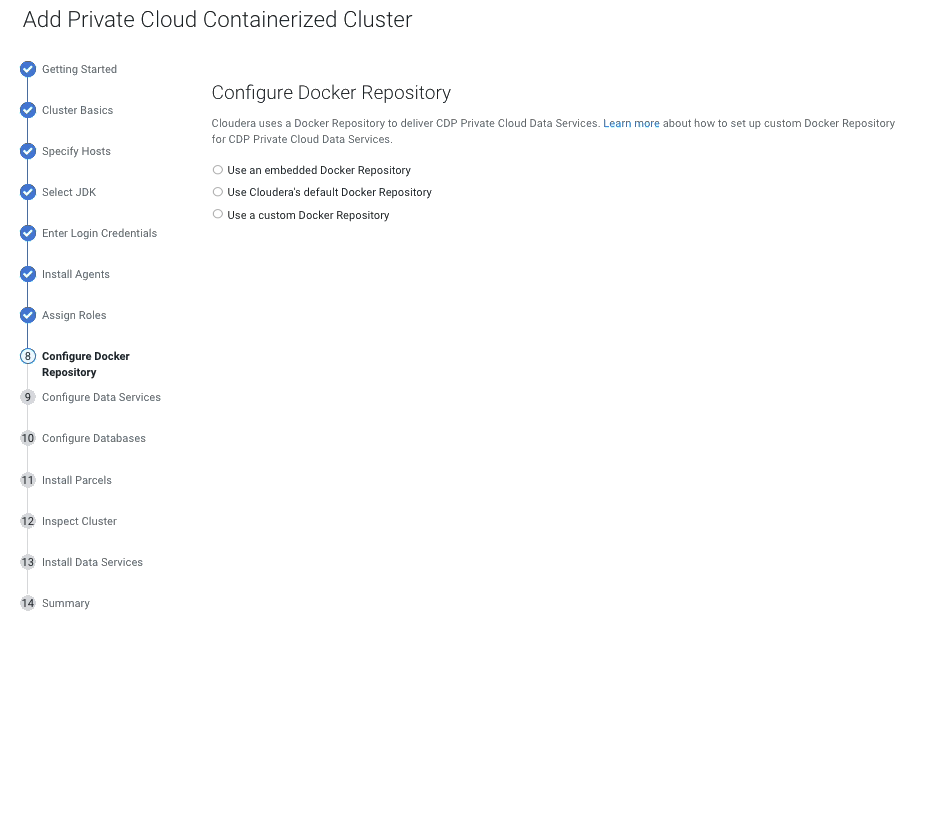
- Configure a Docker
Repository. There are several options for configuring a Docker Repository. For more information about these options, see Docker repository access.
The following ports must be opened and allowed no matter which Docker repository option you choose.
- Ports required for Cloudera Manager/Cloudera Manager agent (port 5000 is required
for Cloudera Machine Learning):
Protocol Port TCP 7180-7192 TCP 19001 TCP 5000 TCP 9000 - Inbound rules for ECS Server nodes (Kubernetes/RKE2):
Protocol Port TCP 9345 TCP 6443 UDP 8472 TCP 10250 TCP 2379 TCP 2380 TCP 30000-32767 - Inbound Rules for the ECS Agent (Kubernetes/RKE2):
Protocol Port UDP 4789
On the Configure Docker Repository page, select one of these options:- Embedded Docker Repository
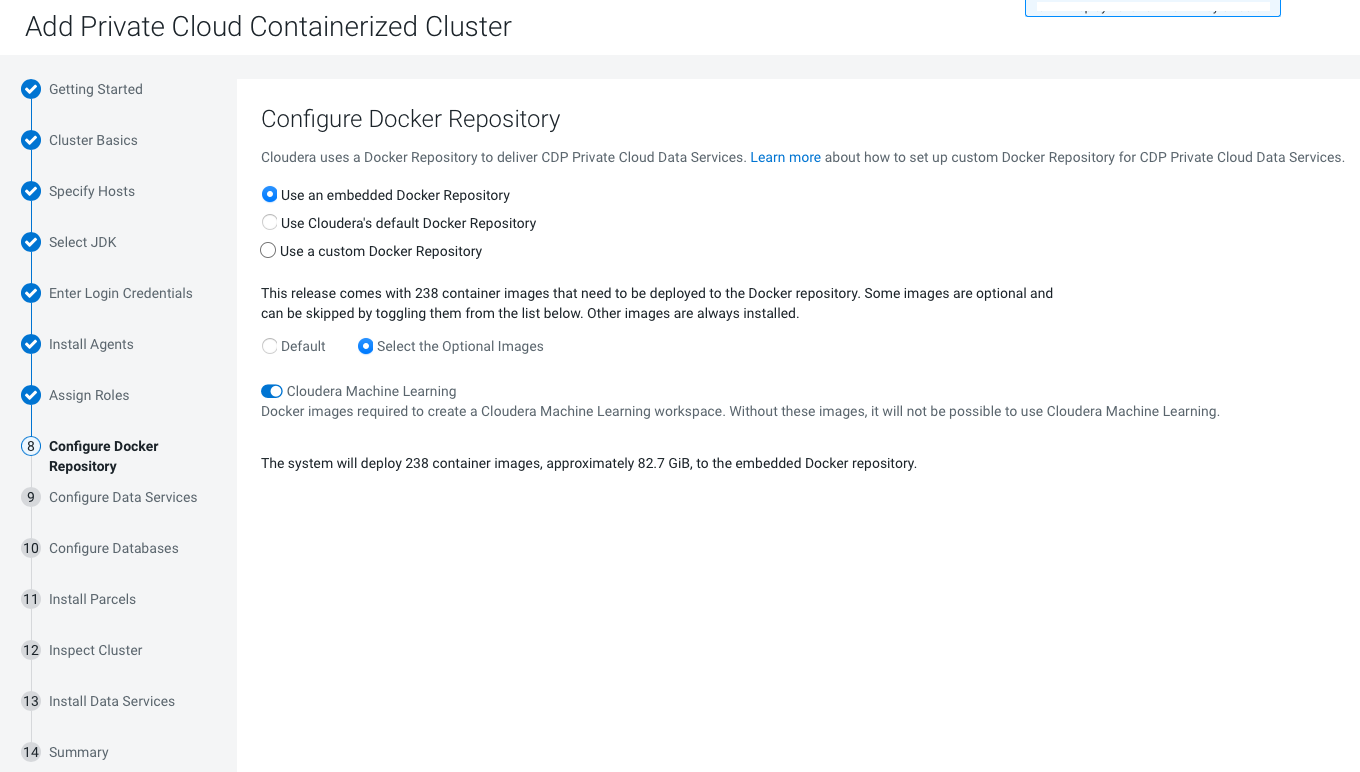
If you select the Internet Install Method option on the Getting Started page, images are copied over the internet from the Cloudera repository.
If you select the Air Gapped option, images are copied from a local http mirror you have set up in your environment.
Select Default to deploy all of the default Docker images to the repository, or select Select the Optional Images to choose which images to deploy. If you will be deploying Cloudera Machine Learning (CML), toggle the Cloudera Machine Learning switch on to copy the images for CML.
- Cloudera default Docker Repository
This option requires that cluster hosts have access to the internet and you have selected Internet as the install method.
- Custom Docker Repository
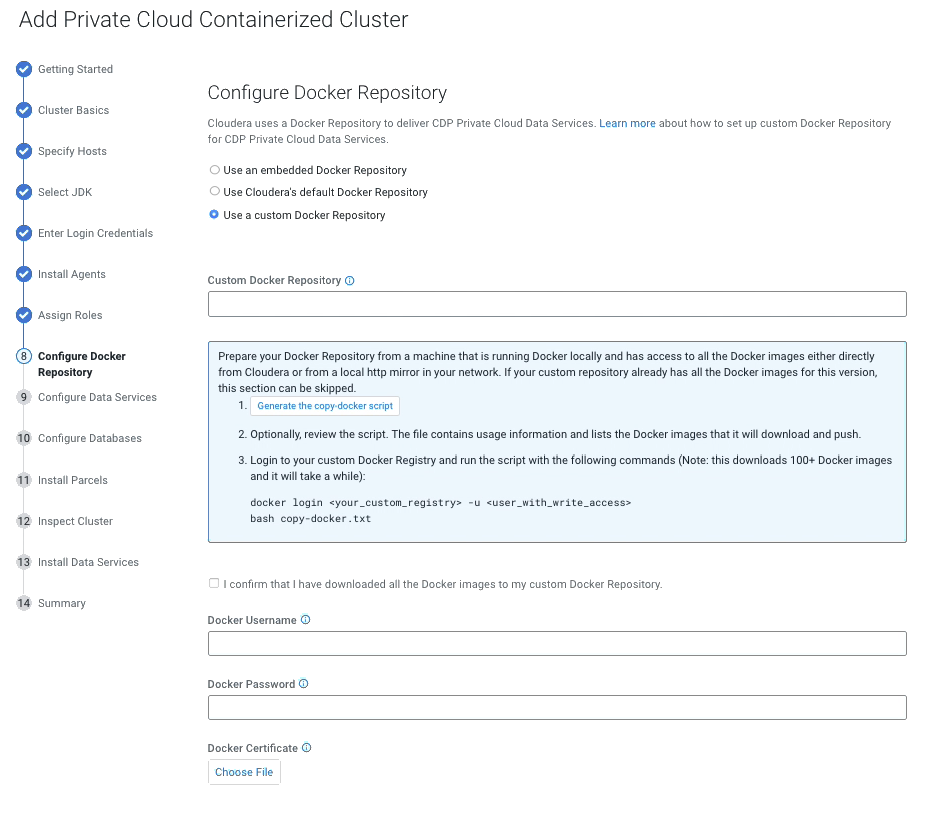
This option requires that you set up a Docker Repository in your environment and that all cluster hosts have connectivity to the repository.
You must enter the following options:Click the Generate the copy-docker script button to generate and download a script that copies the Docker images from Cloudera, or (for air-gapped installation) from a local http mirror in your network.- Custom Docker Repository – Enter the URL for your Docker Repository
- Docker Username – Enter the username for the Docker Repository.
- Docker Password – Enter the password for the Docker Repository.
- Docker Certificate – Click the Choose File button to upload a TLS certificate to secure communications with the Docker Repository.
Run the script from a machine that is running Docker locally and has access to the Docker images using the following commands:docker login [***URL for Docker Repository***] -u [***username of user with write access***] bash copy-docker.txt
The copying operation may take 4 - 5 hours.
- Ports required for Cloudera Manager/Cloudera Manager agent (port 5000 is required
for Cloudera Machine Learning):
-
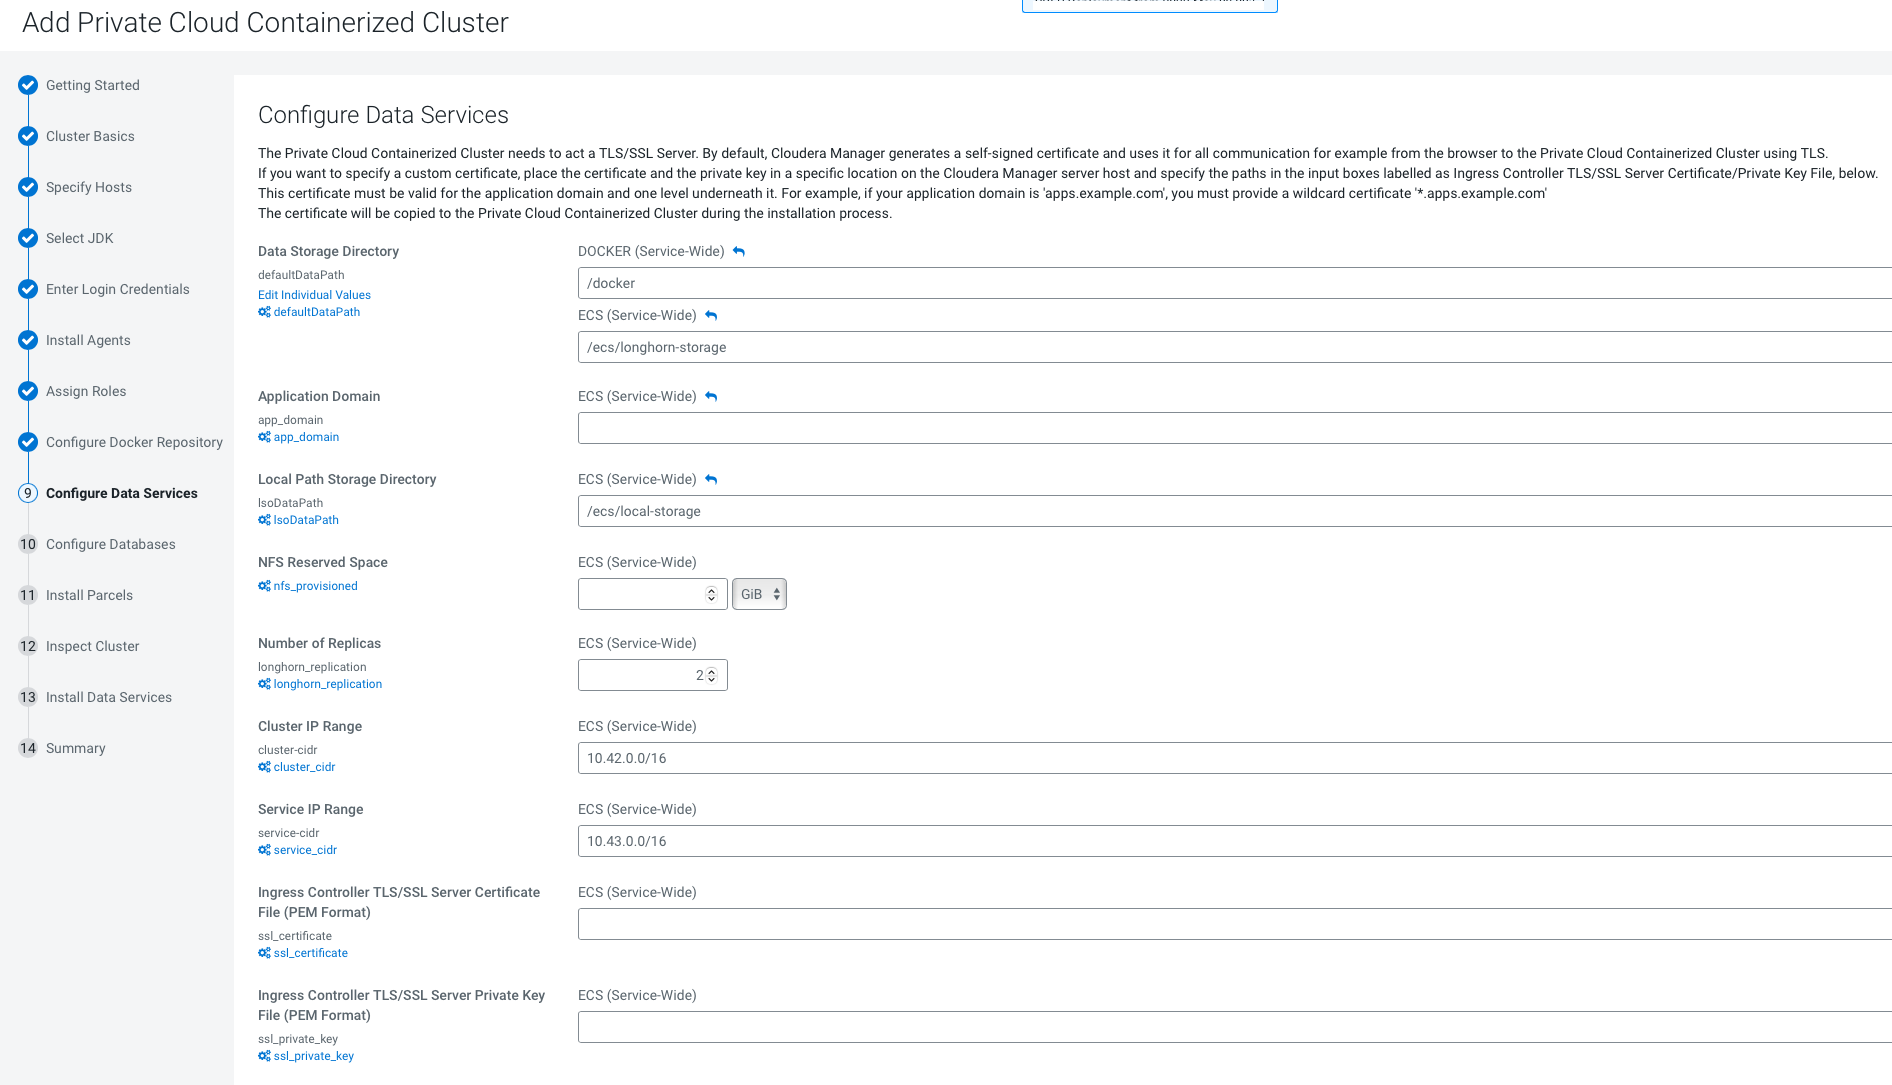
On the Configure Data Services page, you can modify configuration settings such
as the data storage directory, number of replicas, and so on. If there are
multiple disks mounted on each host with different characteristics (HDD and
SSD), then Local Path Storage Directory must point to the path belonging to the
optimal storage. Ensure that you have reviewed your changes. If you want to
specify a custom certificate, place the certificate and the private key in a
specific location on the Cloudera Manager server host and specify the paths in
the input boxes labelled as Ingress Controller TLS/SSL Server
Certificate/Private Key File below. This certificate will be copied to the
Control Plane during the installation process.
Click Continue.
-
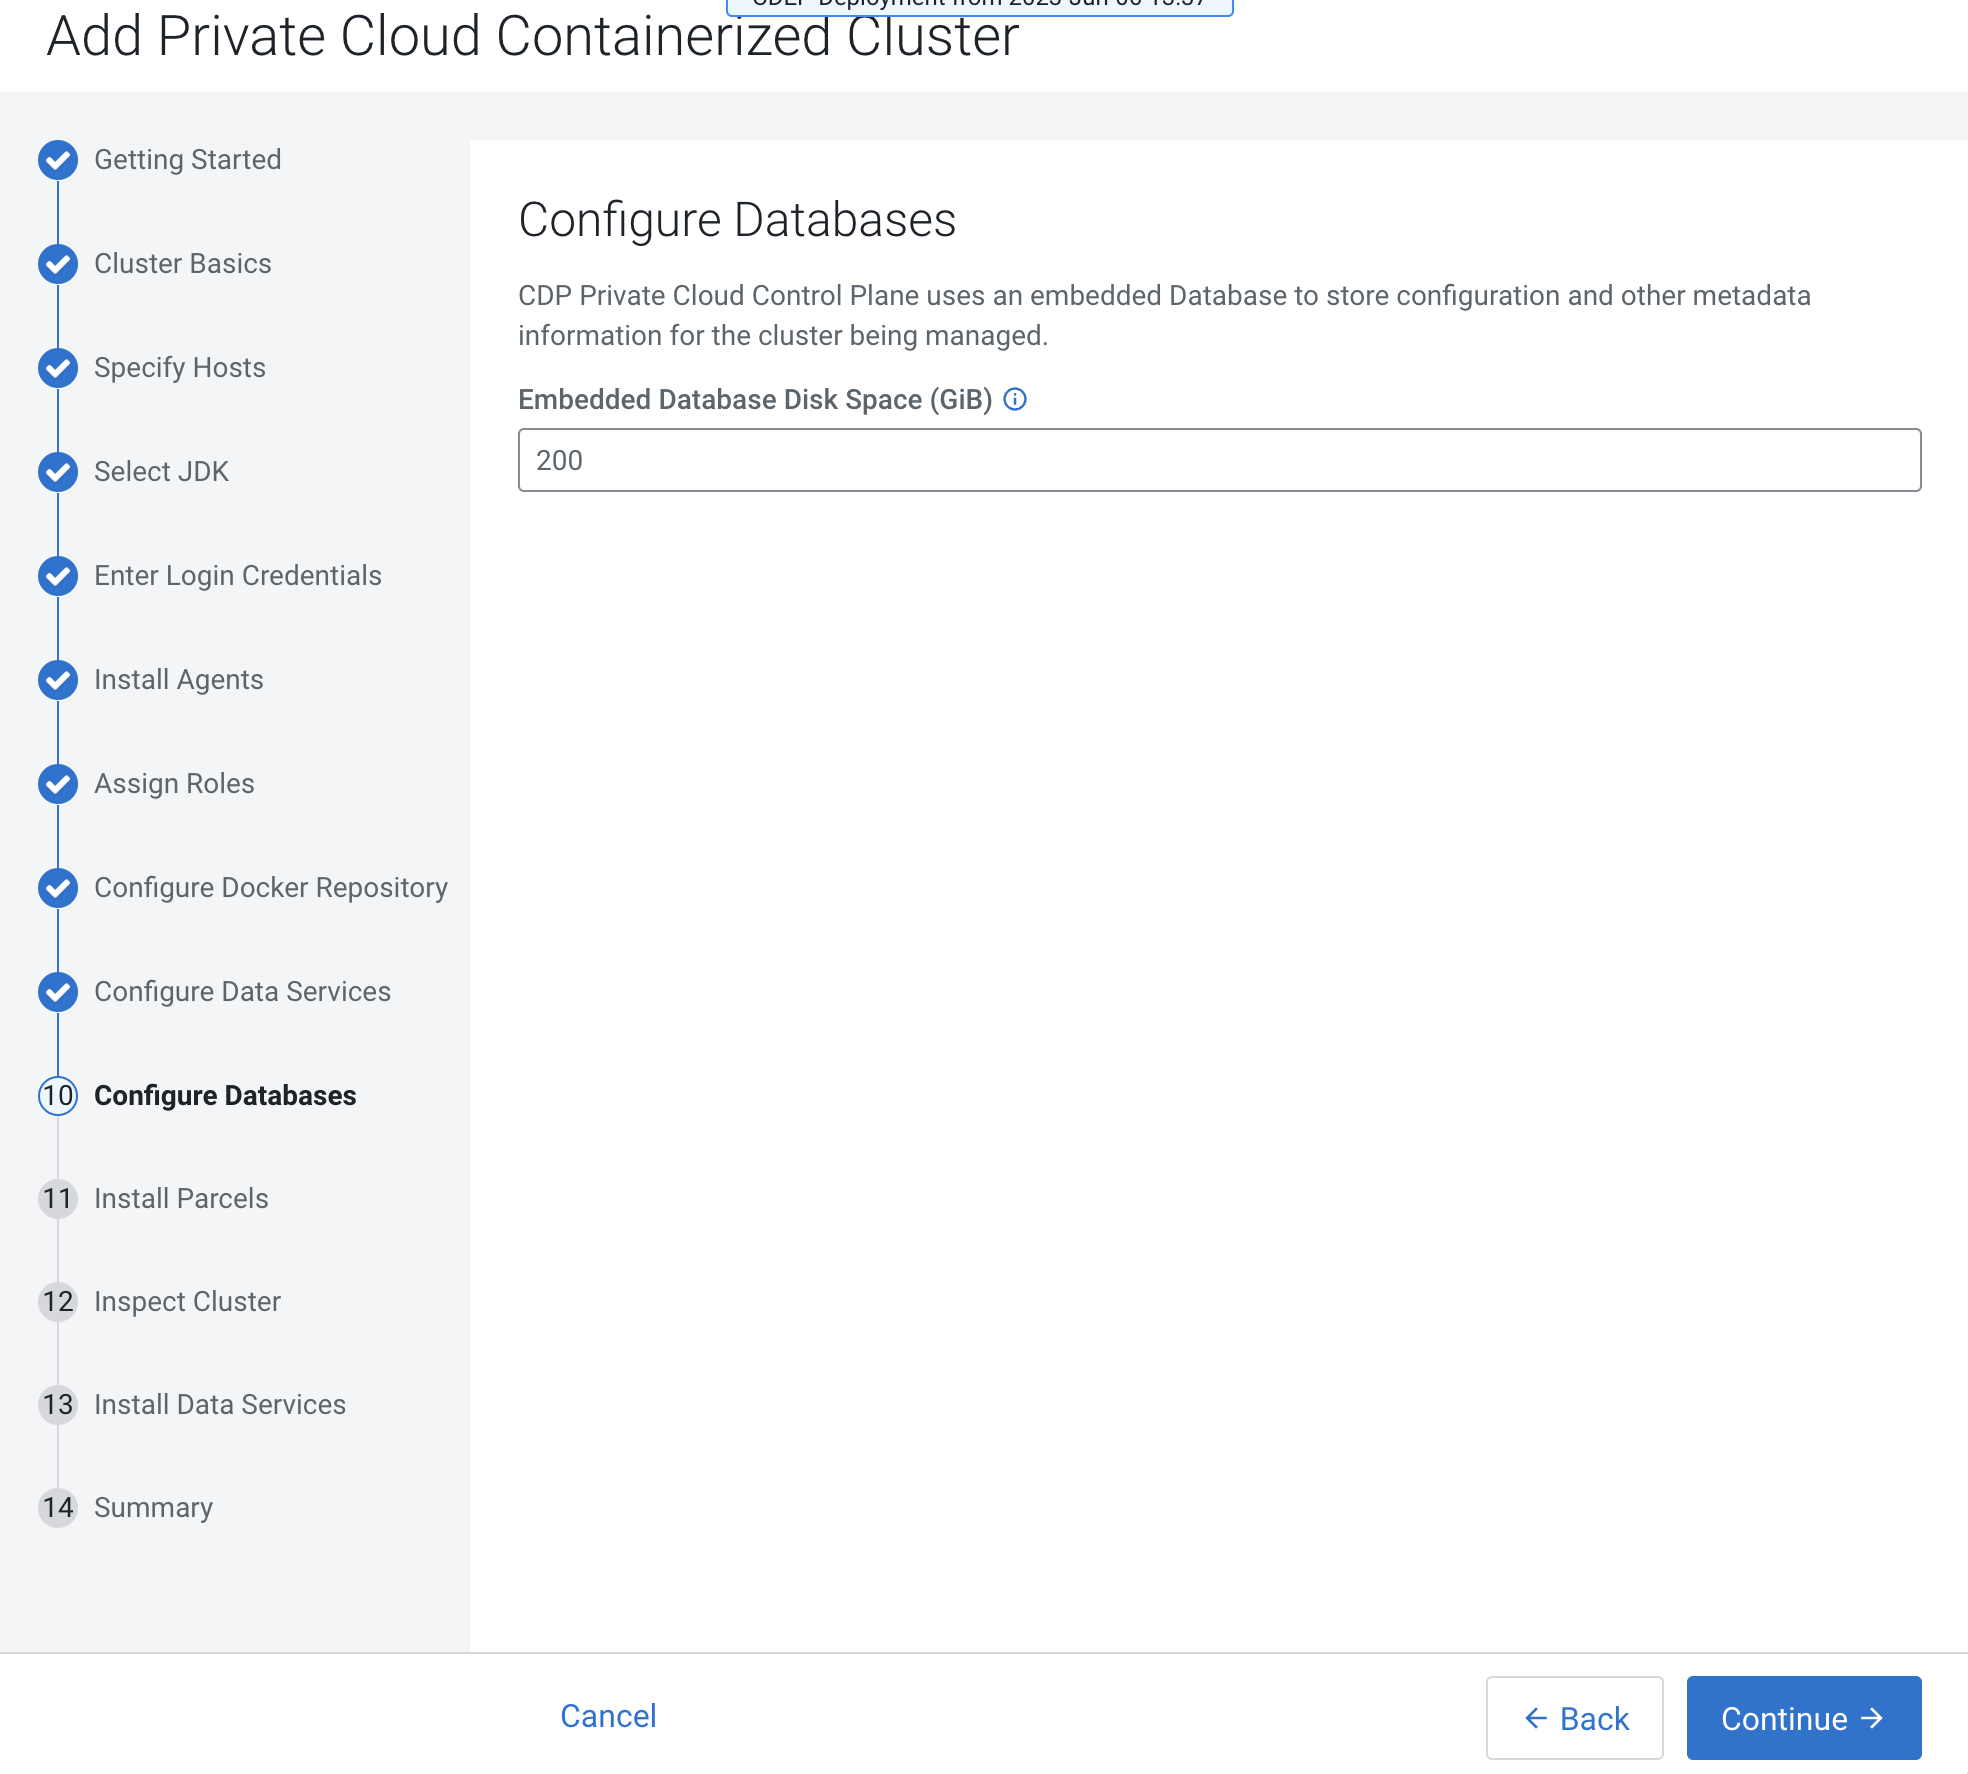
On the Configure Databases page, click Continue.
-
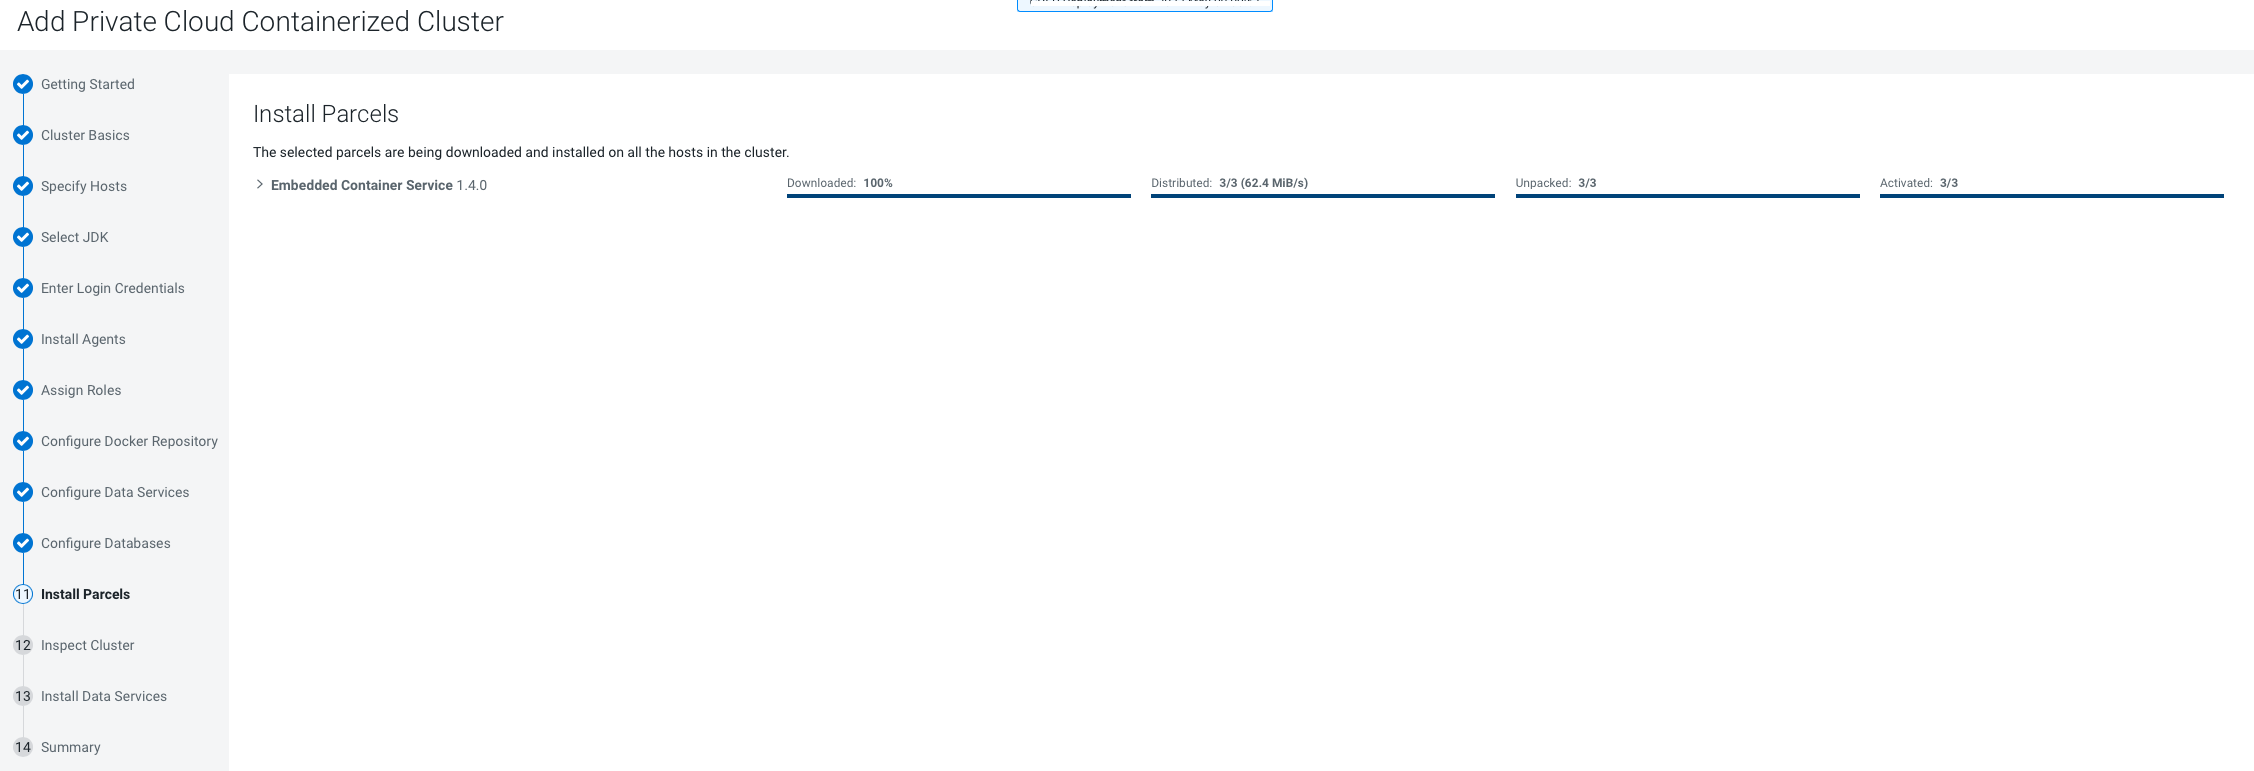
On the Install Parcels page, the selected parcel is downloaded to the Cloudera
Manager server host, distributed, unpacked, and activated on the ECS cluster
hosts. Click Continue.
-
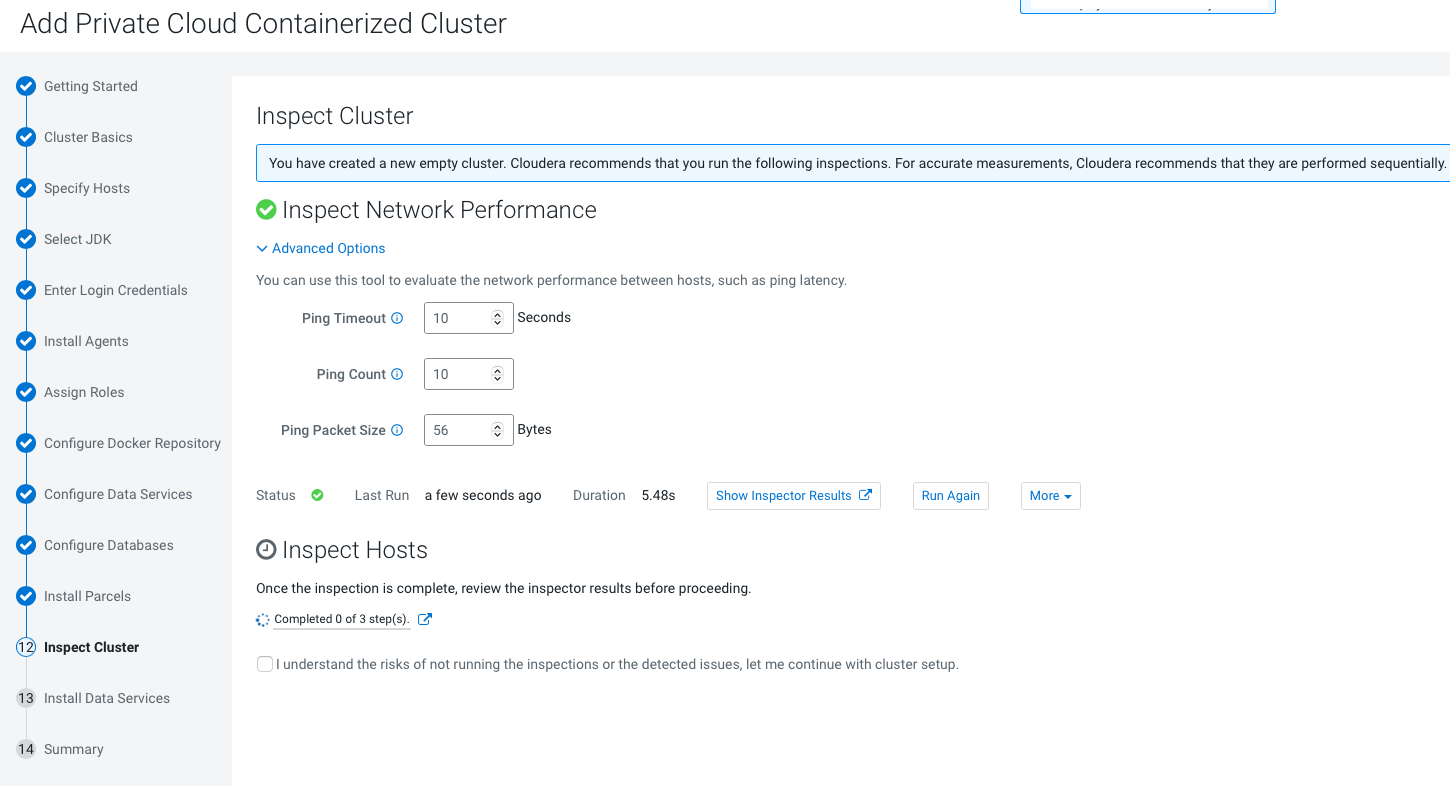
On the Inspect Cluster page, you can inspect your network performance and
hosts. If the inspect tool displays any issues, you can fix those issues and run
the inspect tool again.
Click Continue.
-
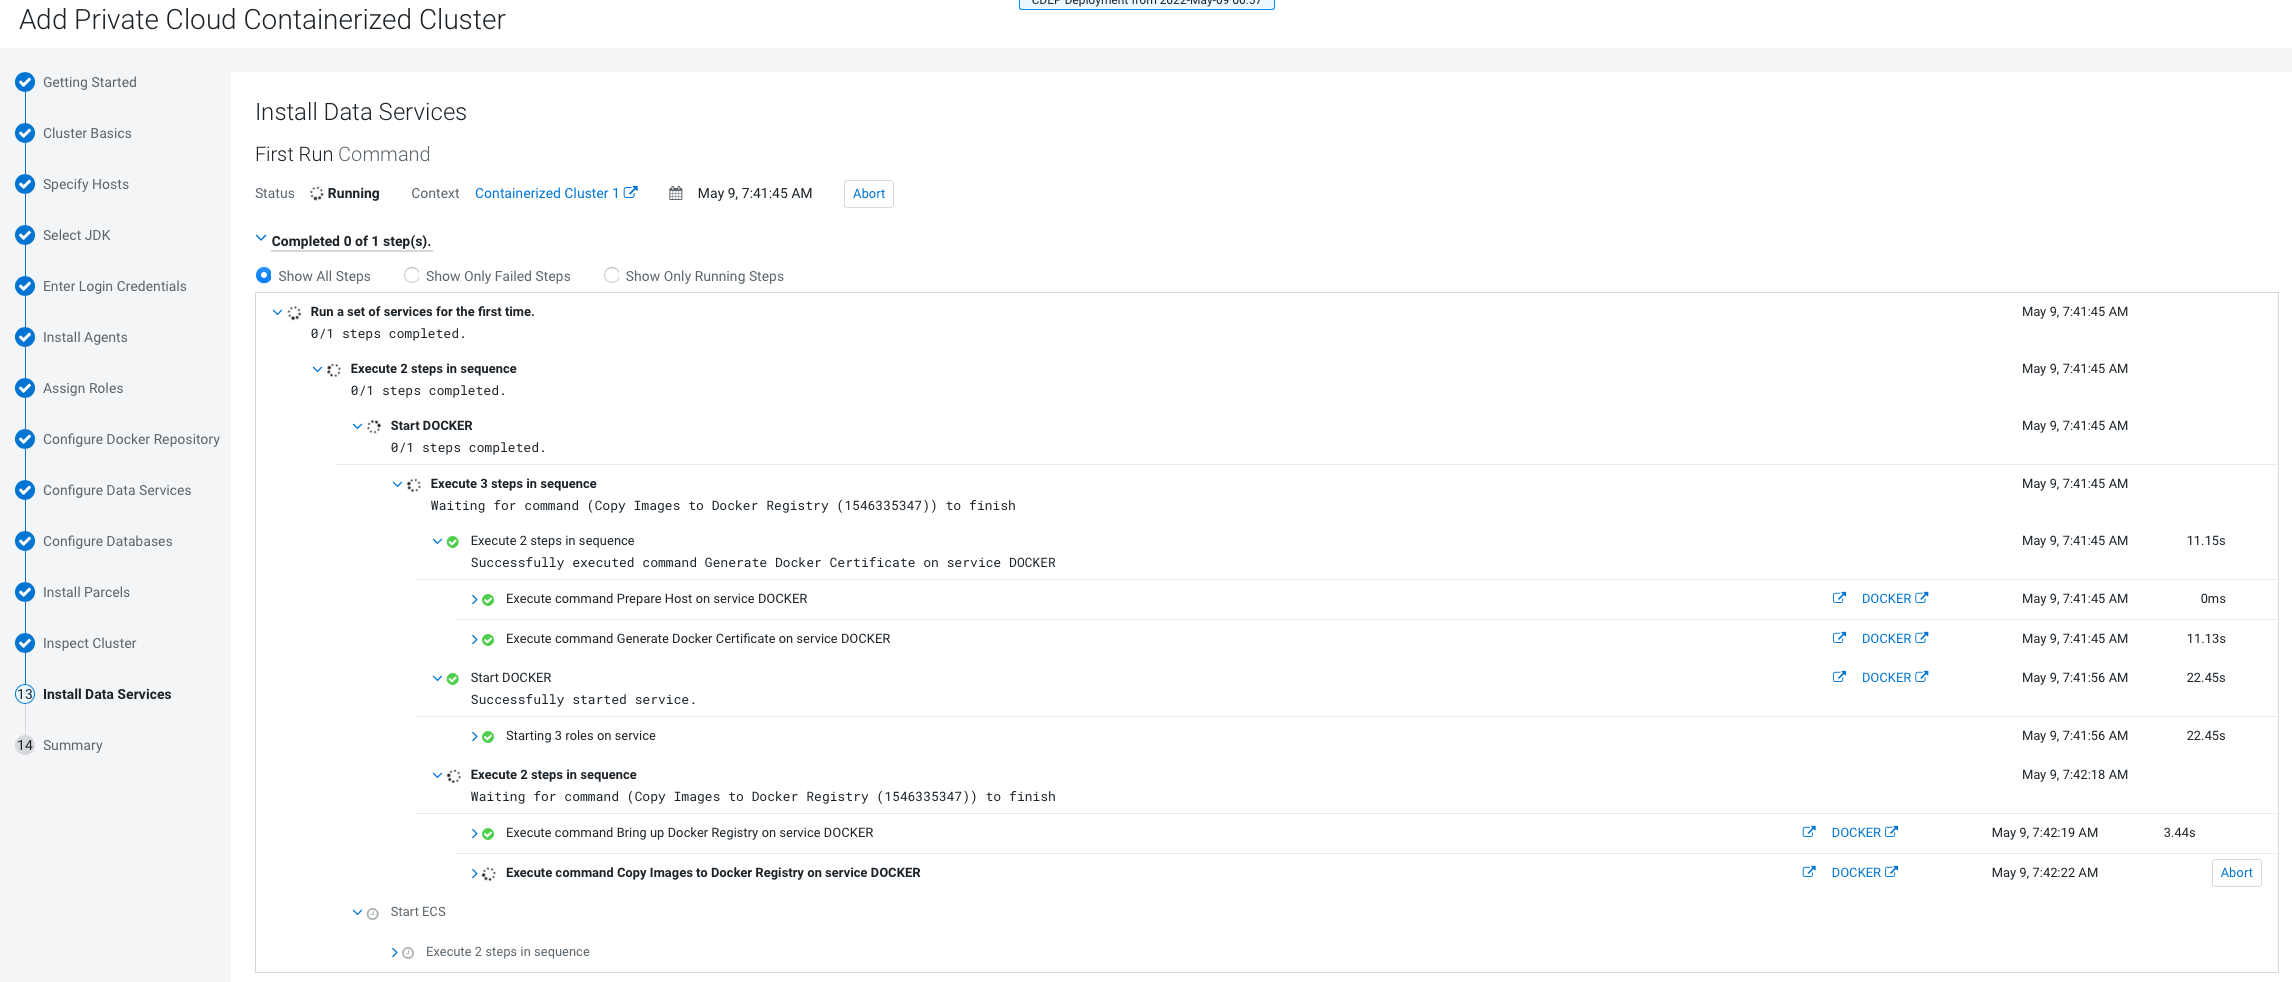
The installation progress is displayed on the Install Data Services page.
-
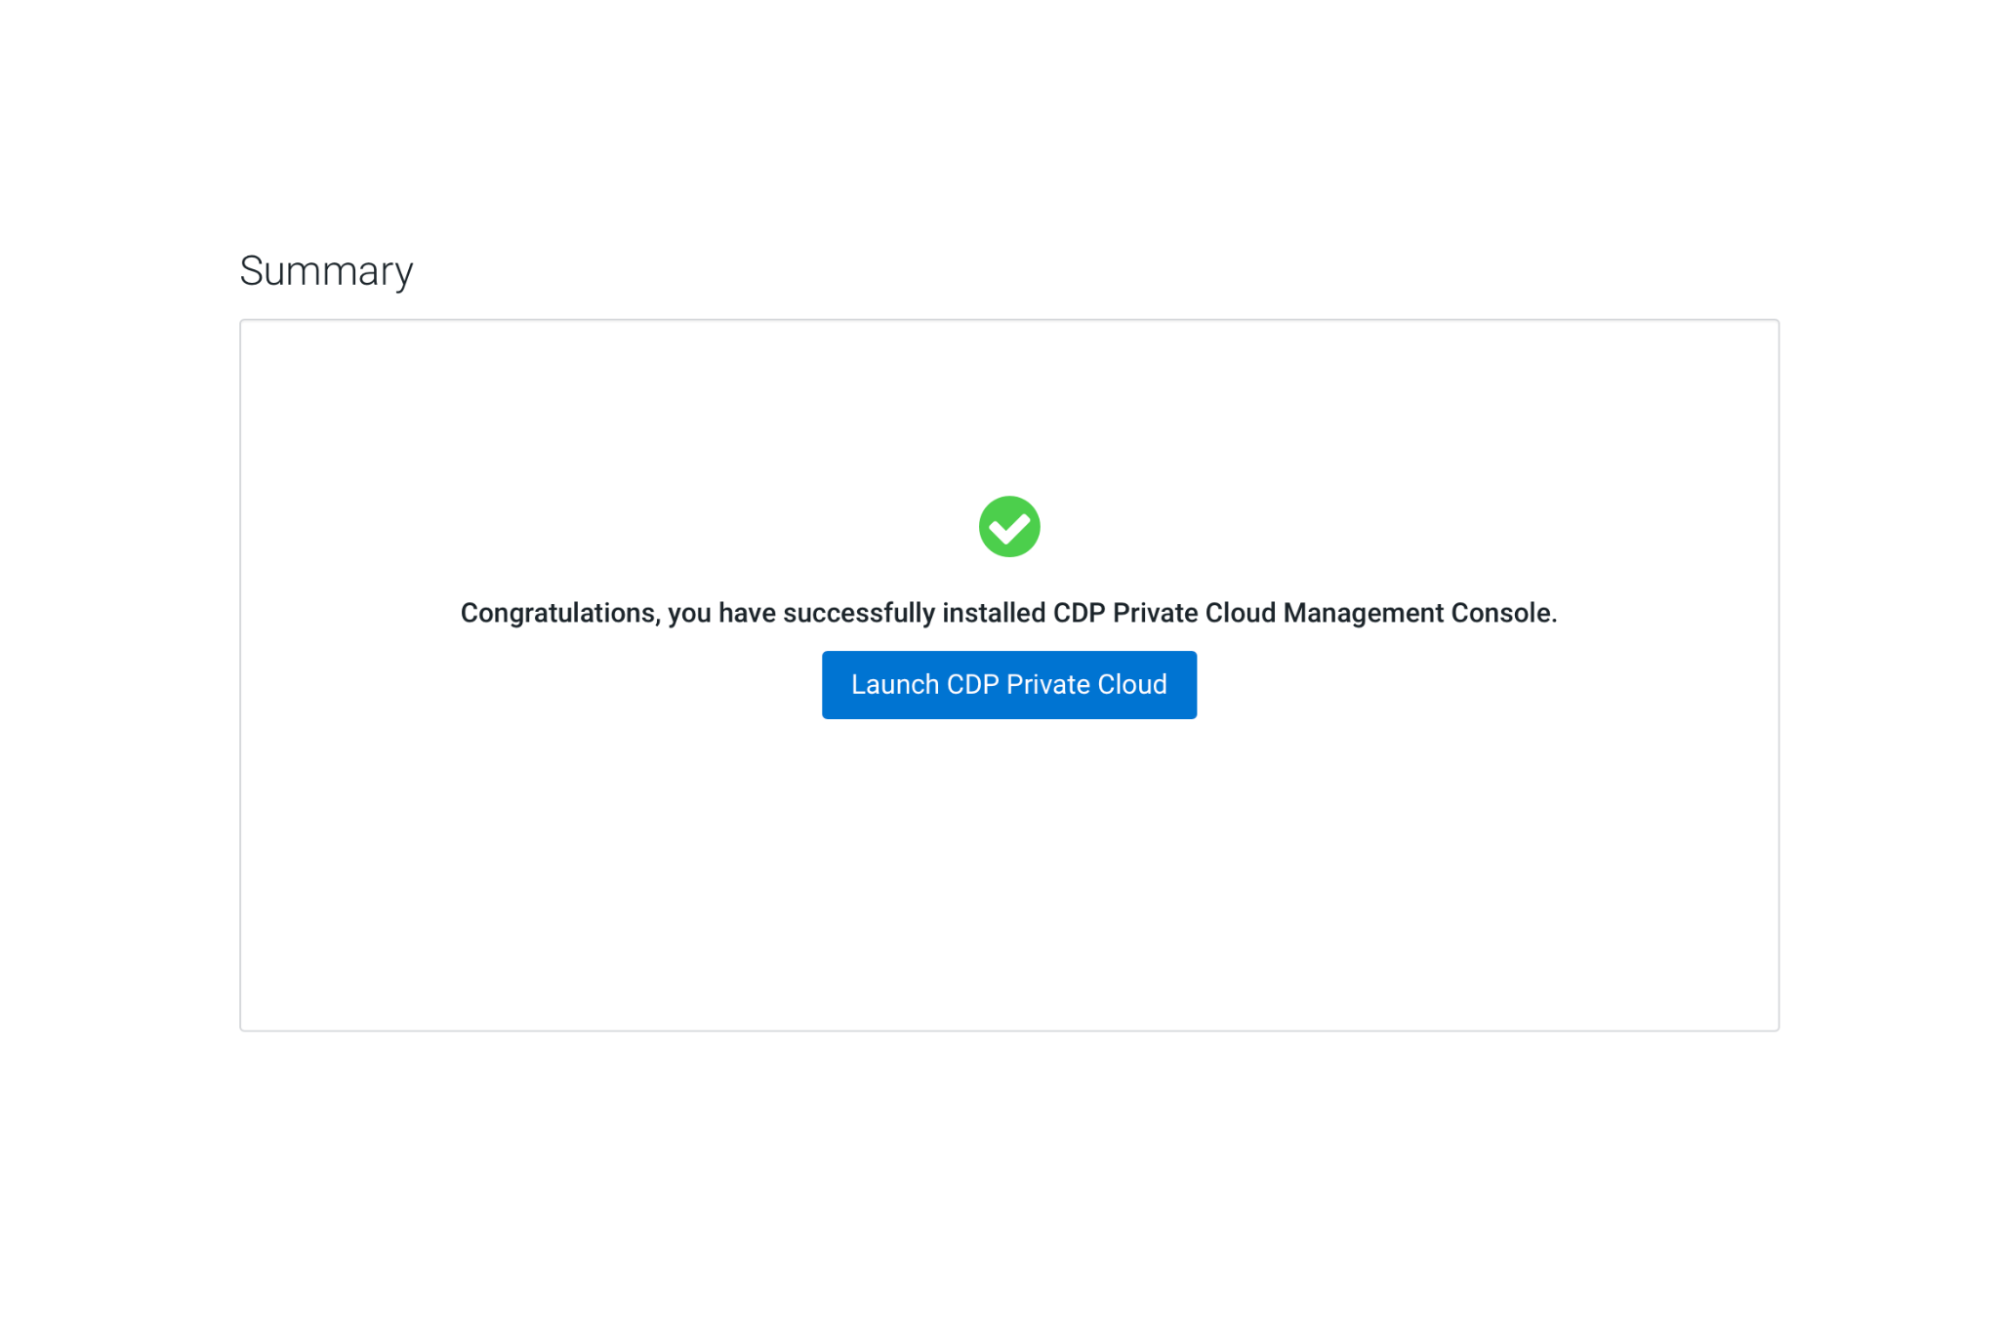
When the installation is complete, you will see the Summary image. You can now
launch CDP Private Cloud.
If the installation fails, and you see the following error message in the stderr output during the Install Longhorn UI step, retry the installation by clicking the Resume button.
++ openssl passwd -stdin -apr1 + echo 'cm-longhorn:$apr1$gp2nrbtq$1KYPGI0QNlFJ2lo5sV62l0' + kubectl -n longhorn-system create secret generic basic-auth --from-file=auth + rm -f auth + kubectl -n longhorn-system apply -f /opt/cloudera/cm-agent/service/ecs/longhorn-ingress.yaml Error from server (InternalError): error when creating "/opt/cloudera/cm-agent/service/ecs/longhorn-ingress.yaml":
Internal error occurred: failed calling webhook "validate.nginx.ingress.kubernetes.io": Post "https://rke2-ingress-nginx-controller-admission.kube-system.svc:443/networking/v1/ingresses?timeout=10s": x509: certificate signed by unknown authority
- If you specified a custom certificate, select the ECS cluster in Cloudera
Manager, then select Actions > Update Ingress Controller.
This command copies the
cert.pemandkey.pemfiles from the Cloudera Manager server host to the ECS Management Console host. - Click Open Private Cloud Data Services to launch your CDP Private Cloud Data Services instance.
- Log in using the default username and password admin.
- On the Welcome to CDP Private Cloud page, click Change Password to change the Local Administrator Account password.
- Set up external authentication using the URL of the LDAP server and a CA certificate of your secure LDAP. Follow the instructions on the Welcome to CDP Private Cloud page to complete this step.
- Click Test Connection to ensure that you are able to connect to the configured LDAP server.
- Create your first Virtual Warehouse in the CDW Data Service
- Provision an ML Workspace in the CML Data Service
- Add a CDE service in the CDE Data Service
