Preparing for an upgrade
Upgrading Cloudera on cloud consists of two major steps: upgrading the Data Lake within an environment and then potentially upgrading the attached Data Hubs. If applicable, you can upgrade any data services after the Data Lake upgrade.
FreeIPA upgrades
You should periodically upgrade the environment (FreeIPA cluster) to ensure that you are running the latest OS-level security patches, but this is not required at the same time as upgrading the Data Lake and Cloudera Data Hub clusters. While FreeIPA upgrade can be performed without a downtime, Cloudera recommends to perform this separately from other operations, preferably before upgrading the Data Lake and Cloudera Data Hub clusters. See upgrade the FreeIPA cluster.
Data Lake upgrade workflow
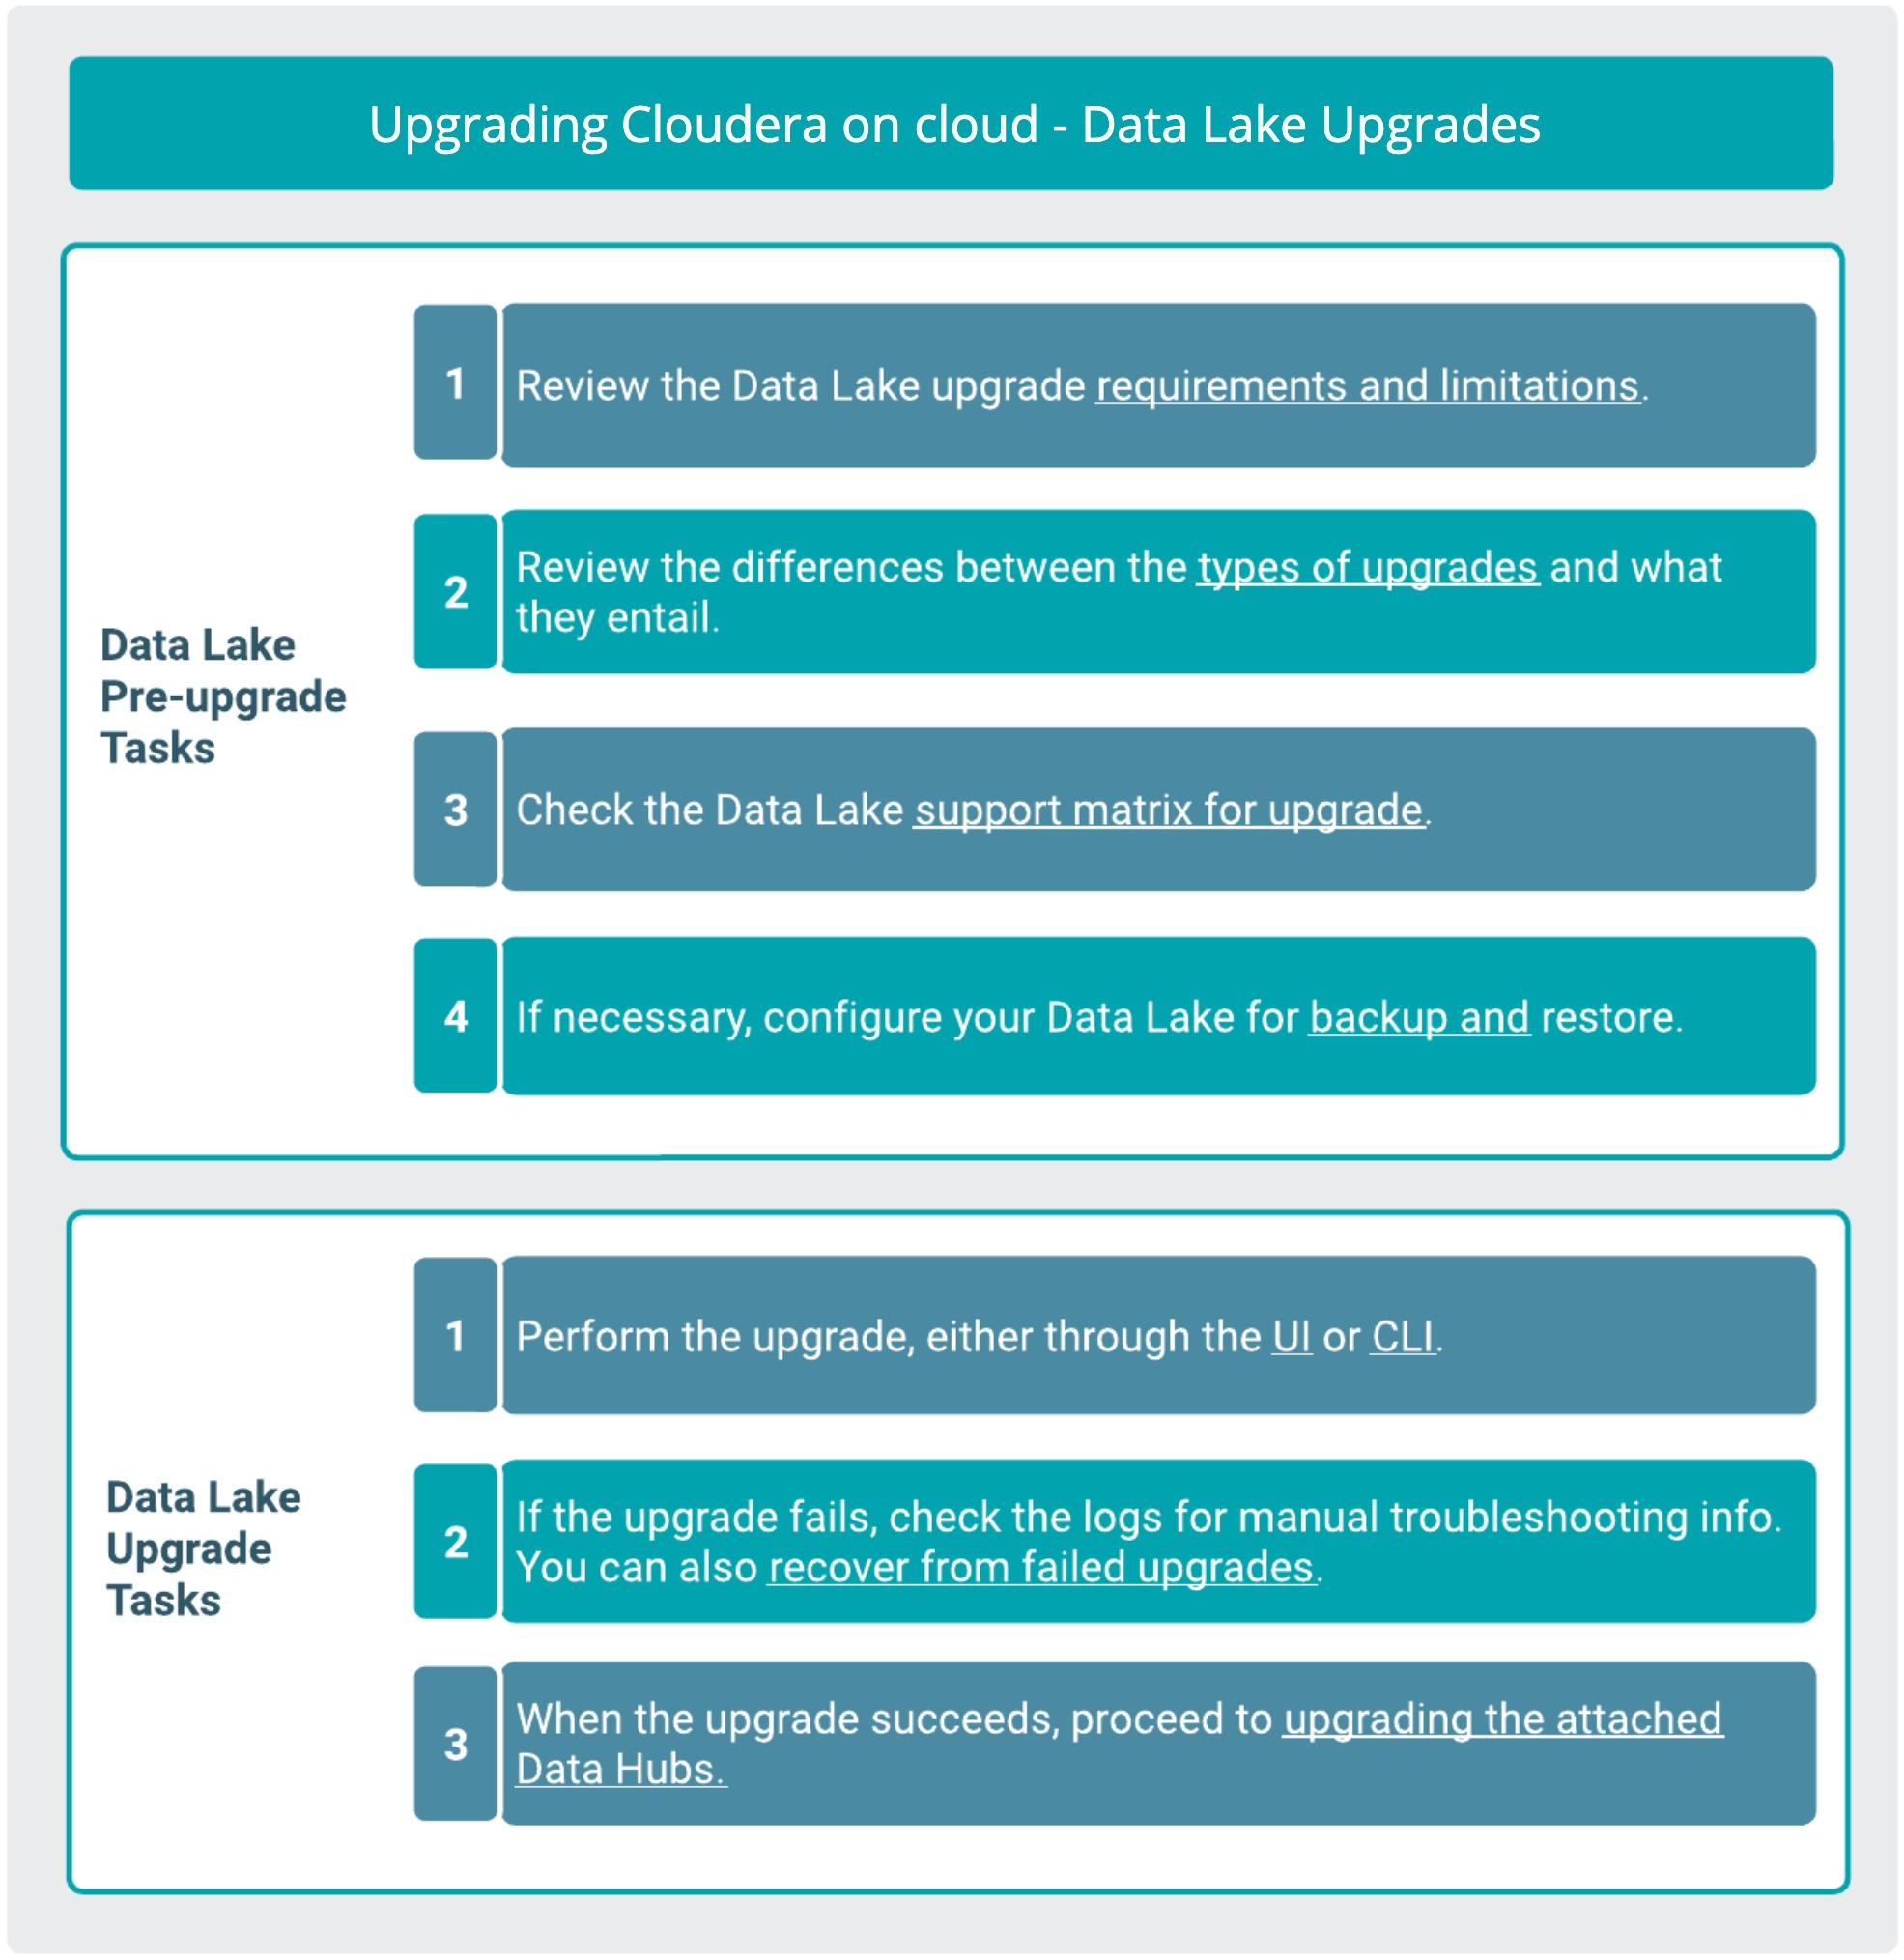
Pre-upgrade tasks
- Review the Data Lake upgrade requirements and limitations.
- Carefully review the differences between the types of upgrades and what they entail.
- Check the Data Lake support matrix for upgrade to verify which Runtime versions you can upgrade to and from.
- If you have not configured your Data Lake for backup and restore, you will need to do so.
The backup and restore process is integrated into the upgrade flow automatically, but
successful upgrade requires that the correct IAM policies exist on the DATALAKE_ADMIN_ROLE
and RANGER_AUDIT_ROLE (for backup), and the DATALAKE_ADMIN_ROLE,
RANGER_AUDIT_ROLE, and LOG_ROLE (for restore).
If your roles are not configured correctly, Cloudera will not be able to write the backup to the BACKUP_LOCATION_BASE path of your cloud storage.
- If you are performing the backup manually (as opposed to the integrated backup available during the upgrade process), you can launch the Data Lake backup from the UI or CLI. When using the CLI, you can specify to skip certain backup actions (skip HMS, Atlas metadata or Ranger audit log index backup). You can monitor the backup process using the CLI.
- From the Data Lake UI, run the Validate and Prepare option to check for any configuration issues and begin the Cloudera Runtime parcel download and distribution. Using the validate and prepare option does not require downtime and makes the maintenance window for an upgrade shorter. Validate and prepare also does not make any changes to your cluster and can be run independently of the upgrade itself. Although you can begin the upgrade without first running the validate and prepare option, using it will make the process smoother and the downtime shorter. (The parcels that are downloaded and distributed by the validate and prepare option are specific to the Runtime version that you have selected, so if you use validate and prepare and then decide to upgrade to a different Runtime version instead, you will need to re-run validate and prepare. Be aware that if you use validate and prepare for multiple major/minor Runtime versions, the parcels for different versions are not cleaned up and may saturate the disk. These parcels are cleaned up only once the upgrade is complete.)
- Perform the upgrade, either through the UI or CLI. The type of upgrade that you perform will depend on whether a major/minor or service pack version of Runtime is available. A new OS image may also be available to upgrade to.
- If the upgrade fails, check the logs for manual troubleshooting info. You can also recover from failed upgrades.
- When the upgrade succeeds, proceed to upgrading the attached Cloudera Data Hub clusters if required.
Data Services upgrades
Any data services in use should be upgraded after the Data Lake upgrade. Some data services have their own compatibility matrix with different versions of the Data Lake. Other data services contain features that may not be compatible with every Data Lake (Cloudera Runtime) version. Refer to the data services documentation for information on Data Lake compatibility and upgrading these services.
Cloudera Data Hub upgrade workflow
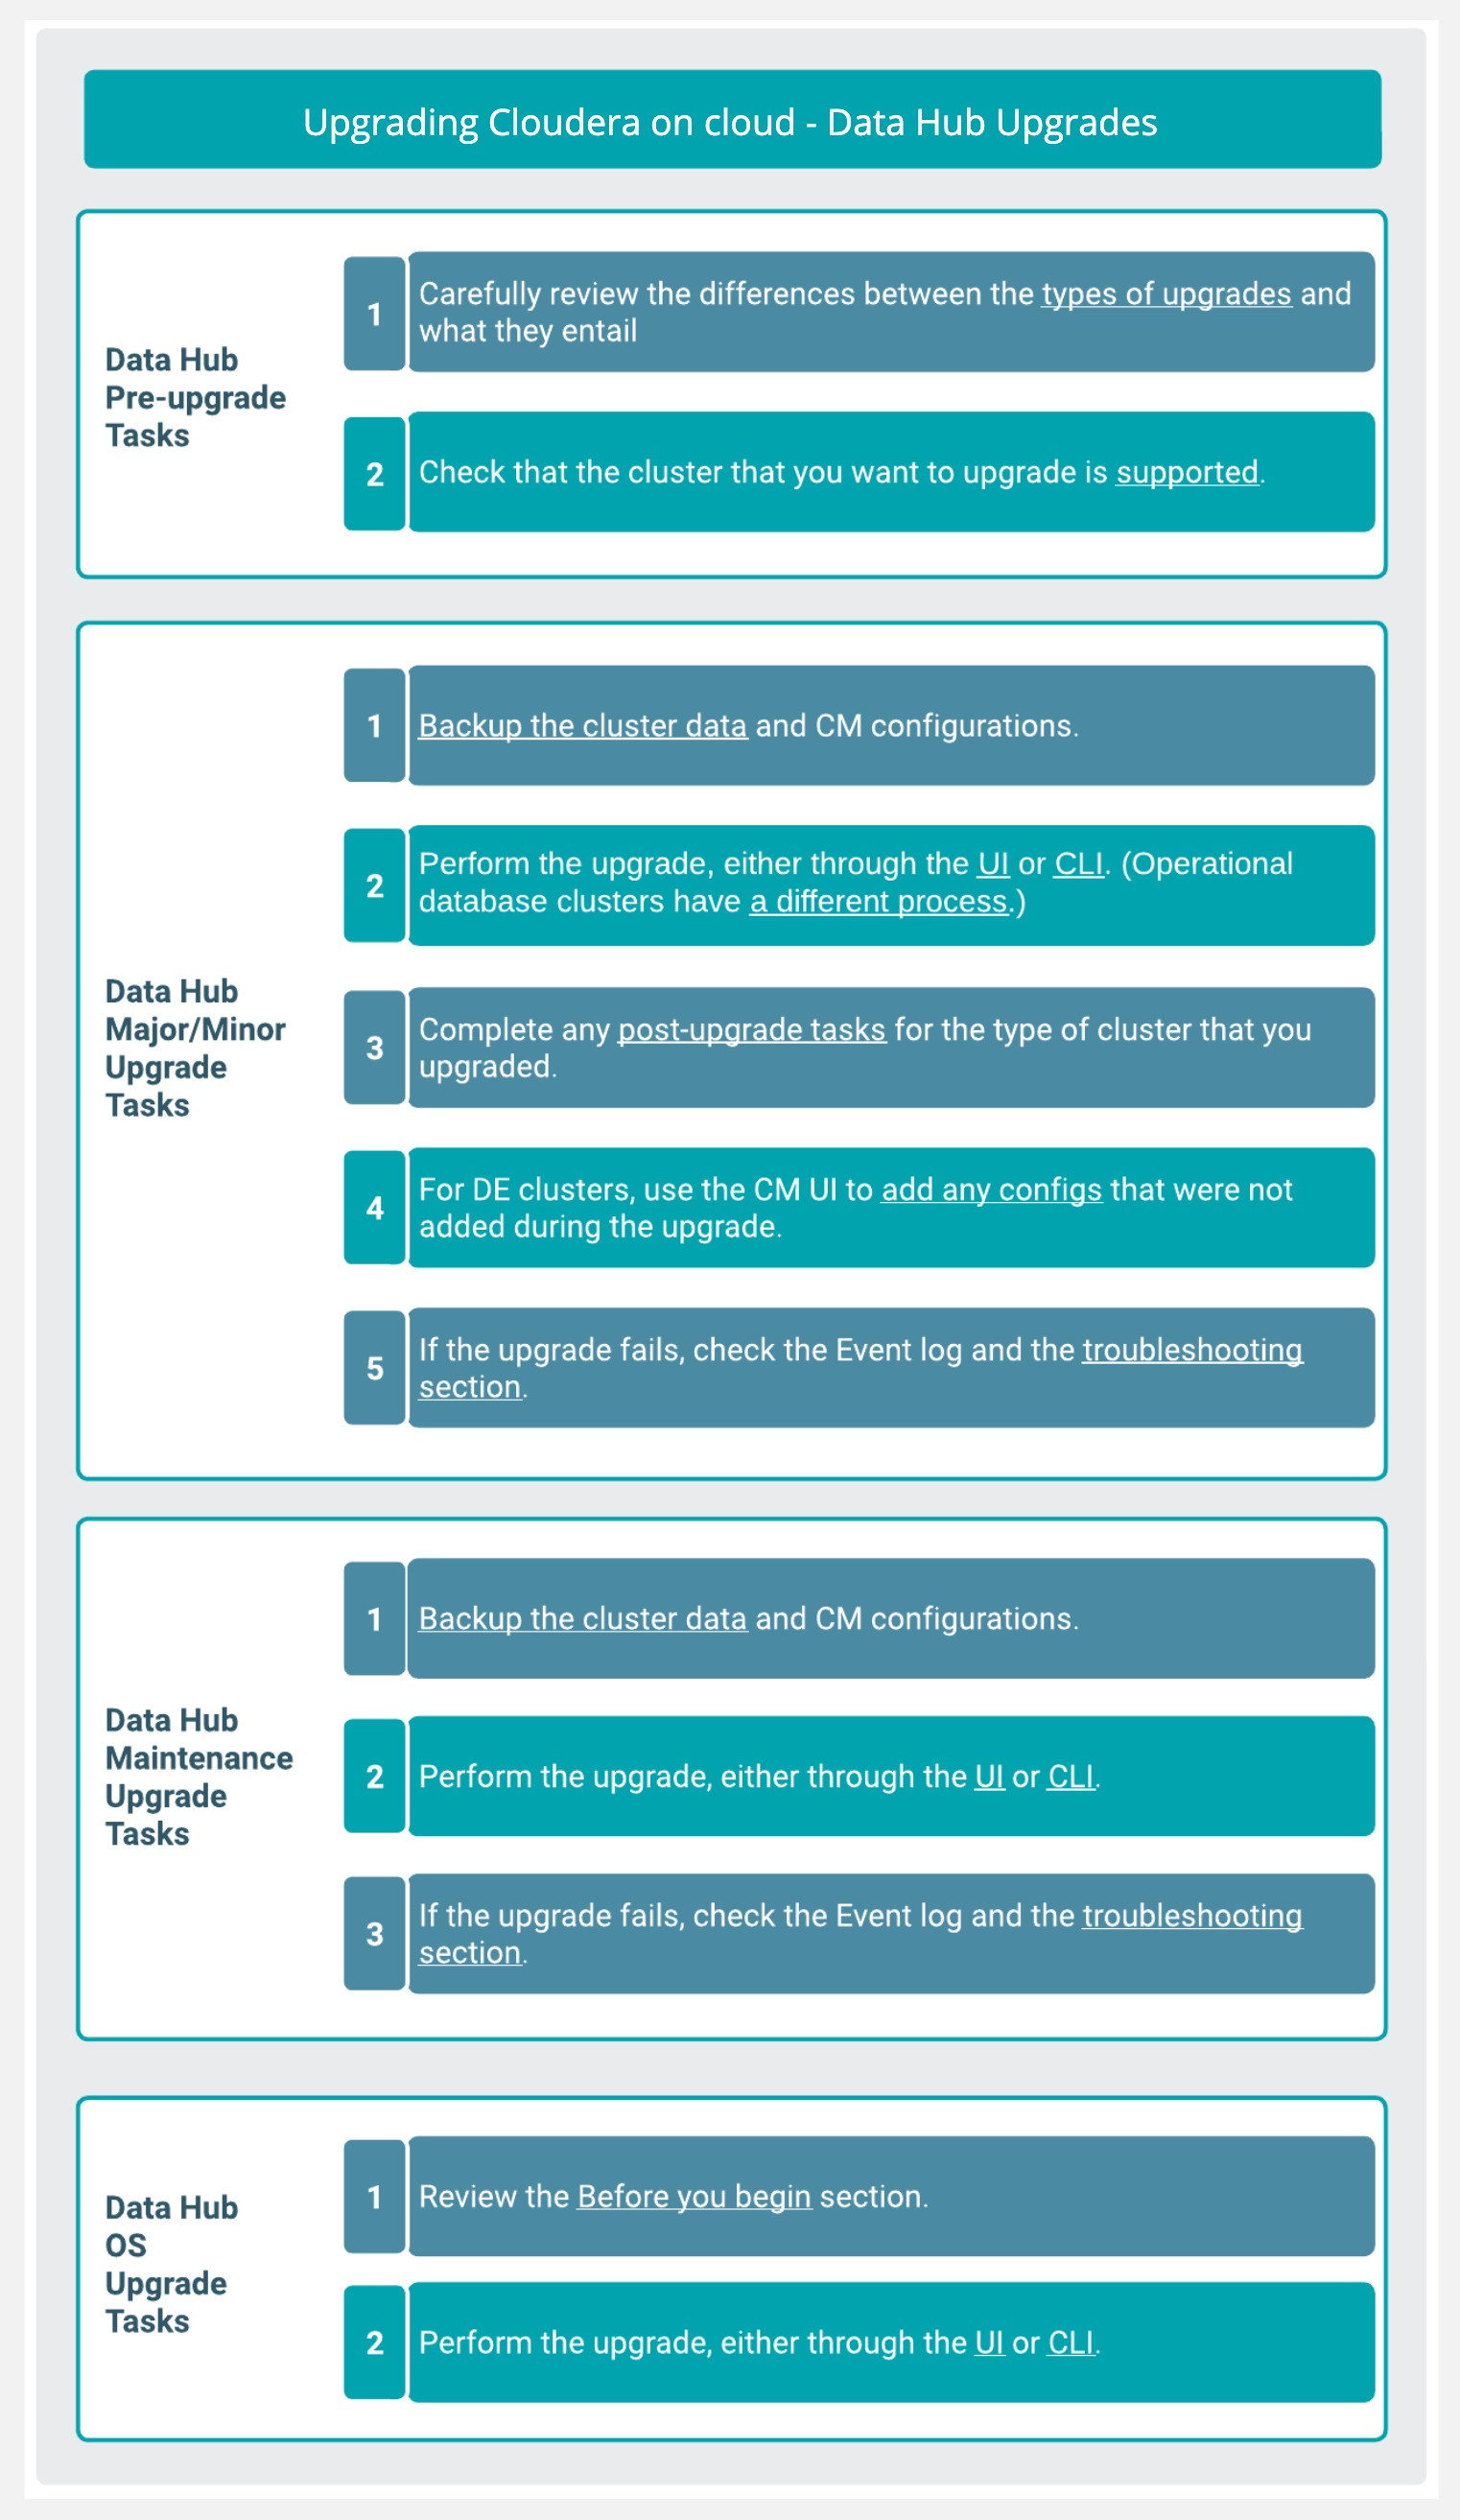
Pre-upgrade tasks
- Carefully review the differences between the types of upgrades and what they entail.
- Check the Cloudera Data Hub upgrade support matrix to verify that the Cloudera Runtime versions you want to upgrade to and from are supported for your clusters.
- From the Cloudera Data Hub UI, run the Validate and Prepare option to check for any configuration issues and begin the Cloudera Runtime parcel download and distribution. Using the validate and prepare option does not require downtime and makes the maintenance window for an upgrade shorter. Validate and prepare also does not make any changes to your cluster and can be run independently of the upgrade itself. Although you can begin the upgrade without first running the validate and prepare option, using it will make the process smoother and the downtime shorter. (The parcels that are downloaded and distributed by the validate and prepare option are specific to the Runtime version that you have selected, so if you use validate and prepare and then decide to upgrade to a different Runtime version instead, you will need to re-run validate and prepare. Be aware that if you use validate and prepare for multiple major/minor Runtime versions, the parcels for different versions are not cleaned up and may saturate the disk. These parcels are cleaned up only once the upgrade is complete.)
Major/minor Runtime version upgrade tasks
- Backup the cluster data and Cloudera Manager configurations.
- Perform the upgrade, either through the UI or CLI. (Cloudera Operational Database clusters have a different process.)
- Complete any post-upgrade tasks for the type of cluster that you upgraded.
- For Cloudera Data Engineering clusters, use the Cloudera Manager UI to add any configs that were not added during the upgrade.
- If the upgrade fails, check the Event log and the troubleshooting section.
- Complete any post-upgrade tasks for the type of cluster that you upgraded.
- For Cloudera Data Engineering clusters, use the Cloudera Manager UI to add any configs that were not added during the upgrade.
- If the upgrade fails, check the Event log and the troubleshooting section.
Service pack upgrade tasks
- Backup the cluster data and Cloudera Manager configurations.
- Perform the upgrade, either through the UI or CLI.
- If the upgrade fails, check the Event log and the troubleshooting section.
OS upgrade tasks
- Review the Before you begin section to verify that there is no data belonging to NiFi or NiFi Registry on the root disk of the VM. Note that during an OS upgrade, any data on the root volume (parcels, service logs, custom software) will be lost.
- Unlike the Data Lake upgrade, OS upgrades are not integrated in the larger upgrade flow and must be performed separately, either through the UI or CLI.
Rolling upgrades
With the release of Cloudera Runtime 7.2.18, rolling upgrades for certain Data Lakes and Cloudera Data Hub clusters are now available.
Rolling upgrades allow you to upgrade the Data Lake Cloudera Runtime and OS, or the Cloudera Data Hub Runtime and OS, without stopping the cluster and its services. This means that you can upgrade a Data Lake without stopping the attached Cloudera Data Hub clusterss and Data Services, or upgrade a Cloudera Data Hub without workload downtime.
Rolling upgrades for the Data Lake are limited to certain Data Lake Cloudera Runtime versions and shapes. Rolling upgrades for Cloudera Data Hub clusters are limited to certain Cloudera Runtime versions and cluster templates.