Adding Kafka Data Source

You need to register Kafka as a Data Source using the Streaming SQL Console to create Kafka tables in SQL Stream Builder (SSB).

  • Make sure that you have Kafka service on your cluster.
  • Make sure that you have the right permissions set in Ranger.
  1. Navigate to the Streaming SQL Console.
    1. Go to your cluster in Cloudera Manager.
    2. Select SQL Stream Builder from the list of services.
    3. Click SQLStreamBuilder Console.
      The Streaming SQL Console opens in a new window.
  2. Open a project from the Projects page of Streaming SQL Console.
    1. Select an already existing project from the list by clicking the Open button or Switch button.
    2. Create a new project by clicking the New Project button.
    3. Import a project by clicking the Import button.
    You are redirected to the Explorer view of the project.
  3. Open Data Sources from the Explorer view.
  4. Click next to Kafka.
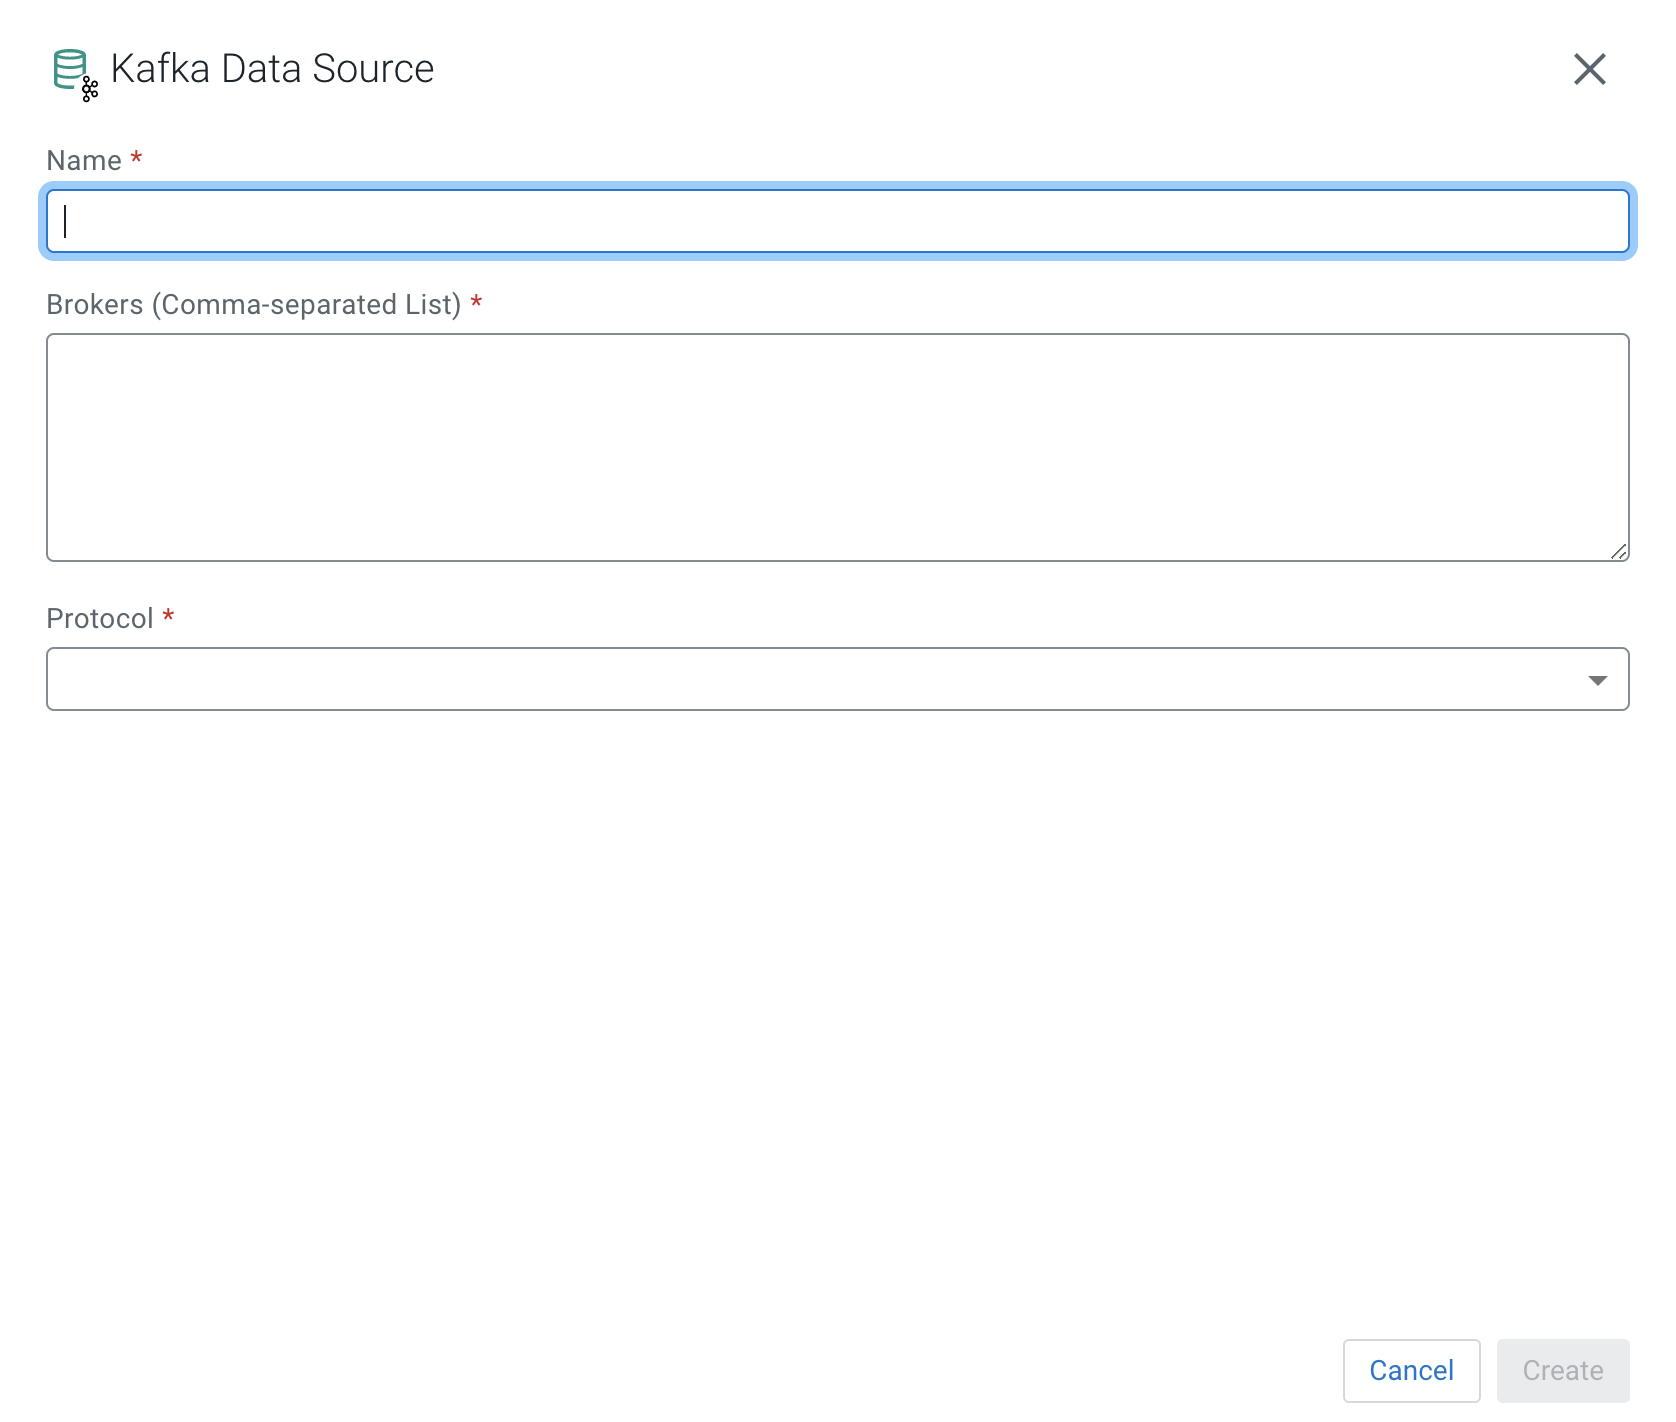
  5. Select New Kafka Source.
    The Kafka Source window appears.
  6. Add a Name to your Kafka provider.
  7. Add the broker host name(s) to Brokers.
    You need to copy the Kafka broker name(s) from Cloudera Manager.
    1. Go to your cluster in Cloudera Manager.
    2. Click Kafka from the list of services.
    3. Click Instances.
    4. Copy the hostname of the Kafka broker(s) you want to use.
    5. Go back to the Add Kafka Source page.
    6. Paste the broker hostname to the Brokers field.
    7. Add the default Kafka port after the hostname(s).
      Example:
      docs-test-1.vpc.cloudera.com:9092, 
      docs-test-2.vpc.cloudera.com:9092
      docs-test-1.vpc.cloudera.com:9093, 
      docs-test-2.vpc.cloudera.com:9093
  8. Select the security Protocol.
    The connection protocol must be the same as it is configured for the Kafka cluster in Cloudera Manager.

    You can choose from the following protocols:

    1. Click Create.
    1. Provide the path to the Kafka TrustStore and Kafka KeyStore with their dedicated passwords.
    2. Click Create.
    1. Provide the path to the Kafka TrustStore and Kafka KeyStore with their dedicated passwords.
    2. Choose an SASL Mechanism.
    3. Provide the Username for SASL.
    4. Provide the Password for SASL.
    5. Click Create.
    1. Choose an SASL Mechanism.
    2. Provide the Username for SASL.
    3. Provide the Password for SASL.
    4. Click Create.
You have registered Kafka as a data source to be able to add Kafka as a table in your SQL query. The already existing Kafka topics can be selected when adding Kafka as a table.
After registering a Kafka data source, you can edit, duplicate and delete it from Streaming SQL Console:
  1. Open Data Sources from the Explorer view.
  2. Click next to Kafka.
  3. Select Manage.

    The Kafka Sources tab opens where the registered Kafka providers are listed. You have the following options to manage the Kafka sources:

    • Click on one of the existing Kafka providers to edit its configurations.
    • Click to remove the Kafka provider.
    • Click to duplicate the Kafka provider with its configurations.