
Creating and naming SQL jobs
You need to create or select an already existing SQL job on the Streaming SQL Console to be able to submit SQL queries.
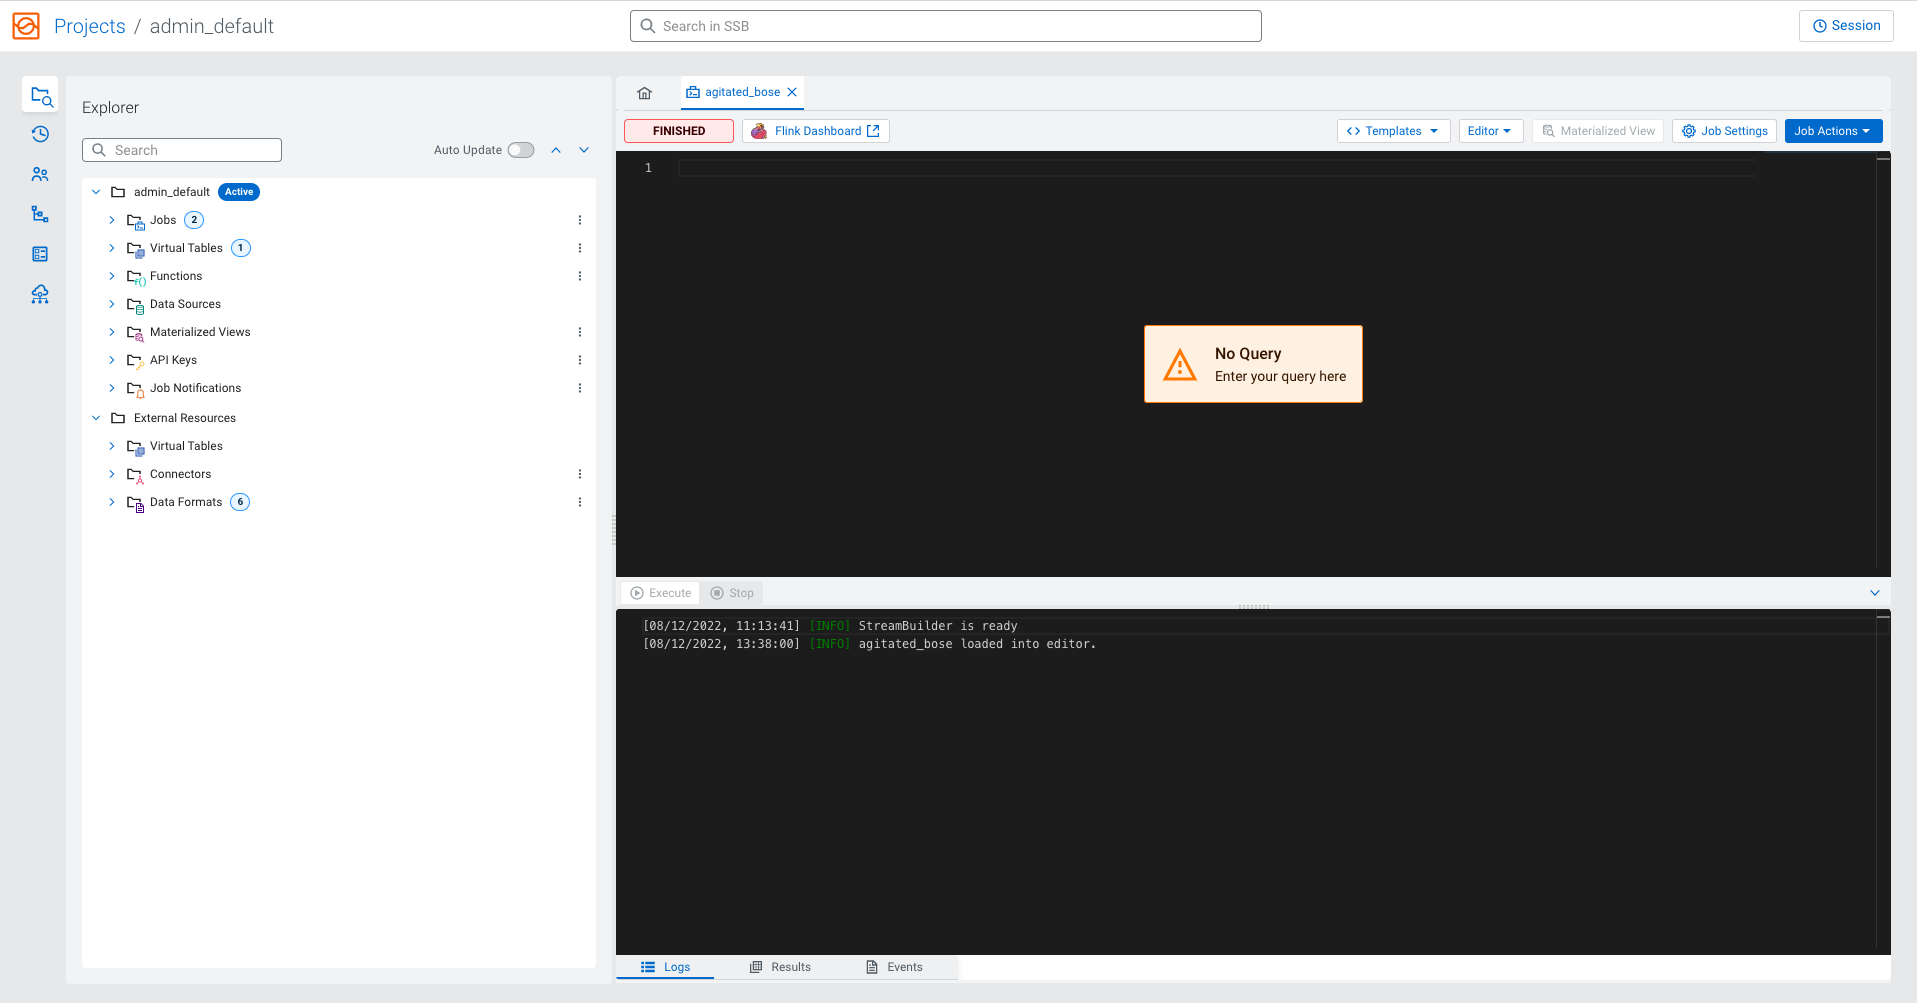
You can manage your SQL jobs and resources using the Explorer view or the Home tab of your project. Every job and resource related action is the same for both views of Streaming SQL Console.
-
Navigate to the Streaming SQL Console.
 Show Me How
 -
Open a project from the Projects page of Streaming SQL
Console.
Show Me How
- Select an already existing project from the list by clicking the Open button or Switch button.
- Create a new project by clicking the New Project button.
- Import a project by clicking the Import button.
You are redirected to the Explorer view of the project. -
Click
 > New Job on the Explorer view.
-
Click Create.
You are redirected to the SQL Editor where you can submit your SQL queries, create and manage Materialized Views and configure your SQL jobs.
After a new job is created, you can save the job and its settings using the button. When you make a change to the SQL query, job settings or create a Materialized View, you have the option to save the changes with the job. You can also revert your changes to the latest saved version of the job using the Revert Changes button. You can also delete the job from the SQL Editor using the Delete button.
