Update the Configuration Files

Use the information in the configuration files from your previous NiFi Registry installation to manually update the corresponding properties in your new NiFi Registry deployment.

To complete this task, you must copy the users.xml and authorizations.xml files from the previous NiFi Registry conf directory to the new NiFi Registry conf directory. Update the other configuration files according to the steps here and in the Apache NiFi Registry Migration Guidance document. Then, restart NiFi Registry to apply the updates.

  1. If you are using a file-provider, perform the following steps:
    1. Copy the following files from the previous NiFi Registry conf folder:
      • users.xml
      • authorizations.xml
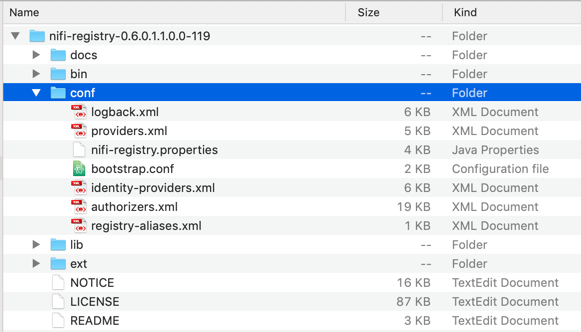
    2. Go to the new NiFi Registry <installation-directory>/conf folder.


    3. Paste the users.xml and authorizations.xmlfiles.
  2. Open the nifi-registry.properties file and make the following updates:
    1. Populate the properties with the same values you used in the nifi-registry.properties file of your previous NiFi Registry version.
    2. Populate any new properties.
  3. Open the providers.xml file and make the following updates:
    1. Replace the following section with the corresponding section in the previous NiFi Registry providers.xml file.
      <flowPersistenceProvider>
          <class>persistence-provider-qualified-class-name</class>
          <property name="property-1">property-value-1</property>
          <property name="property-2">property-value-2</property>
          <property name="property-n">property-value-n</property>
      </flowPersistenceProvider>
      
    2. Replace the following section with the corresponding section in the previous NiFi Registry providers.xml file.
      <extensionBundlePersistenceProvider>
          <class>persistence-provider-qualified-class-name</class>
          <property name="property-1">property-value-1</property>
          <property name="property-2">property-value-2</property>
          <property name="property-n">property-value-n</property>
      </extensionBundlePersistenceProvider>
      
  4. If you use an identity provider, then open the identity-providers.xml file and make the following update:
    1. Replace the <provider> … </provider> section with the corresponding section in the previous NiFi Registry identity-providers.xml file.
  5. Open the authorizers.xml file and make the following update:
    1. Replace the following section with the corresponding section in the previous NiFi Registry authorizers.xml file.
      <authorizer>
              <identifier>managed-authorizer</identifier>
              <class>org.apache.nifi.registry.security.authorization.StandardManagedAuthorizer</class>
              <property name="Access Policy Provider">file-access-policy-provider</property>
          </authorizer>
  6. Save and close the configuration files.
  7. Review the Apache NiFi Registry Migration Guidance document and complete all version-specific tasks.
  8. Restart NiFi Registry.
    From the <installdir>/bin directory, run the following command: ./nifi-registry.sh start