Installing in internet environment
Follow the steps in this topic to install Cloudera on premises.
- Ensure that your Kubernetes
kubeconfighas permissions to create Kubernetes namespaces. - You require persistent storage classes defined in your OpenShift cluster. Storage classes can be defined by OpenShift cluster administrators.
- Only TLS-enabled custom Docker Registry is supported. Ensure that you use a TLS certificate to secure the custom Docker Registry. The TLS certificate can be self-signed, or signed by a private or public trusted Certificate Authority (CA).
- Only TLS 1.2 is supported for authentication with Active Directory/LDAP. You require TLS 1.2 to authenticate the Cloudera Control Plane with your LDAP directory service like Active Directory.
- OCP network configurations that restrict pod communication are not supported. For example, multi-tenancy isolation with network policy is not supported.
-
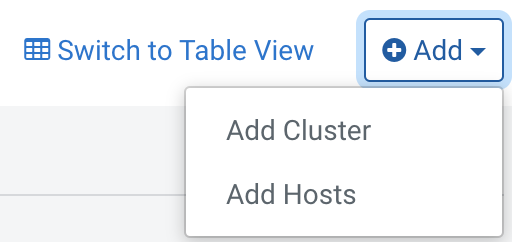
In Cloudera Manager, on the top right corner, click
Add > Add Cluster. The
Select Cluster Type page appears.
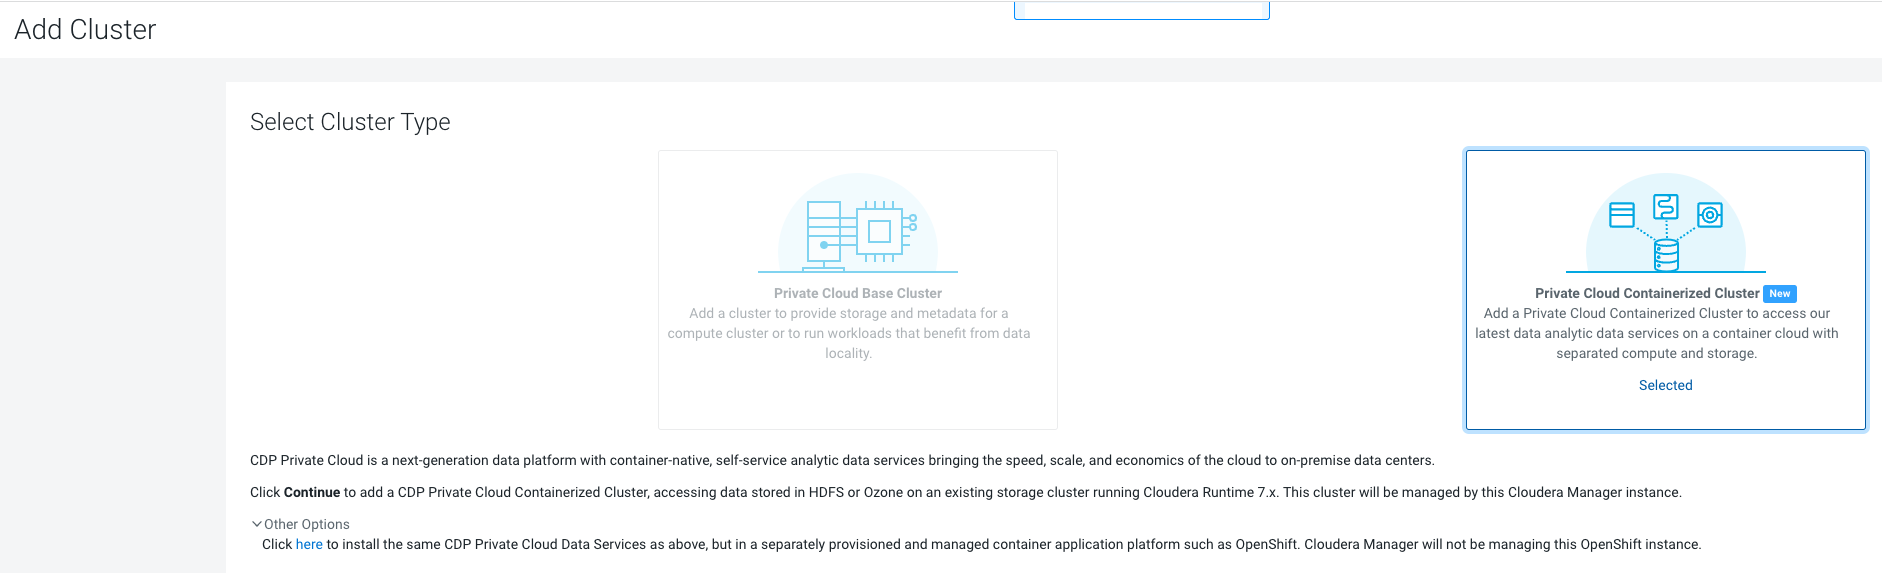
-
On the Select Cluster Type page, select the cluster type
as Private Cloud Containerized Cluster. Under
Other Options, click here to
install CDP Private Cloud Data Services, then click
Continue.
-
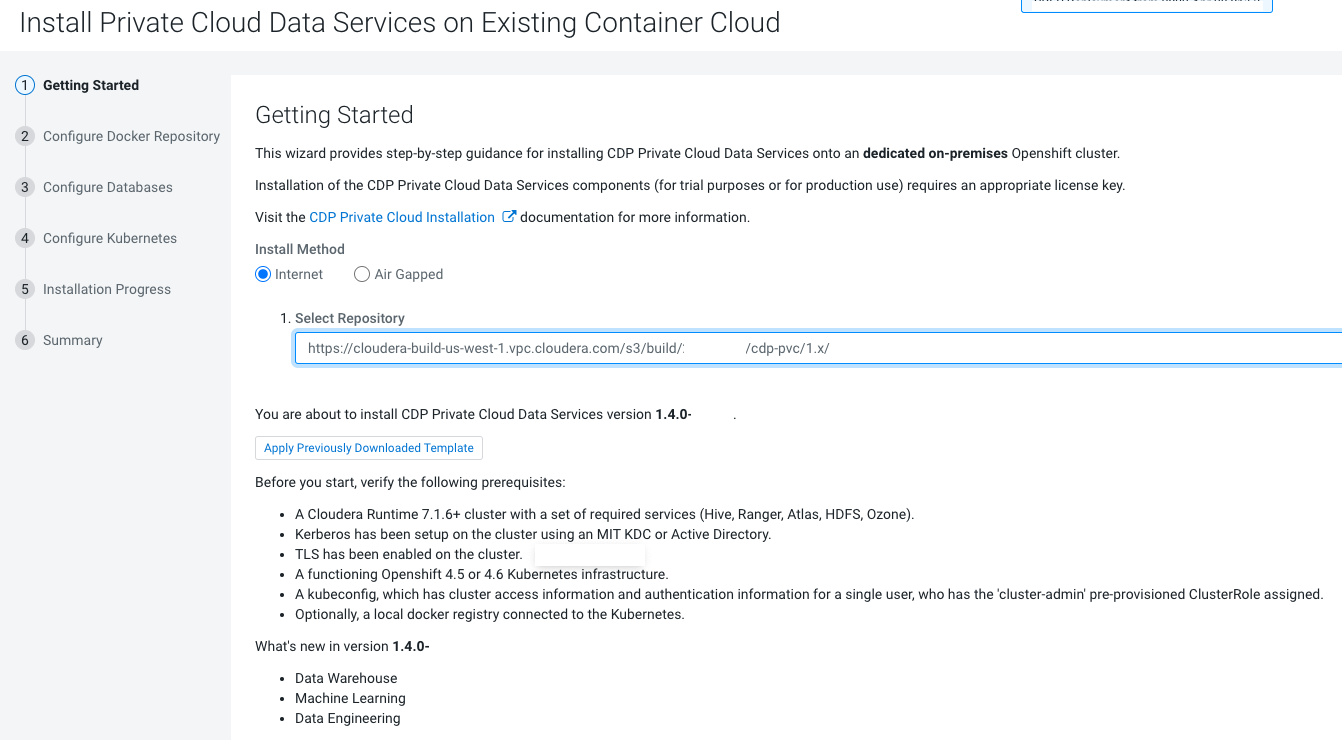
On the Getting Started page of the installation wizard,
select Internet as the Install Method. To use a custom
repository link provided to you by Cloudera, click Custom
Repository. Click Next.
-
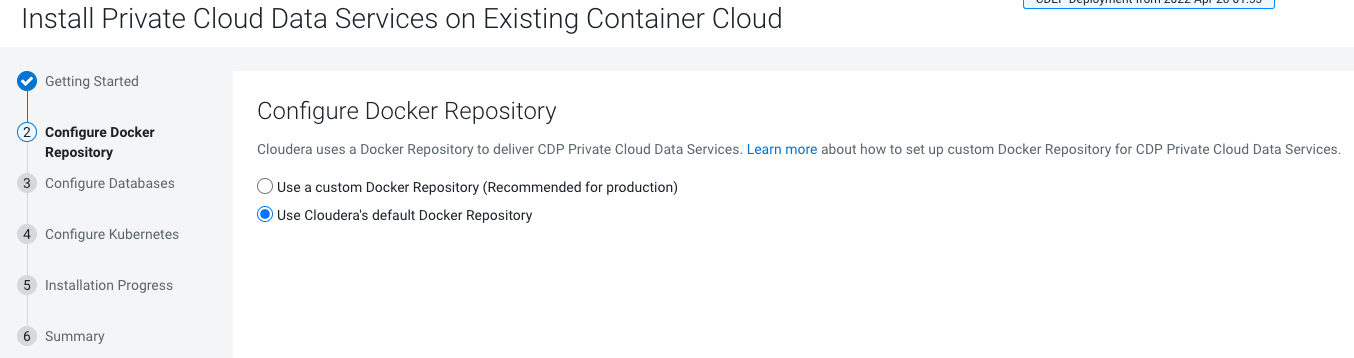
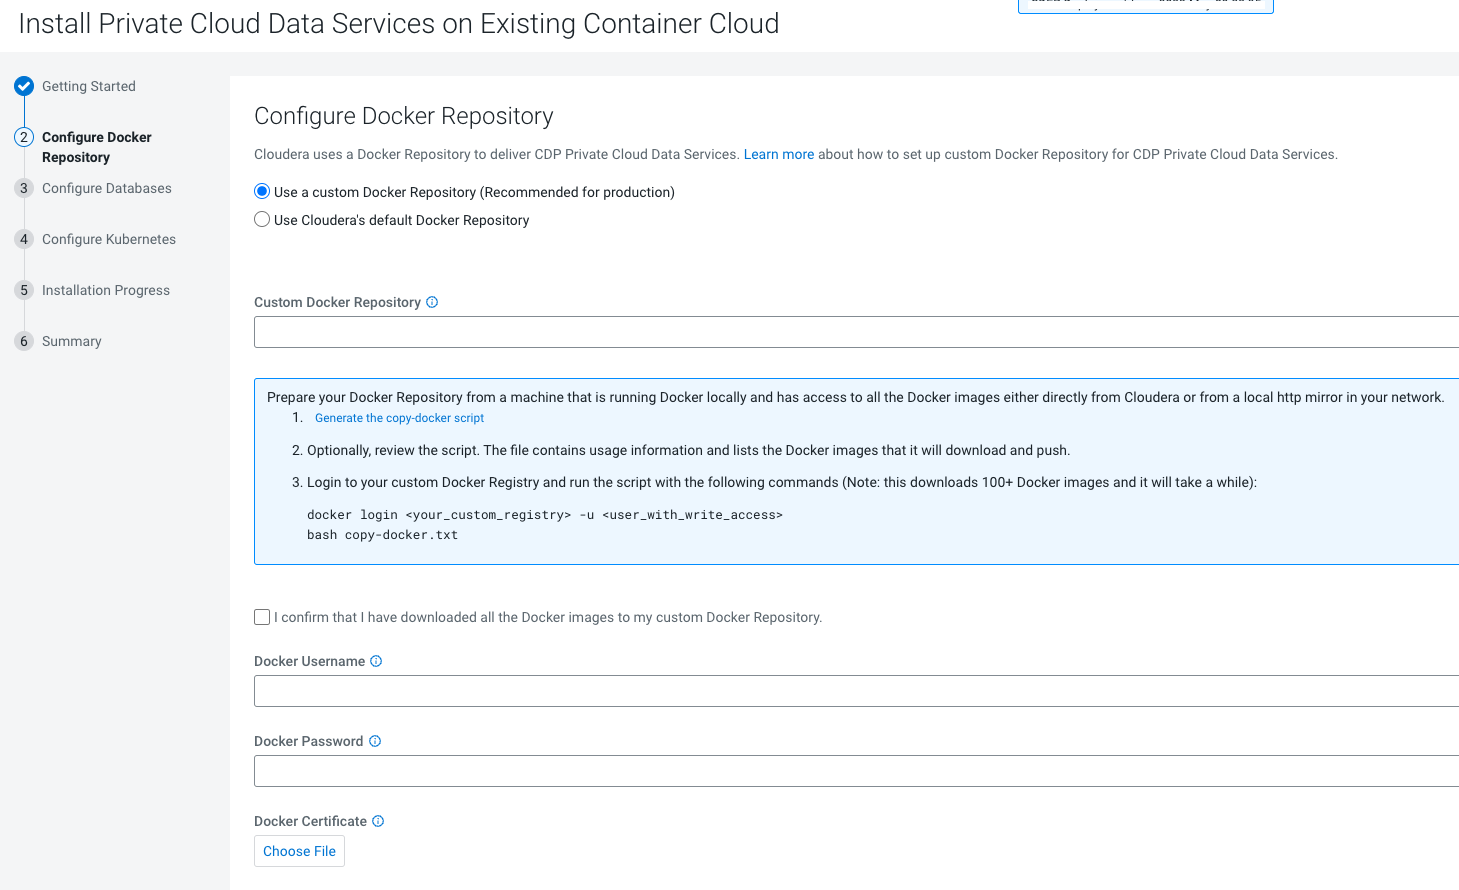
On the Configure Docker Repository page, you must select
one of the Docker repository options. If you select Use a custom
Docker Repository option, enter your local Docker Repository in
the Custom Docker Repository field in the following format:[*DOCKER
REGISTRY*]/[*REPOSITORY NAME*]. Alternatively, you can use
Cloudera's default Docker Repository if you are setting up CDP Private Cloud in
non-production environments.
You can follow these steps to prepare your Docker Repository from a machine that is running Docker locally and has access to all the Docker images either directly from Cloudera or a local HTTP mirror in your network.
-
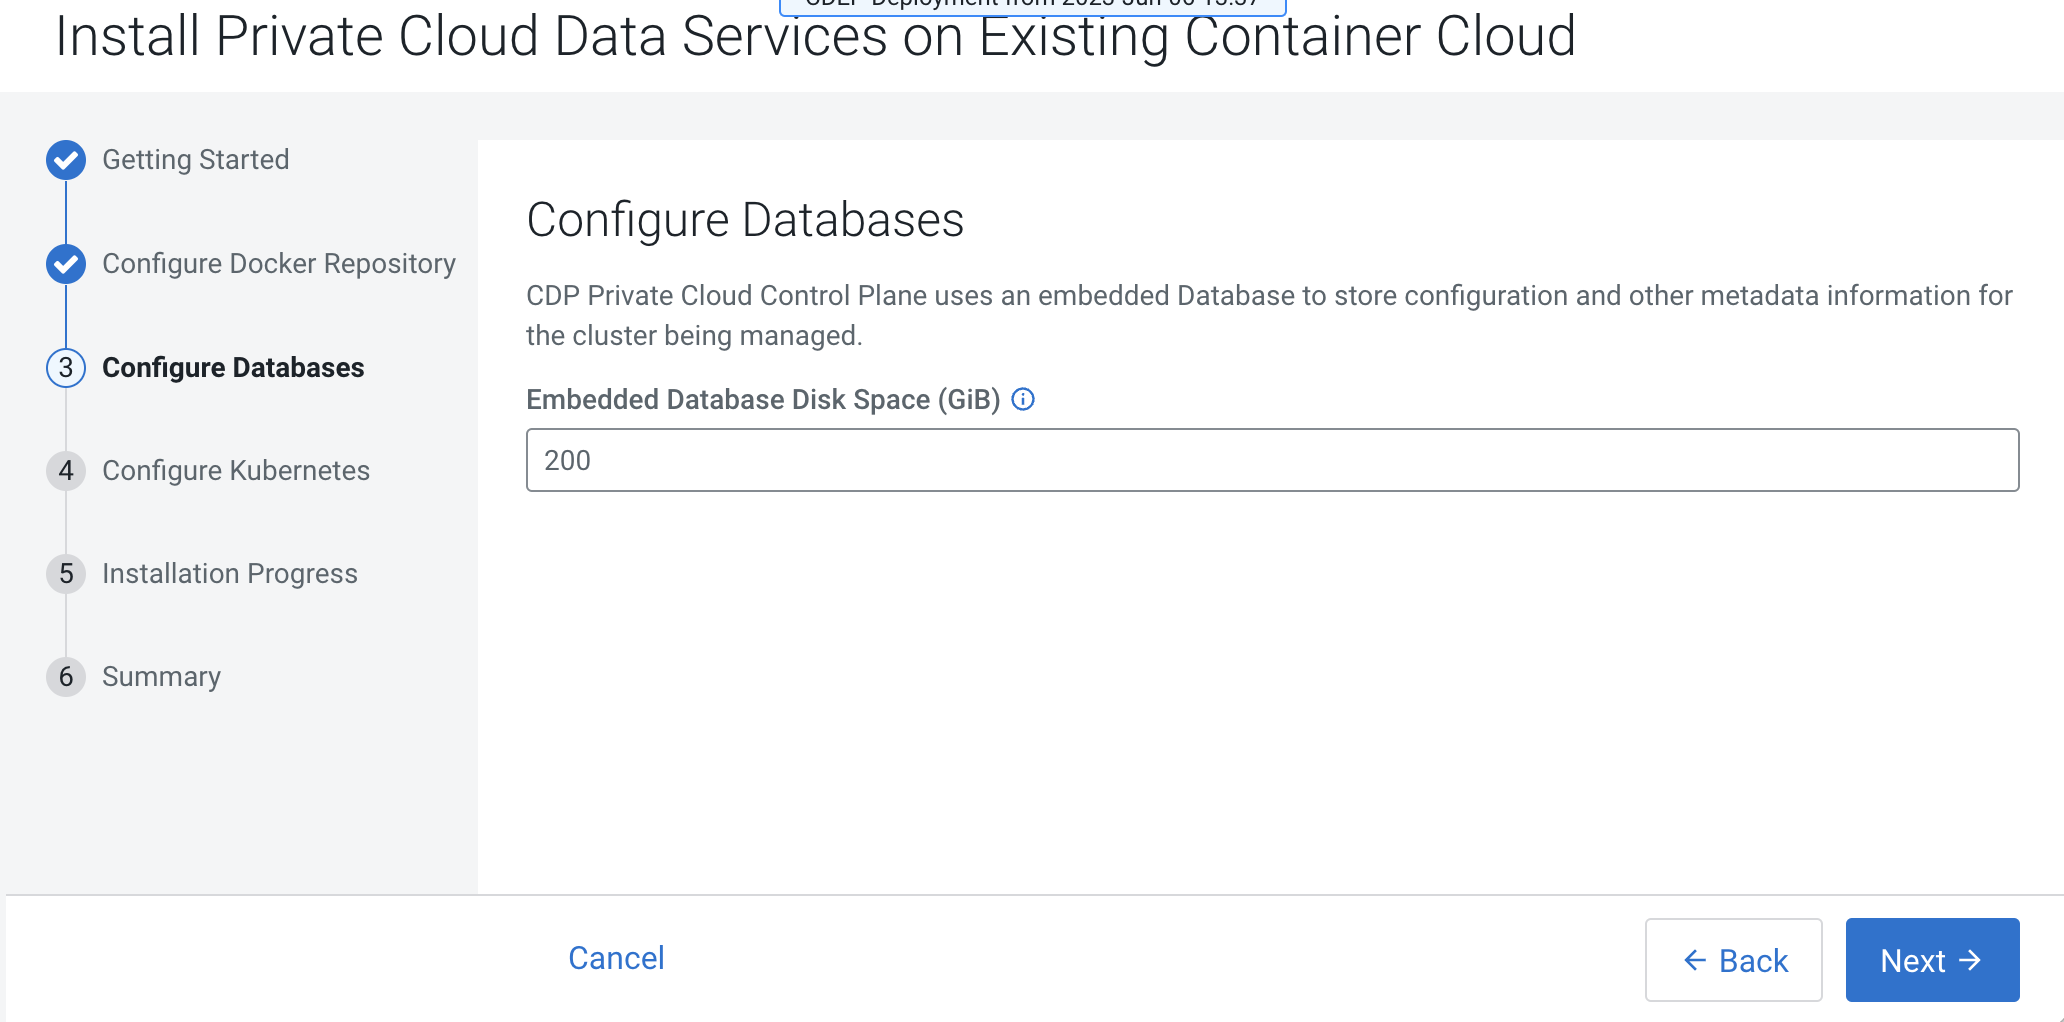
On the Configure Databases page, click
Next.
-
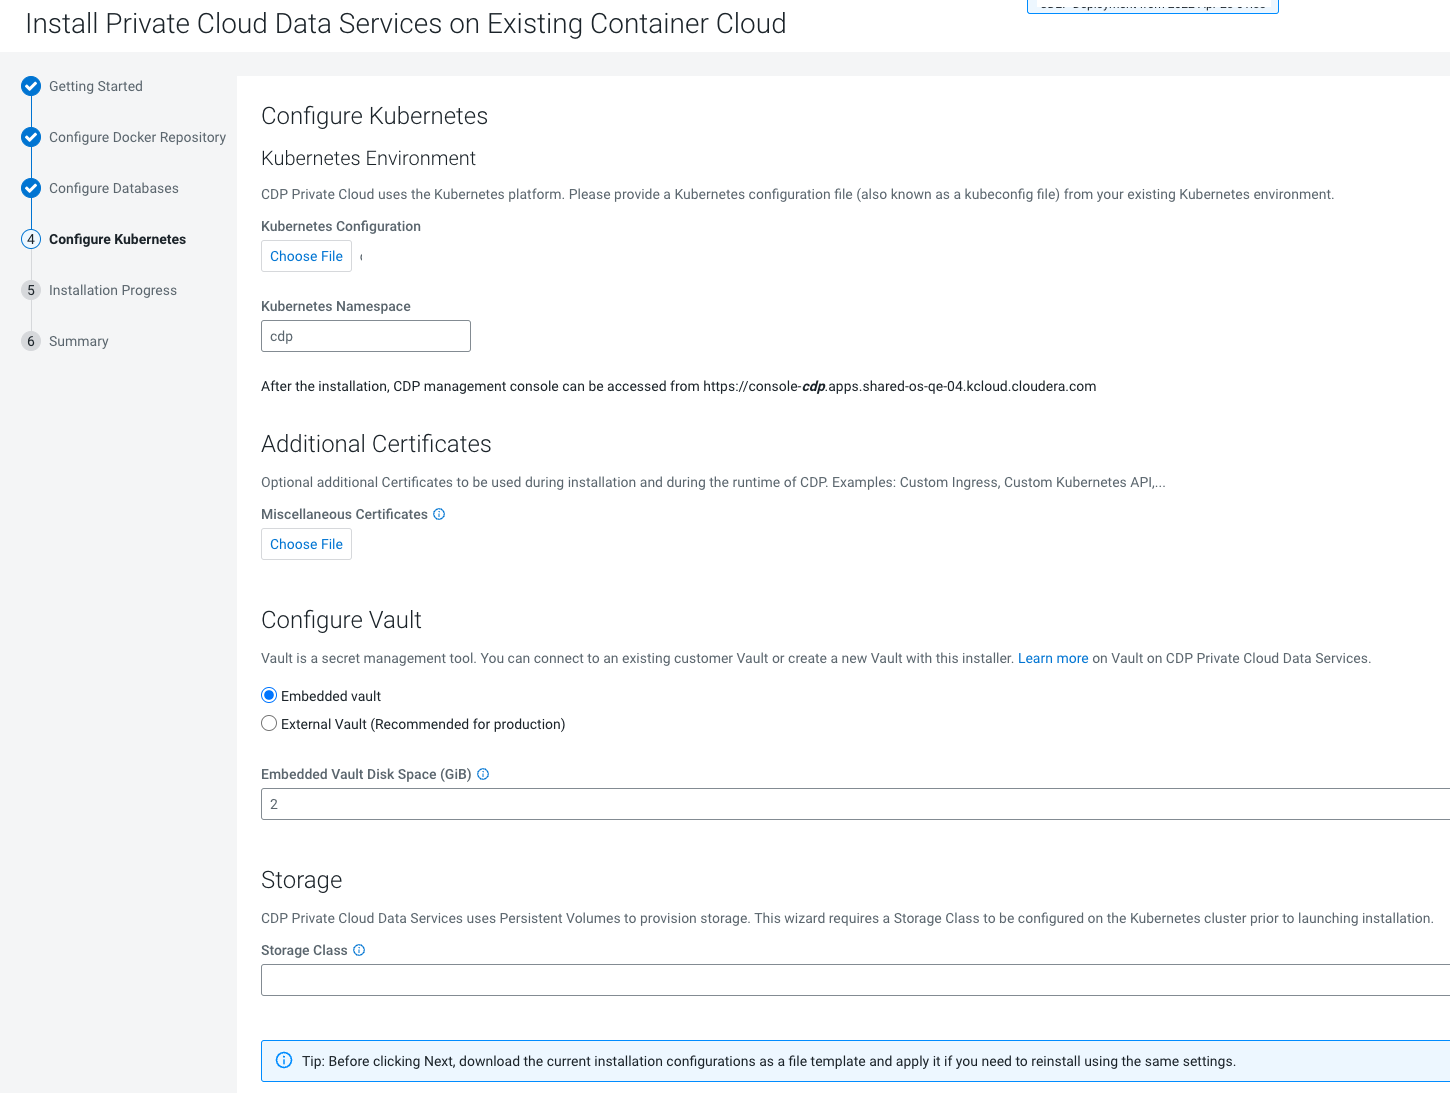
On the Configure Kubernetes page, enter your Kubernetes,
Docker, database, and vault information.
- Upload a Kubernetes configuration (kubeconfig) file from your existing environment. You can obtain this file from your OpenShift Container Platform administrator. Ensure that this kubeconfig has permissions to create Kubernetes namespaces.
- In the Kubernetes Namespace field, enter the Kubernetes namespace that you want to use with this CDP Private Cloud deployment. Kubernetes virtual clusters are called namespaces. For more information, see Kubernetes namespaces
- Enter your Vault information and upload a CA certificate. Cloudera recommends that you use an external Vault for production environments. Enter the Vault address and token, and upload a CA certificate.
- Enter a Storage Class to be configured on the Kubernetes cluster. CDP Private Cloud uses Persistent Volumes to provision storage. You can leave this field empty if you have a default storage class configured on your Openshift cluster. Click Continue.
- Under the Additional Certificates section, click Choose File and add the SSL certificate for your HMS database (MariaDB, MySQL, PostgreSQL, or Oracle). For Cloudera Data Warehouse, it is mandatory to secure the network connection between the default Database Catalog Hive MetaStore (HMS) in CDW and the relational database hosting the base cluster’s HMS.
-
If you want to use this installation configuration again to install CDP Private
Cloud, you have the option to download this information as a template.

The template file is a text file that contains the database and vault information that you entered for this installation. This template is useful if you will be installing Private Cloud again with the same databases, as the template will populate the fields here automatically. Note that the user password information is not saved in the template.
-
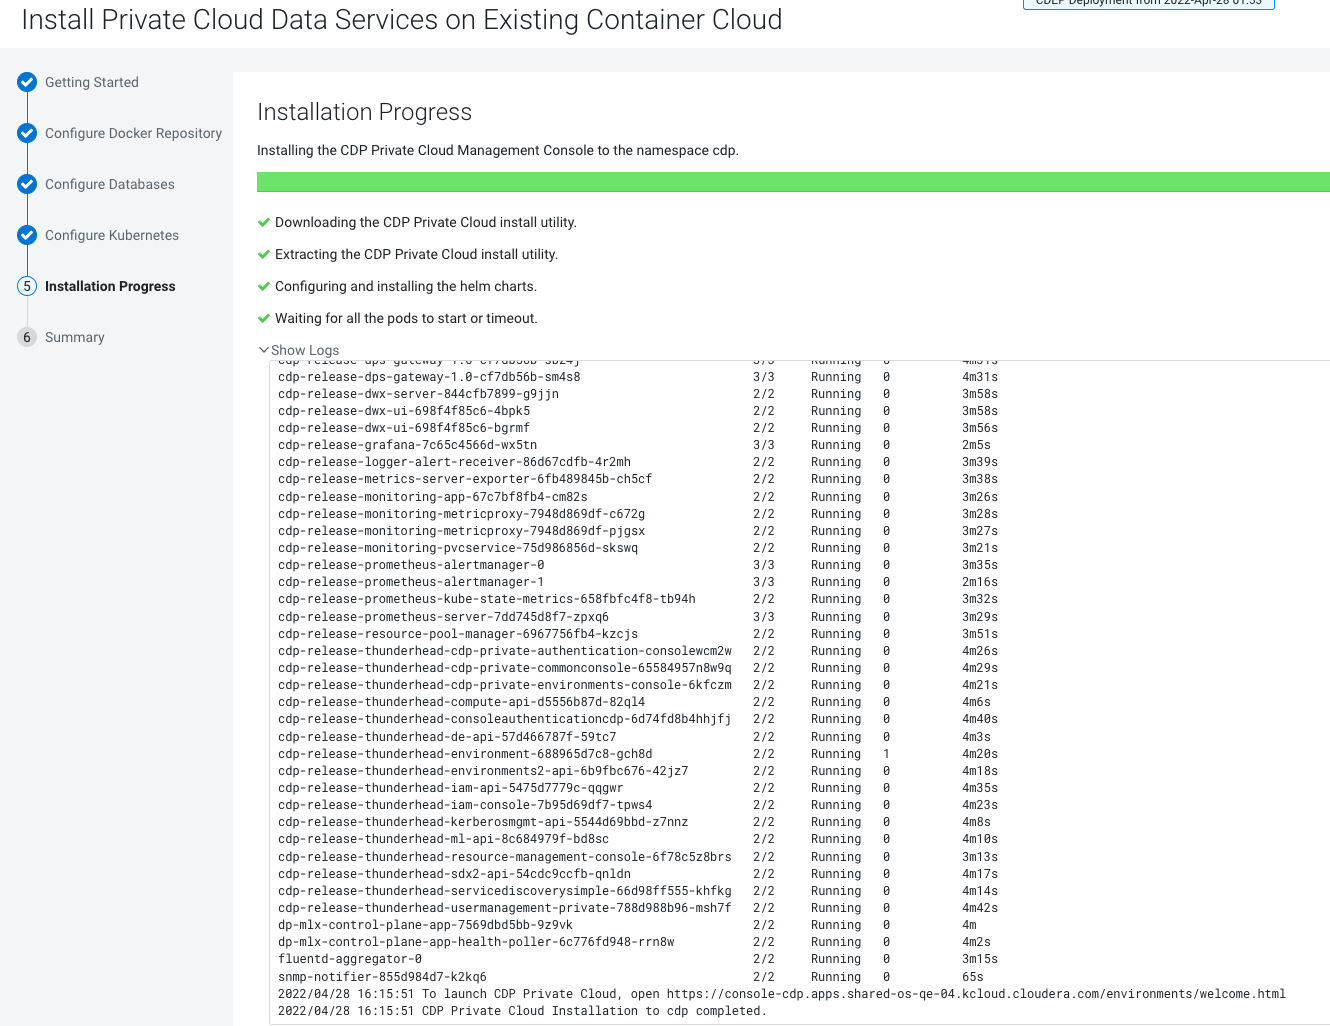
The Installation Progress page appears. When the
installation is complete, click Next.
-
The summary message with a link to Launch CDP
appears.
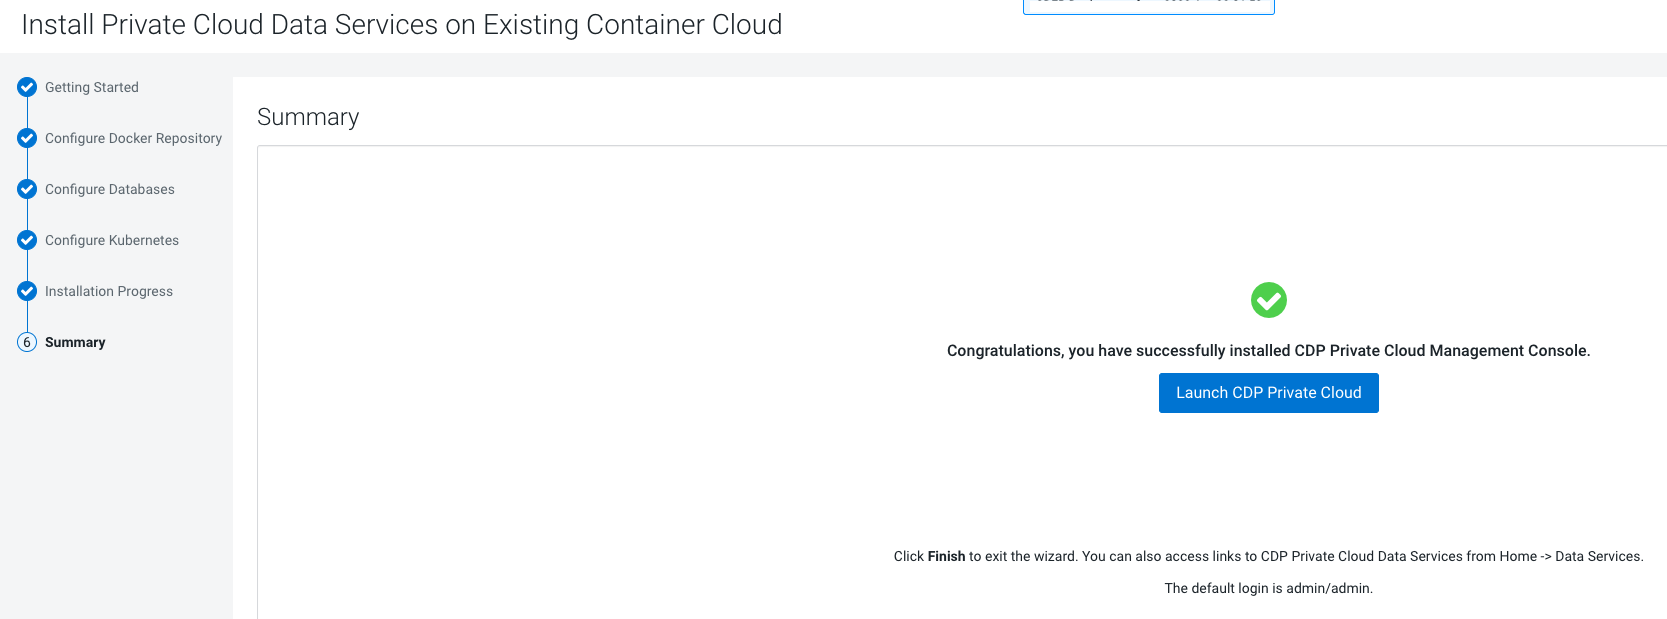
- Click Launch CDP to launch your CDP Private Cloud.
- Log in using the default user name and password
admin. - In the Welcome to CDP Private Cloud page, click Change Password to change the Local Administrator Account password.
- Set up external authentication using the URL of the LDAP server and a CA certificate of your secure LDAP. Follow the instructions on the Welcome to CDP Private Cloud page to complete this step.
- Click Test Connection to ensure that you are able to connect to the configured LDAP server.
- Register a Cloudera Private Cloud environment
- Create your first Virtual Warehouse in the Cloudera Data Warehouse Data Services
- Provision an ML Workspace in the Cloudera AI Data Services