Configuring Proxy with Apache Knox
Also available as:
PDF
loading table of contents...

Set Up Knox Proxy

As of HDP 3.0, Knox Proxy is configured via the Knox Admin UI. To set up proxy, you will first define the provider configurations and descriptors, and the topologies will be automatically generated based on those settings.

The same topologies that were manageable in Ambari previously, still are. Within the Knox Admin UI, the topologies that are managed by Ambari should be read-only. Within an Ambari managed cluster, the Knox Admin UI is to be used for creating additional topologies. When a Knox instance is not managed by Ambari, all topology management will be done via the Knox Admin UI.

The following steps show the basic workflow for how to set up Knox Proxy. It involves defining provider configurations and descriptors, which are used to generate your topologies, which can define proxy (among other things). For examples of how to set up proxy for a specific service, see “Configuring Proxy with Apache Knox”. It is recommended that you use the dynamic topology file generation in the Knox Admin UI; these steps utilize that workflow. You can also manually set up Knox Proxy by manually configuring individual topology files.

  • Ambari is installed.
  • The Demo LDAP server is running: Ambari > Knox > Actions > Start Demo LDAP.
  • If you are proxying to services outside of the Knox host domain or redirecting to services for SSO that are in another domain, your whitelist is explicitly configured to accommodate that: Ambari > Knox > Configs > Advanced knoxsso-topology, e.g.
    <param>
        <name>knoxsso.redirect.whitelist.regex</name>
        <value>^https?:\/\/(.*\.field\.hortonworks\.com|localhost|127\.0\.0\.1|0:0:0:0:0:0:0:1|::1):[0-9].*$</value
    </param>
  1. Navigate from Ambari to the Knox Admin UI: Ambari > Knox > Quick Links > Knox Admin UI.
    The Knox Admin UI opens, e.g. https://dw-weekly.field.hortonworks.com:8443/gateway/manager/admin-ui.
  2. Login to the Admin UI.
    If you have not yet changed the credentials, the default credentials are admin/admin-password.
  3. Create a Provider Configuration:
    1. From the Admin UI homepage, click Provider Configurations > +.
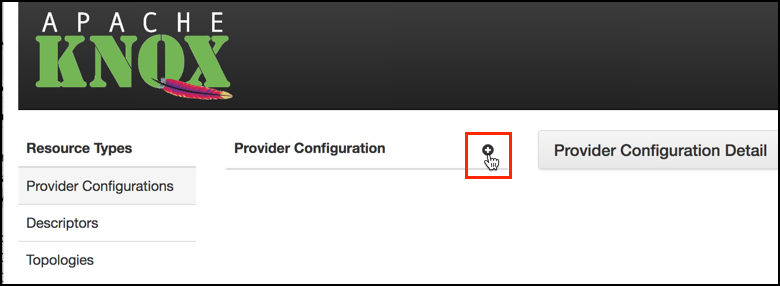
      The Create a New Provider Configuration wizard opens.
    2. Name the provider configuration: for example, hdp_ui_provider.
    3. Add an Authentication provider:
      1. Click Add Provider.
      2. Select Authentication and click Next.
      3. Choose your Authentication Provider Type: LDAP, PAM, Kerberos, SSO (HeaderPreAuth), SSO Cookie (SSOCookieProvider), JSON Web Tokens (JWT), CAS, OAuth, SAML, OpenID Connect, Anonymous.

        Note: OAuth, OpenID Connect, and CAS are community supported, they are not officially supported by Hortonworks.

      4. Complete the required fields and click OK.
    4. Add an Authorization provider:
      1. Click Add Provider.
      2. Select Authorization and click Next.
      3. Click Access Control Lists.
      4. Fill out the required fields and click OK.
    5. Add an Identity Assertion provider:
      1. Click Add Provider.
      2. Select Identity Assertion and click Next.
      3. Choose a Identity Assertion Provider Type: Default, Concatenation, SwitchCase, Regular Expression, Hadoop Group Lookup (LDAP).

        Recommended: Default.

      4. Fill out the required fields and click OK.
    6. Add an HA provider:
      1. Click Add Provider.
      2. Select HA and click Next.
      3. Select Add Service and click Next.
      4. Fill out the required fields and click OK.
  4. Define Descriptors for the topology to auto-discover services from Ambari.
    1. Create a new descriptor. From the Admin UI homepage, click Descriptors > +.
    2. Name the descriptor.
    3. Beside the Provider Configuration field, click the edit button and select the Provider Configuration you created before.
    4. Add Services (e.g., JOBTRACKER, HIVE, HDFSUI, STORM) by clicking the checkbox beside the service.
      If the service you are looking for is not listed, you can add it later by editing the configuration (the plus icon next to services will present a text box.)
    5. Add Discovery details:
      Field Example value
      Address http://dw-weekly.field.hortonworks.com:8080
      Cluster dwweekly
      Username admin
      Password alias ambari-discovery-password
    6. Click OK.
Verify the topology was generated correctly. You can review the XML topology file for accuracy from Admin UI homepage > Topologies > <topology name, e.g. devcluster>.