Configure transaction support
Before you can start using transactions, you must first add the Apache Omid service and configure Apache Phoenix to enable transactions. Apache Omid provides the transaction management capability in Apache Phoenix.
- If your cluster is Kerberized, run the
kinitcommand ashbaseuser before adding the Apache Omid service to the cluster. Ensure you have valid Kerberos credentials. You can list the Kerberos credentials using theklistcommand.or
If you do not want to
kinitas ahbaseuser, you can use Apache Ranger in the SDX Data Lake to grant the user permissions to CREATE, READ and WRITE on the commit table (default table nameOMID_COMMIT_TABLE) and timestamp table (default table nameOMID_TIMESTAMP_TABLE).Apache Omid creates and writes to
OMID_COMMIT_TABLEandOMID_TIMESTAMP_TABLEduring a transaction. - Ensure that the Apache Phoenix client doing transactions should have minimum
WRITEpermissions on commit table (default table nameOMID_COMMIT_TABLE).
Add the Apache Omid service, and configure Apache Phoenix using Cloudera Manager.
-
On the Home > Status tab, click
 to the right of the cluster name and select Add
a Service. A list of service types display. You can add one type of
service at a time.
to the right of the cluster name and select Add
a Service. A list of service types display. You can add one type of
service at a time.
-
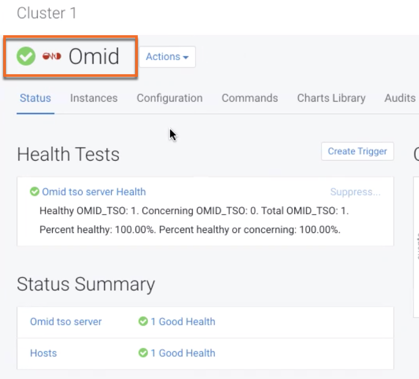
Verify the new service is started properly by checking the health status of the
new service. If the Health Status is
Good, then the service started properly.