Creating a Git repository in Cloudera Data Engineering (Technical Preview)
Git repositories allow teams to collaborate, manage project artifacts, and promote
applications from lower to higher environments. Cloudera currently supports Git providers such
as GitHub, GitLab, and Bitbucket. Learn how to use Cloudera Data Engineering (CDE) with version
control service.
Repository files can be accessed when you create a Spark or
Airflow job. You can then deploy the job and use CDE's centralized monitoring and
troubleshooting capabilities to tune and adjust your workloads. CDE automatically clones the
project files and folders when a repository is created. Metadata such as file size and hash
are also available. These files display as a read-only view in the CDE UI and users cannot
delete or modify the files. This ensures a single source of truth and simplifies promotions. To use a non-public Git repository, you must first create
repository credentials using a workload secret for CDE using the CDE CLI as follows:
The command above prompts you for a password where you can either provide your Personal Access
Token (PAT) or provide a password for your Git repository account, for example, Github.
In the Cloudera Data Platform (CDP) console, click the
Data Engineering tile. The Home page
displays.
Click Repositories in the left navigation menu.The
Repositories page displays.
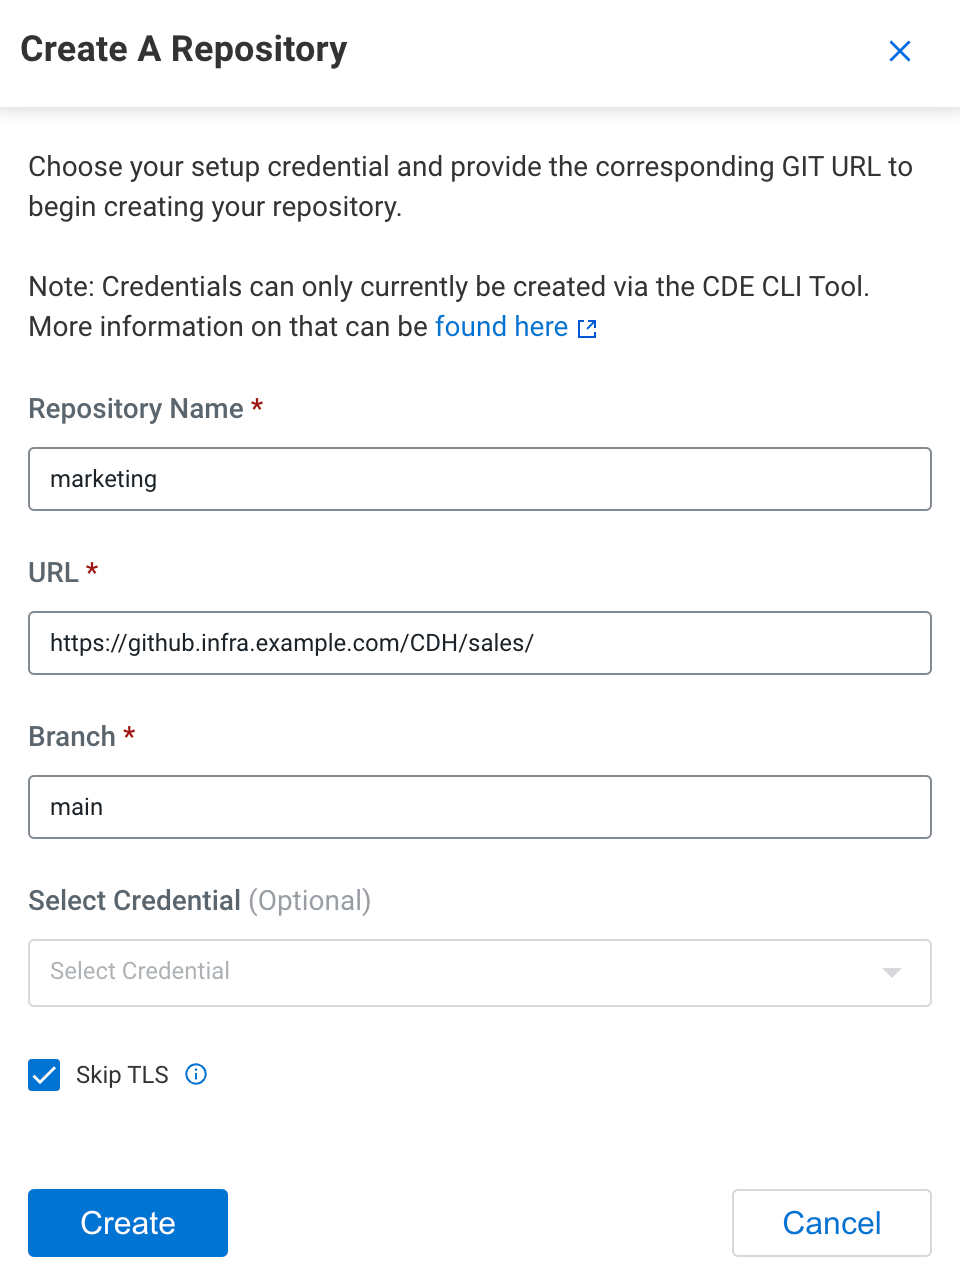
Click Create Repository. The Create A
Repository dialog box displays. Enter the following fields for the
repository:
Repository Name - Enter a name for the repository.
URL - Enter the repository URL (https only).
Branch - Enter the name of the git branch.
Select a credential from the Select
Credential drop-down list. The credentials can be created using the CDE
API.
Select Skip TLS. Select this option if
the server uses a self-signed CA certificate that CDE does not trust. This allows CDE
to skip the security check and clone the repository.