Create the Kudu target table
Before you can ingest data into Kudu, you need a target Kudu table prepared to receive the data flow.
- Navigate to your Real Time Data Mart cluster and click Hue from the Services pane.
- Click the Tables icon on the left pane.
- Select the default database, and click + New to create a new table.
- In the Type field, select Manually and click Next.
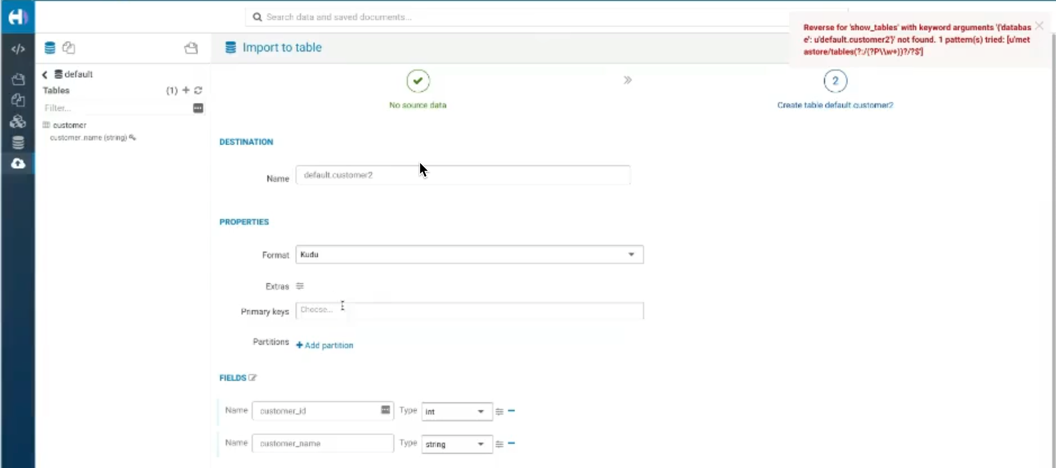
- Provide the table Name, Format, Primary keys, and any partitions.
- Click Submit.
In this example, you create a table with the following values:
| Field name | Value |
|---|---|
| Name | customer |
| Format | Kudu |
| Primary keys | customer_id |
| Partitions | No specified partitions |
| + Add Field to include custom field valuecustomer_id | Type equals int |
| + Add Field to include a custom field value customer_name | Type equals string |
Check the Kudu UI Tables tab, for the name of the table you created. You will need this table name later on, when configuring the NiFi PutKudu processor.
Depending on how you created it, it has one of the following formats.
-
impala::default.customer -
default.customer